
Introduction
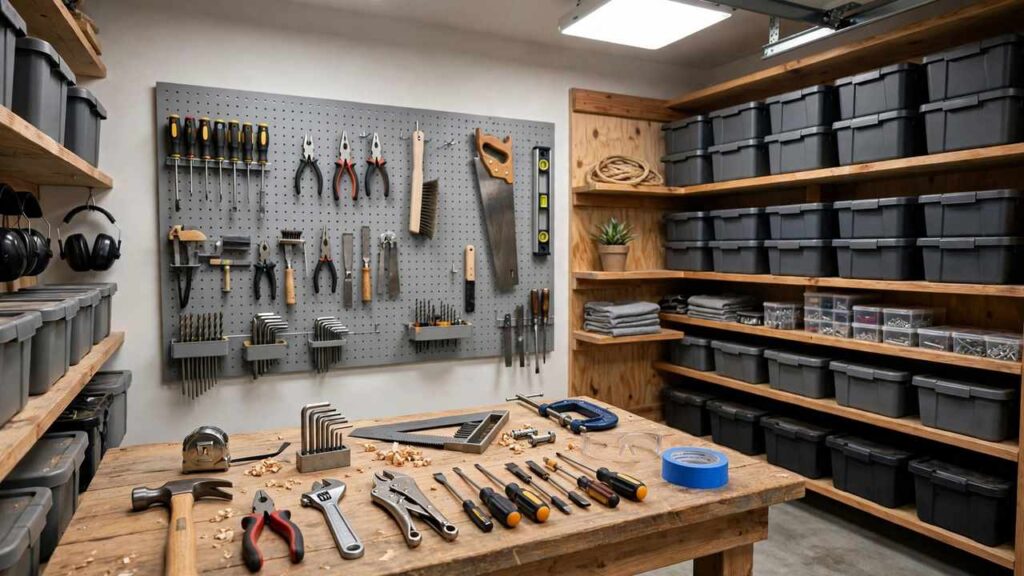
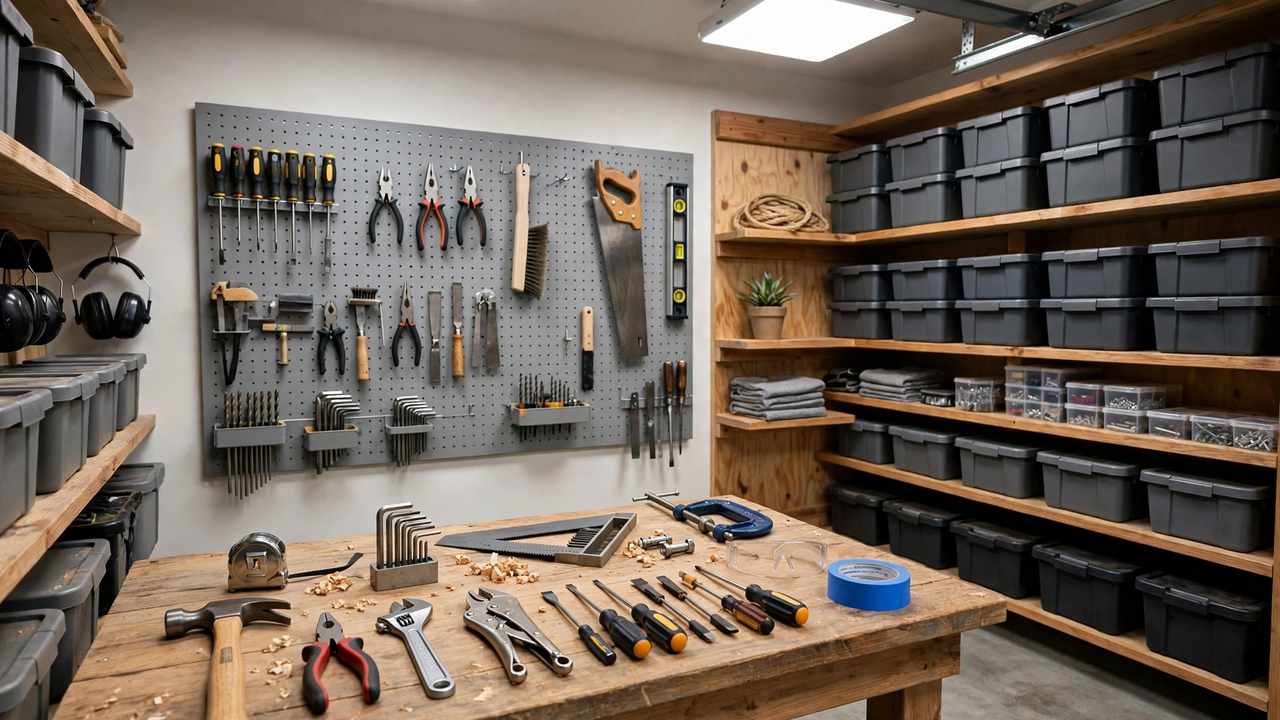
Be honest: is your garage a workshop, or a storage unit with a car squeezed in somewhere? If your tools live in cardboard boxes, your drill is always flat and every job starts with hunting for the tape measure, you are not alone. The good news is that diy garage workshop ideas do not need a big budget or a double garage. Most need a free weekend, some basic timber and a plan.
A proper workshop corner changes how you DIY at home. Jobs get quicker, tools last longer, and the space stops feeling like a problem you park in front of. Even one wall can hold a bench, a tool board and enough storage for most projects.
In this guide, you will find 20 diy garage workshop ideas, from the all-important workbench to lighting, flooring and dust control. Each idea includes simple build notes and a practical tip, so you can pick one, build it this weekend and feel the difference straight away.
1) DIY Garage Workshop Ideas Start With a Proper Workbench
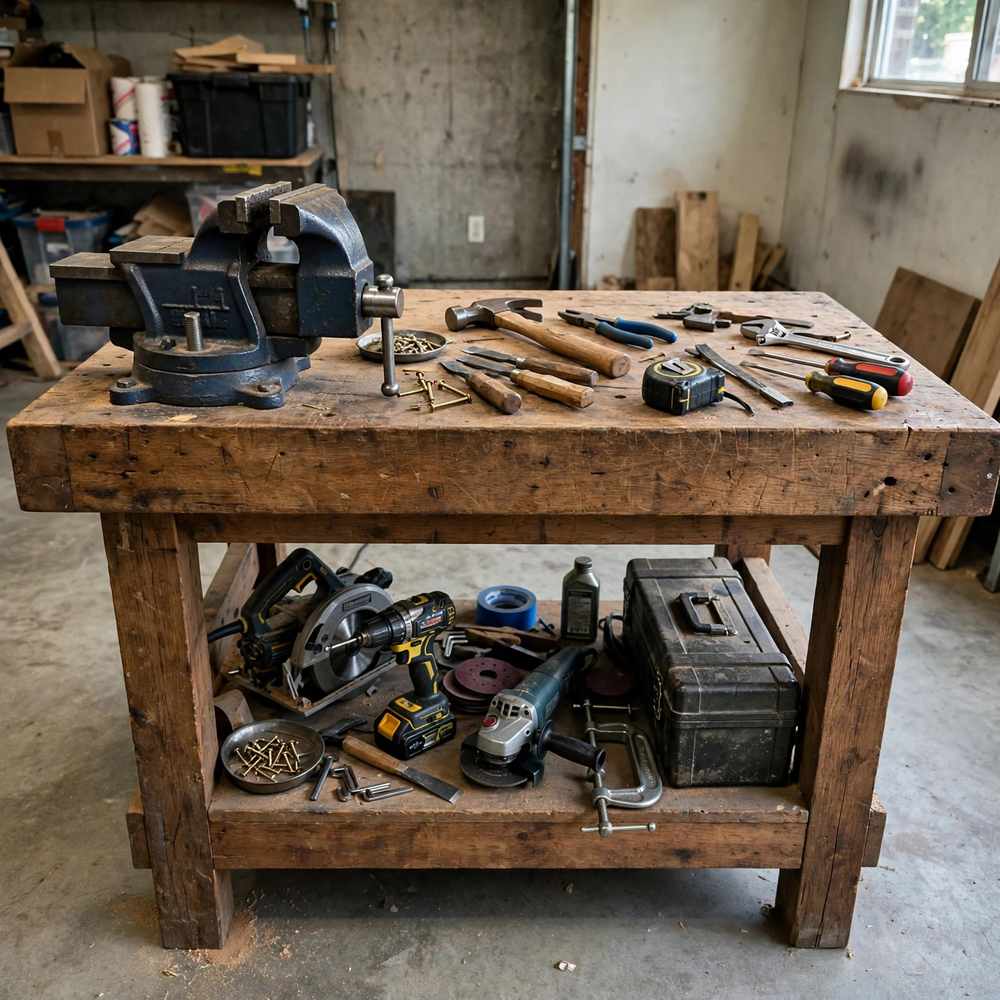
Every workshop begins with a bench that does not wobble. Aim for a top at about waist height, thick enough to shrug off hammer blows, with a lower shelf for your heaviest tools. A frame of chunky timber and a top of two plywood layers will outlast most flat-pack benches.
How to build it:
- Build the frame from 4×2 timber, screwed and glued
- Laminate two layers of 18mm plywood for the top
- Fit a bench vice near one corner
- Add a low shelf for heavy kit
Tip: If your floor slopes towards the door, fit adjustable feet or shim the legs to level the bench.
2) Hang a Pegboard Tool Wall
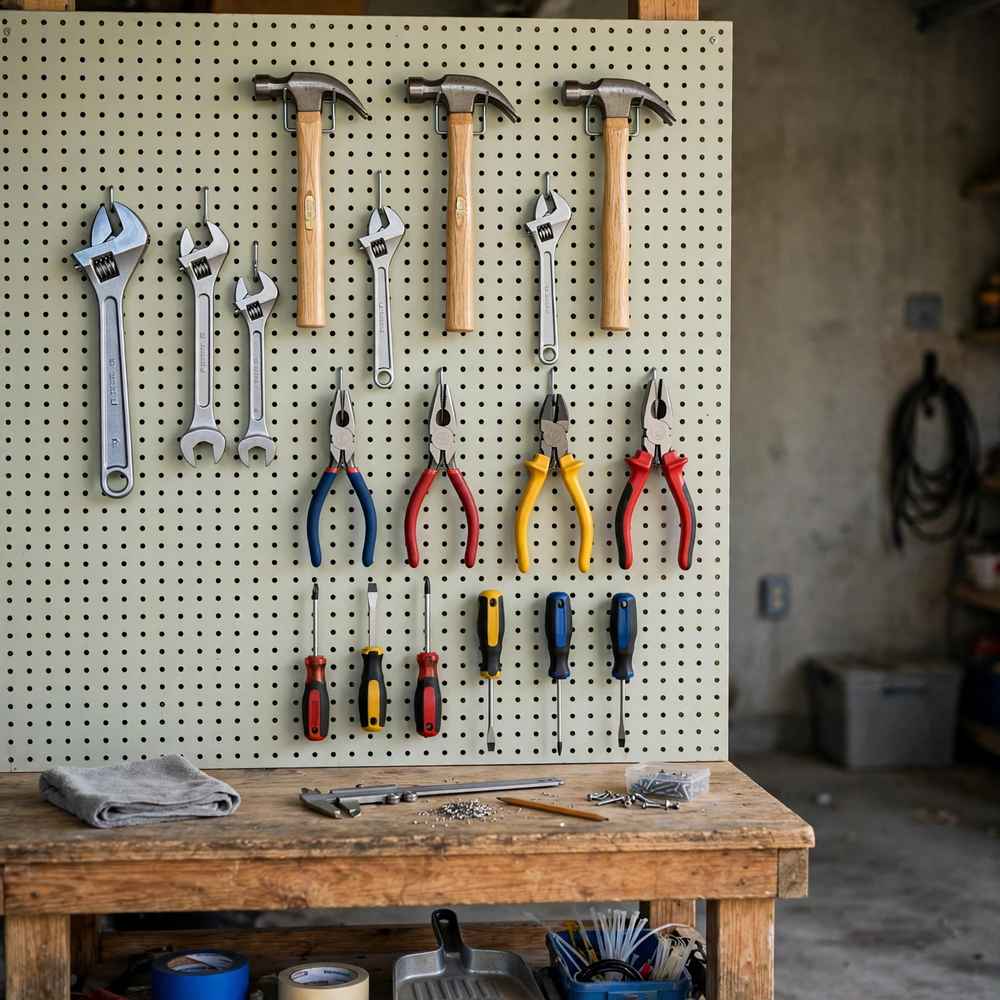
A pegboard turns a blank wall into storage you can read at a glance: hammers, spanners and screwdrivers all in view, all within reach. Fix it to timber battens so there is room behind for the hooks, and paint it a pale colour to brighten the corner.
Why it works:
- Every tool visible, so nothing gets bought twice
- Hooks move in seconds as your collection grows
- Very cheap per square metre of storage
- Keeps your bench clear for actual work
Tip: Hang your five most-used tools at eye level in the middle, and let the rest drift to the edges.
3) Build a French Cleat Storage Wall
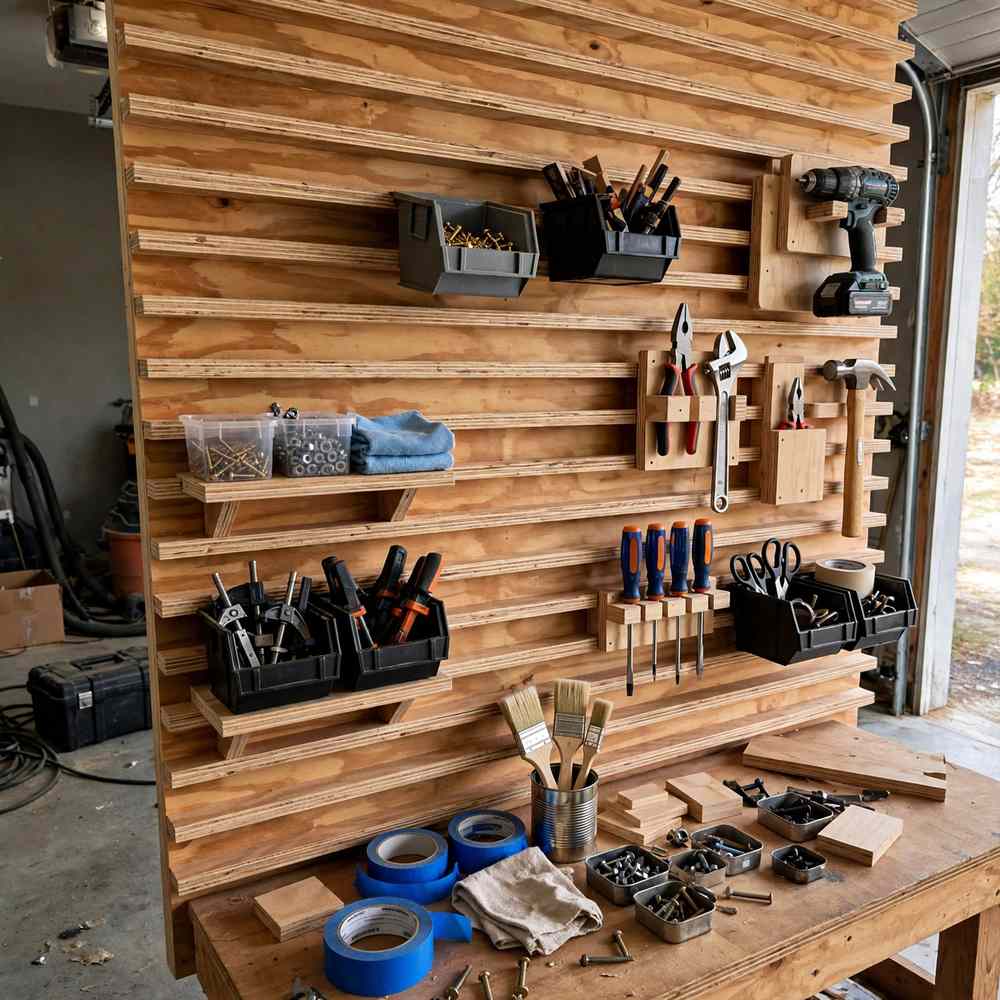
French cleats are plywood strips cut at 45 degrees: one half screws to the wall, the matching half goes on the back of shelves, boxes and holders, and gravity locks them together. Everything lifts off and rearranges without a single screw.
Best for:
- Odd-shaped tools that defeat standard hooks
- Shelves and bins you rearrange often
- Heavy items, spread safely across the wall
- Growing a storage wall one holder at a time
Tip: Cut every cleat from the same sheet in one session so all the angles match.
4) Make Your Workbench Mobile With Locking Castors
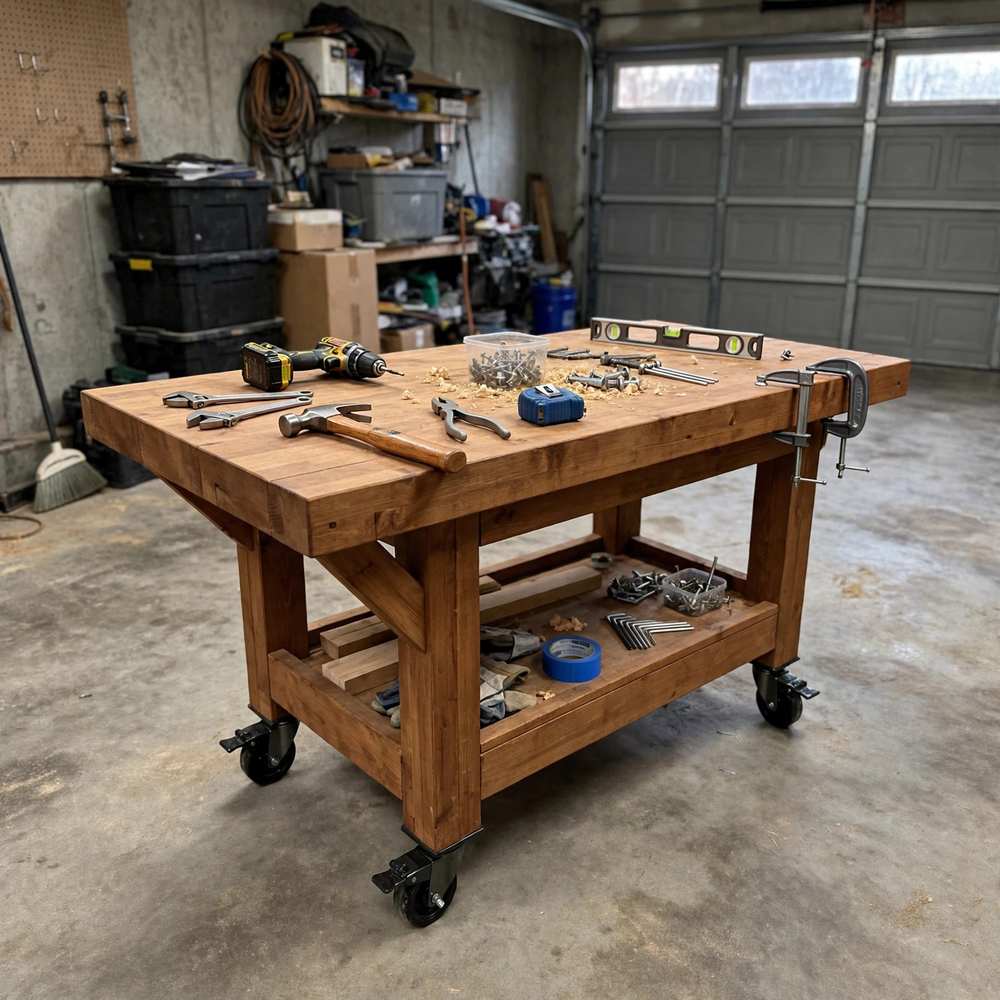
Wheels turn a fixed bench into a flexible one: workshop by day, parking space by night. Roll it out to work on a big sheet of plywood, then push it against the wall when the car comes home.
Why it works:
- Work on large pieces in the middle of the floor
- Locking castors keep it solid while you saw
- Doubles as an outfeed table for a portable saw
- Cleaning underneath takes seconds
Tip: Choose castors rated well above the loaded bench weight, and put the locking pair at the front.
5) Fit a Fold-Down Wall-Mounted Workbench
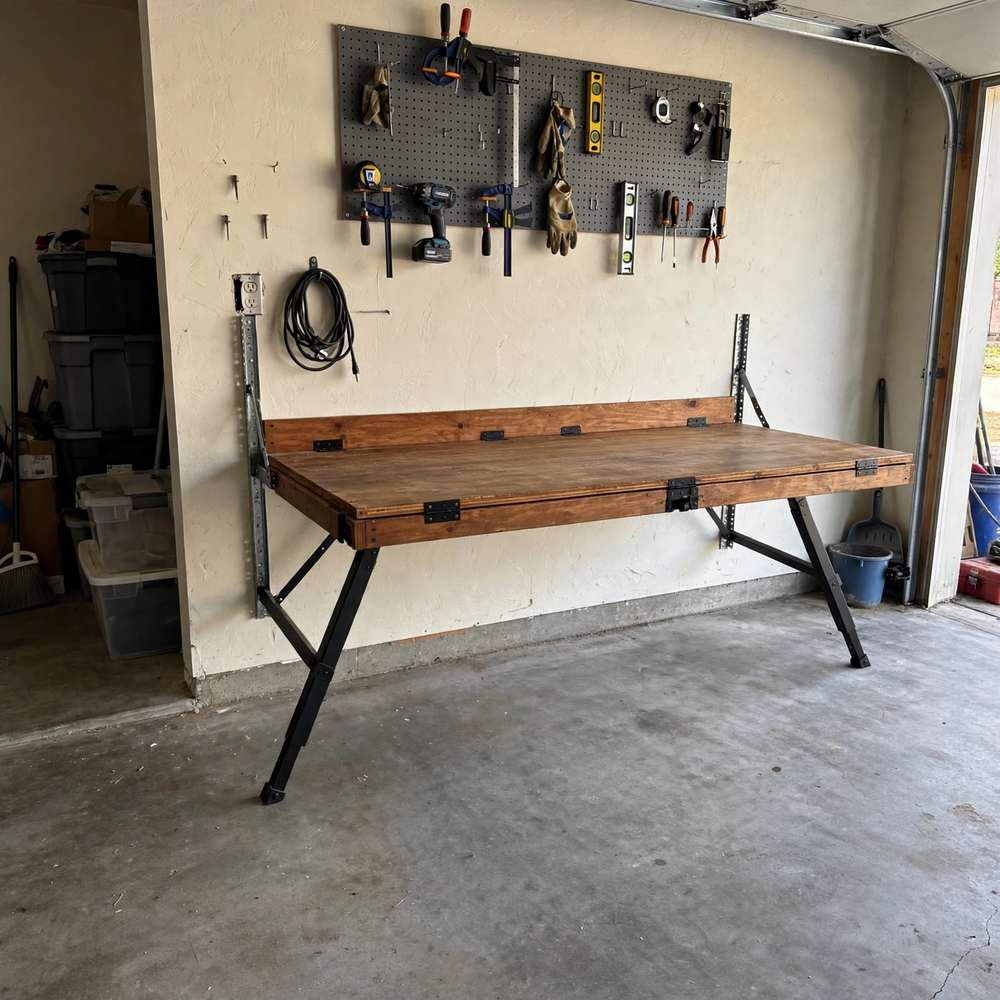
If floor space is truly precious, hinge the bench to the wall instead. A fold-down top on sturdy hinges, with legs that swing out, gives you a full work surface that folds to a few centimetres deep when the car comes in.
Best for:
- Single garages where the car fits nightly
- Occasional weekend projects, not daily work
- Keeping the floor completely clear
- Small garages shared with bikes and bins
Tip: Fit a simple bolt or latch to hold the folded bench shut, so it can never drop unexpectedly.
6) Add a Mitre Saw Station With Long Supports
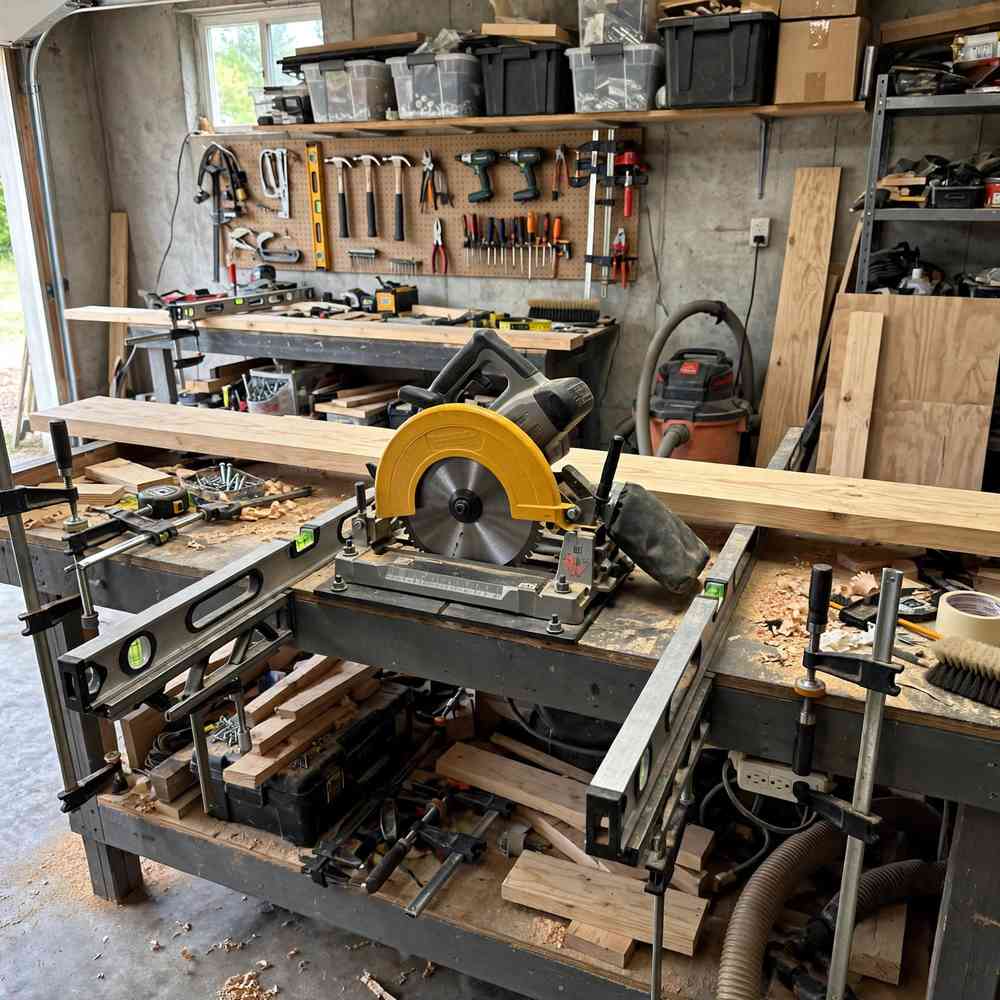
A mitre saw on a wobbly stand makes inaccurate cuts. Bolt it to a long, low bench instead, with supports at exactly the height of the saw bed on both sides, so long boards stay flat and cuts stay square.
How to build it:
- Bridge two low cabinets with the saw in the middle
- Pack side supports to match the saw bed height
- Add a back fence for repeat cuts
- Store offcuts and accessories underneath
Tip: Leave a small gap behind the fence so sawdust falls through instead of pushing boards out of line.
7) Sort Small Parts Into Clear Labelled Boxes
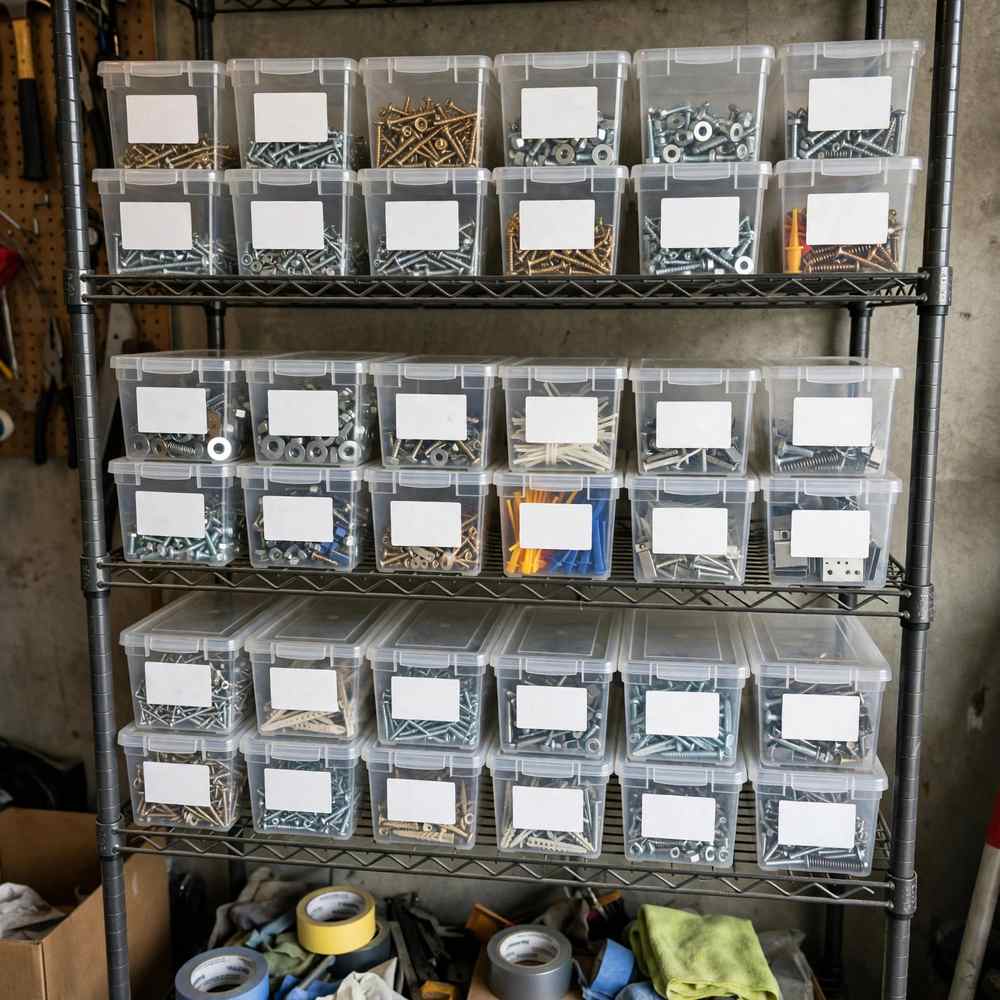
Screws, wall plugs, hinges, sandpaper: small parts are where workshops go to die. Sort them into clear stacking boxes on one shelf, a category per box, with a big honest label. It is the same sort-and-label logic that makes our dresser in closet ideas work so well, applied to fixings instead of jumpers.
Why it works:
- See the contents without opening a lid
- Labels stop the drift back into one junk box
- Boxes stack neatly and wipe clean
- You stop buying screws you already own
Tip: Label the shelf edge as well as the box, so everything returns to the right bay.
8) Roll a Tool Cabinet Under the Bench
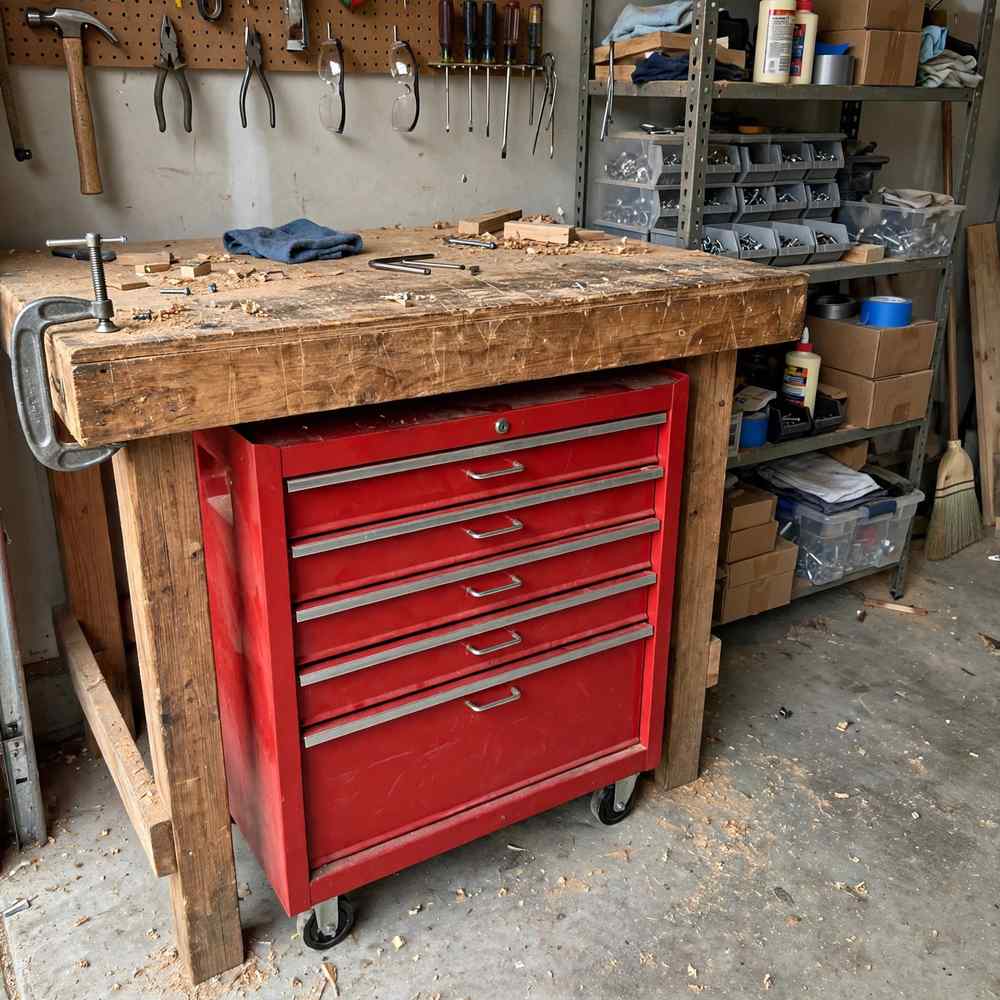
A metal drawer cabinet on castors tucks under your bench and rolls out to wherever the job is: the car, the garden, the deck. Shallow drawers lined with non-slip matting keep sockets and spanners in tidy rows.
Best for:
- Socket sets, spanners and precision tools
- Jobs that move around house and garden
- Locking away your best hand tools
- Using the dead space under the bench
Tip: Put the heaviest drawer at the bottom of the stack so the cabinet can never tip.
9) Fix a Magnetic Tool Strip Above the Bench
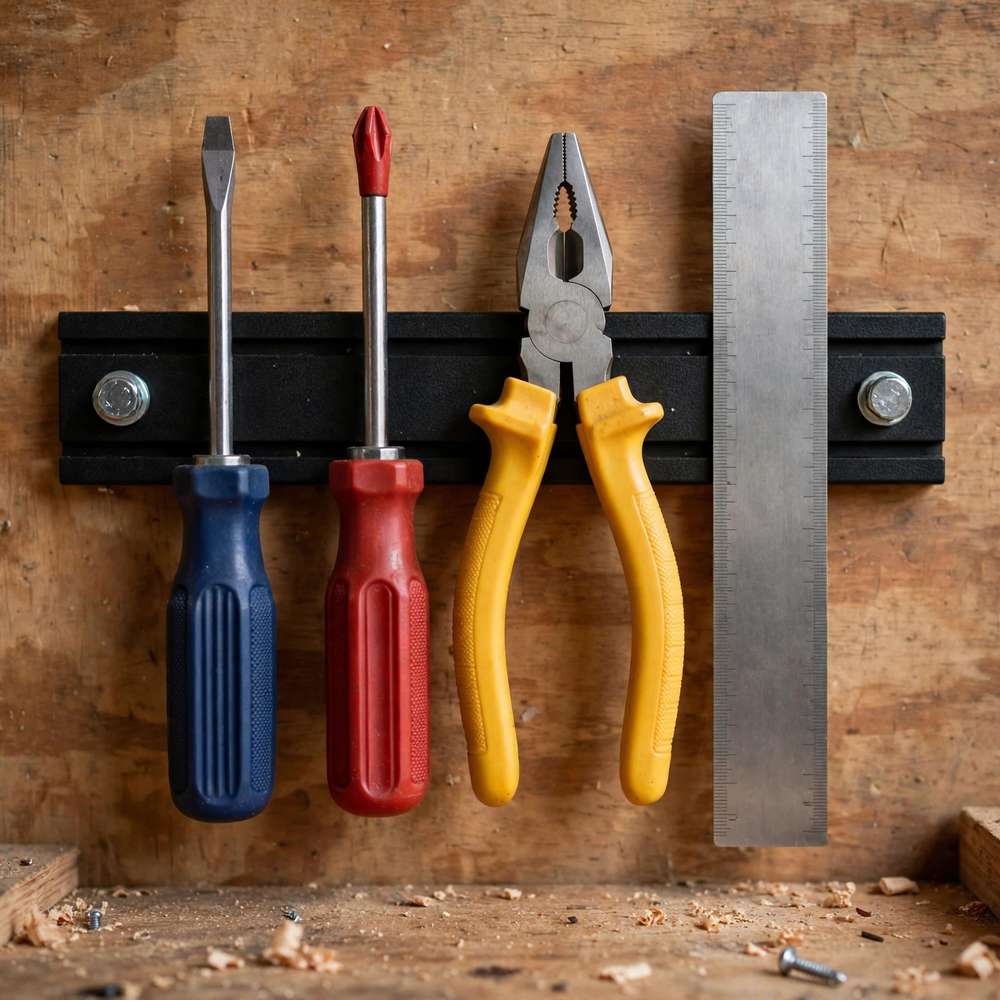
A strong magnetic bar above your bench holds screwdrivers, pliers, scissors and steel rulers in a grab-and-go row. It uses a sliver of wall that would otherwise do nothing, and putting a tool back is as fast as taking it down.
Why it works:
- True one-handed access while you work
- No drawers to open with greasy hands
- Blades stay separated, so edges last longer
- Costs little and fits in minutes
Tip: Mount it just above bench height, not over your leaning space, so sleeves never brush tools off.
10) Build a Simple Clamp Rack
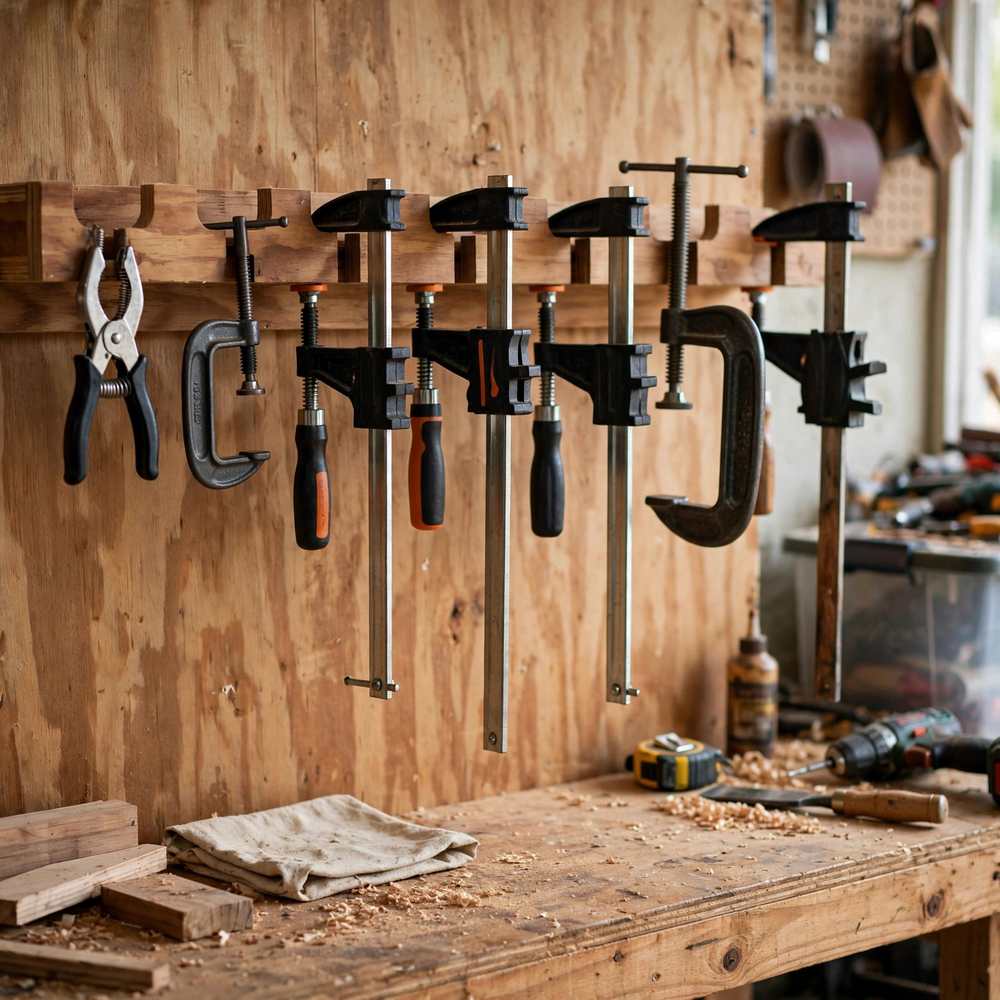
Clamps stored in a box become a tangled knot within a week. A simple wall rack — two rails with notches or pegs — parks each clamp upright by its head, sorted by size, ready to grab mid glue-up with one free hand.
How to build it:
- Screw a sturdy batten to the wall
- Cut notches sized to your clamp bars
- Add a lower rail if clamps swing
- Group clamps by size for quick pairs
Tip: Keep the rack beside the bench: clamps are always needed in a hurry, usually with glue already spread.
How to Plan Your DIY Garage Workshop Ideas Into Work Zones
Before building anything else, divide the garage into rough zones. Put the bench along the longest wall, near your sockets and best light. Keep storage on the opposite wall, and the dusty cutting zone nearest the door so mess blows out, not in. If the car still lives there, mark its footprint with tape and fit everything else around it.
Think vertically, like a small room. The same trick that makes small bedroom decorating ideas work — using walls floor to ceiling instead of spreading out — doubles a garage’s capacity without touching the parking space. For more inspiration, the Family Handyman garage organisation tips are full of clever, reader-tested storage hacks worth stealing.
11) Put Seasonal and Garden Gear on Overhead Racks
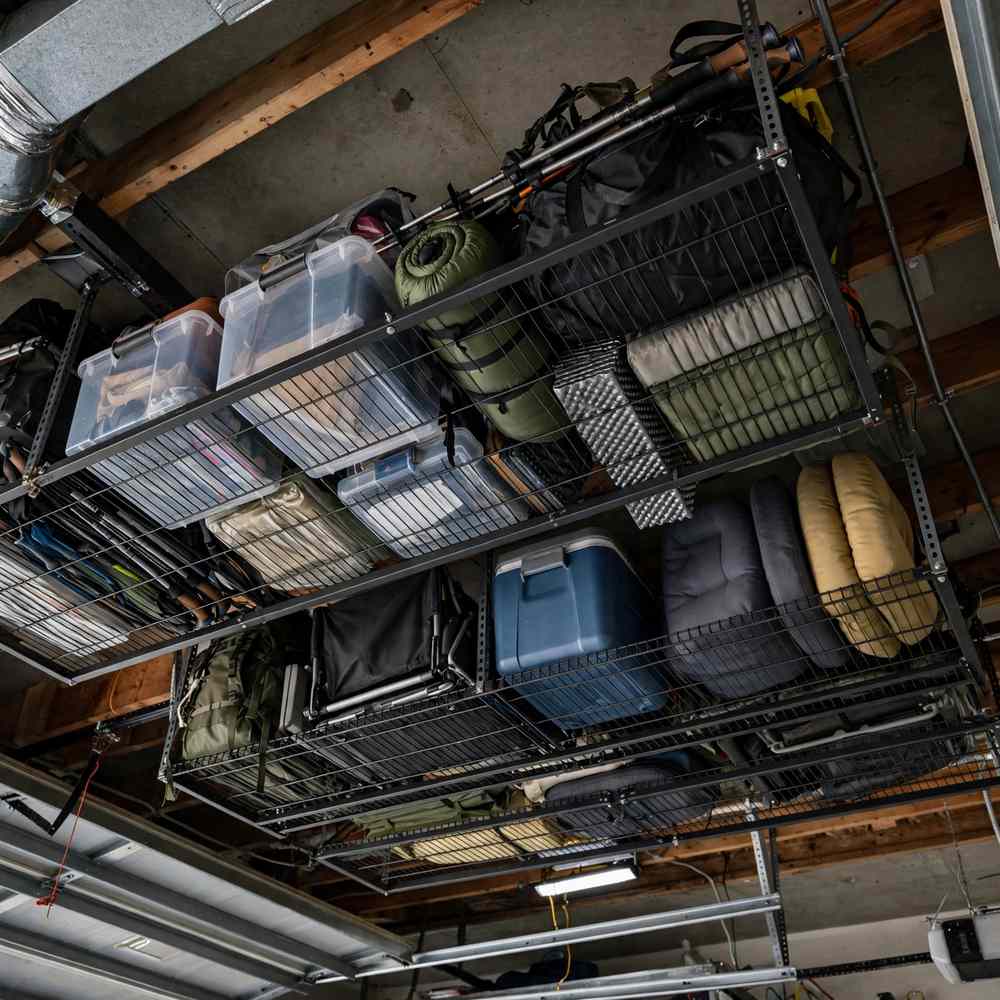
The space above your head is the most wasted in the garage. Racks fixed to the ceiling joists hold the bulky-but-light things you need twice a year: camping kit, Christmas decorations and out-of-season garden tools, all down in minutes when you start your next round of DIY landscape design ideas in spring.
Best for:
- Seasonal items you rarely need quickly
- Bulky, light objects that eat shelf space
- Garages with a high ceiling
- Keeping the floor clear for the car
Tip: Store overhead only what you can lift safely at arm’s length, and keep a step stool in the garage.
12) Store Timber Upright on a Wall Rack
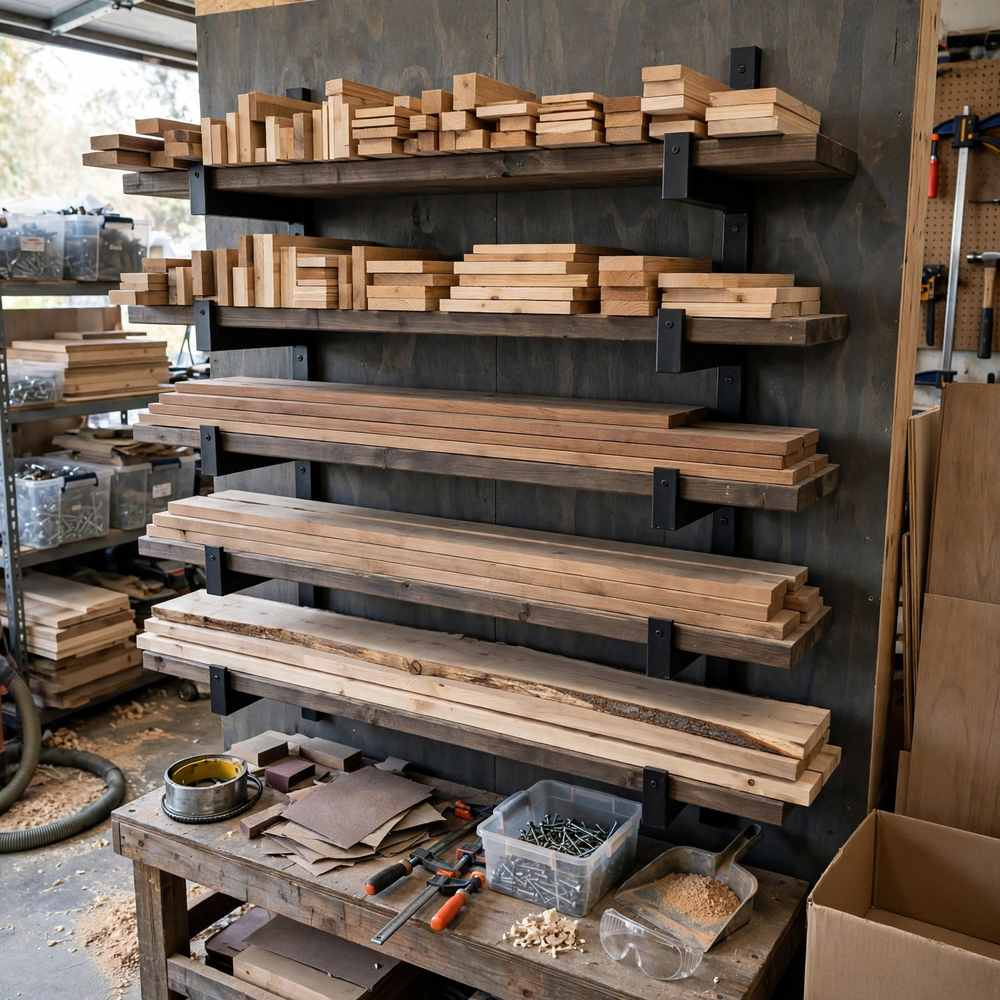
Boards leaned in a corner warp, get damp and fall on your ankles. A wall rack of strong horizontal arms fixed to the studs stores timber flat, dry and sorted by length, so you can see your stock before buying more.
Why it works:
- Flat storage stops boards bowing and twisting
- Timber stays off the cold, damp floor
- You can see what lengths you own
- It frees a surprising amount of floor
Tip: Slip thin spacers between valuable boards so air circulates and the timber stays stable.
13) Keep a Rolling Cart for Offcuts and Scrap Wood
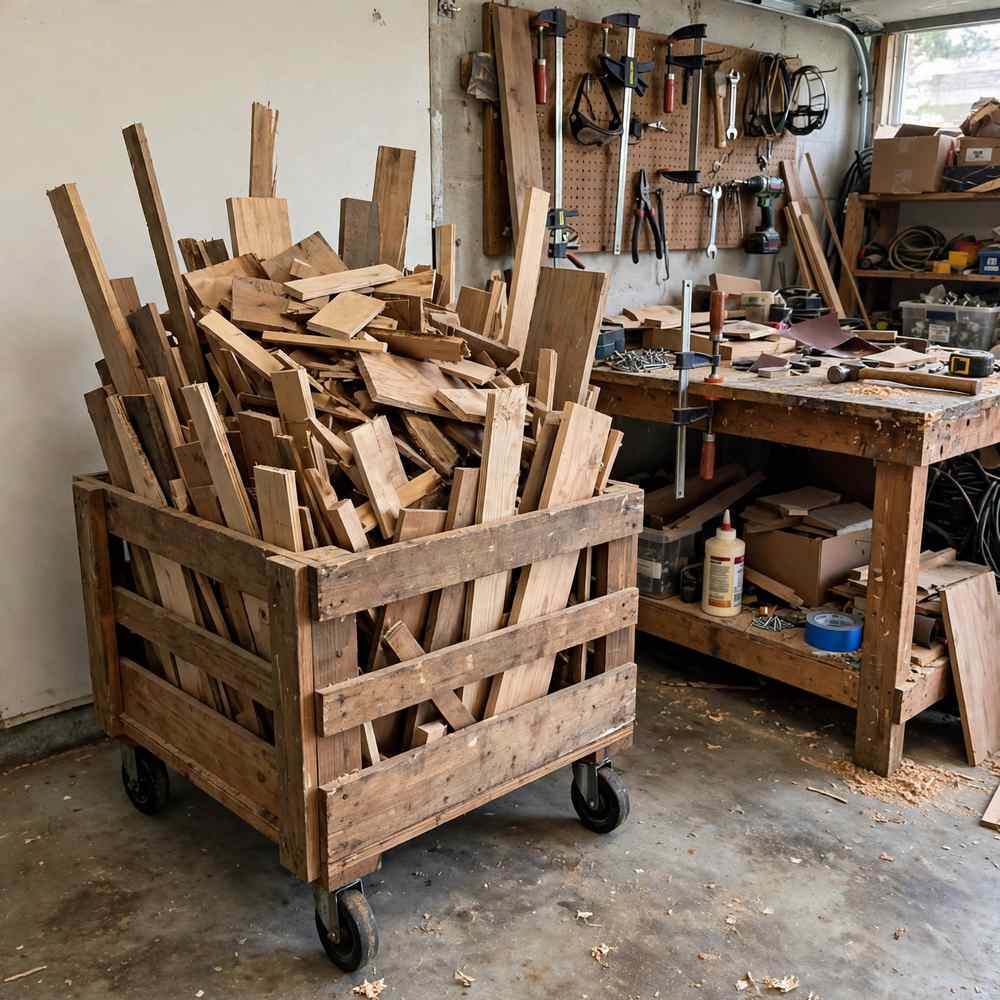
Every cut creates an offcut too good to burn and too homeless to keep. A rolling cart with a tall compartment for long pieces and a short bin for blocks rescues them all, and wheels to the bench when you need a test piece.
Best for:
- Short lengths that vanish into clutter
- Sheet offcuts, slid in flat at the side
- Jigs, templates and test pieces
- Keeping the saw area floor clear
Tip: Empty the cart ruthlessly once a year. An offcut untouched for twelve months has earned its place on the fire.
14) Set Up a Cordless Tool Charging Shelf
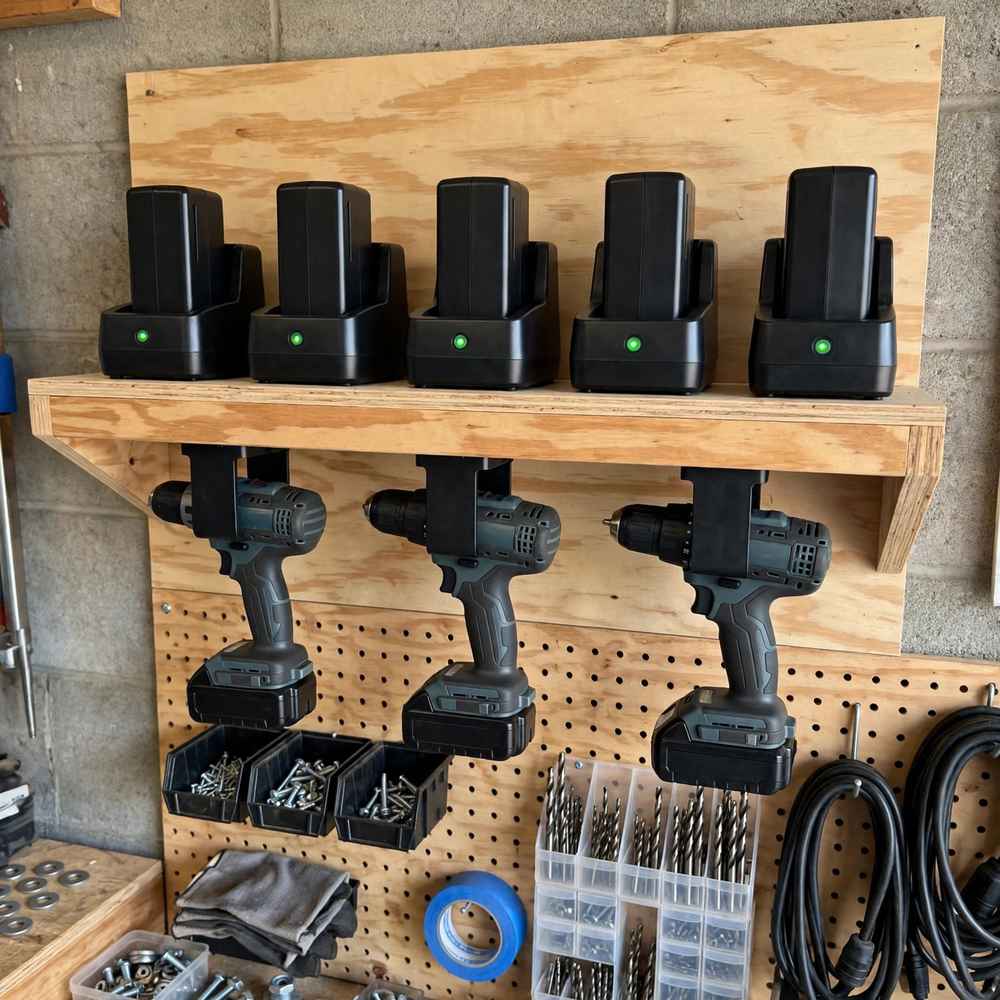
Give every charger and battery one home: a shelf with a single extension lead, chargers in a row, batteries docked and drills hanging underneath on simple holders. No more hunting for the one charged battery while your project waits.
Why it works:
- Flat-battery frustration almost disappears
- One switch turns every charger off
- Cables stay off the bench and dust
- You can see which battery is full
Tip: Fit the shelf near the door, so grabbing a drill for a quick indoor job takes seconds.
15) Connect a Workshop Vacuum for Dust Control
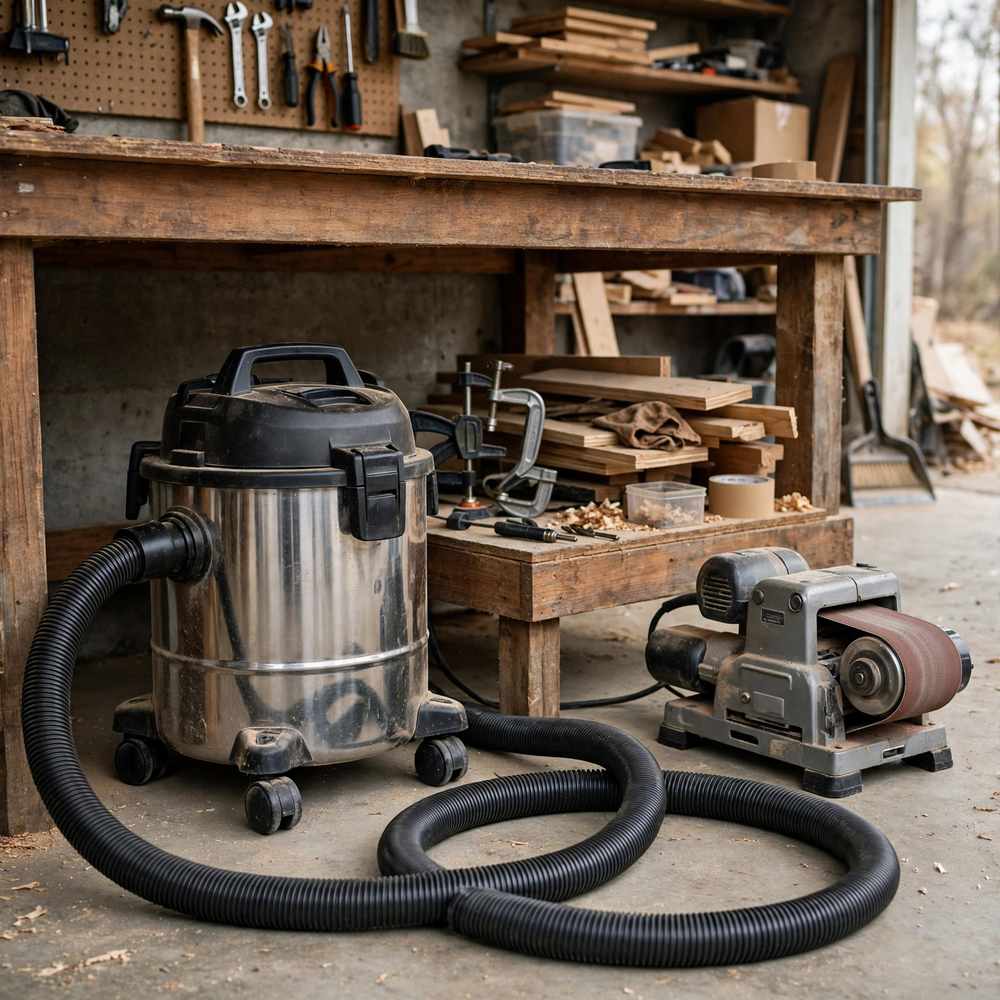
A tub-style workshop vacuum is the hardest-working upgrade on this list. Park it under the bench, connect the hose to your sander or saw, and most dust never reaches the air. Between jobs it cleans floors, worktops and even the car.
Best for:
- Sanders and saws that throw fine dust
- Anyone who finds dust hard on their chest
- Two-minute clean-ups that actually happen
- Keeping projects dust-free before painting
Tip: Choose a vacuum with a power take-off socket, so it starts and stops automatically with your tool.
16) Lay Interlocking Floor Tiles in the Work Zone
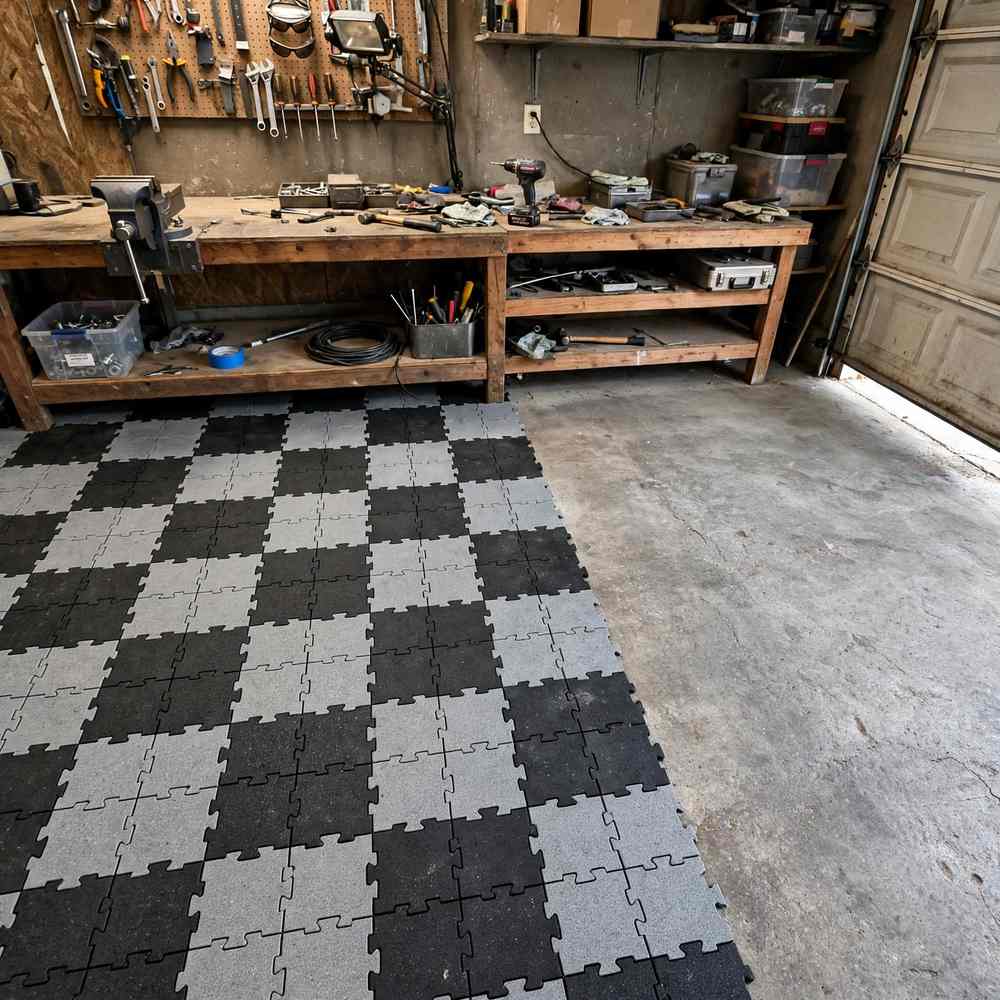
You do not need to tile the whole garage. A run of interlocking tiles in the work zone softens the concrete under your feet, warms the space in winter, and marks out “workshop” from “parking” without a word said.
Why it works:
- Kinder to knees, feet and dropped tools
- Hides stained, cracked concrete instantly
- Damaged tiles replace one at a time
- The zone makes the workshop feel deliberate
Tip: Start with the work zone only: half a garage of tiles costs half as much.
17) Fit Bright LED Batten Lights Over the Bench
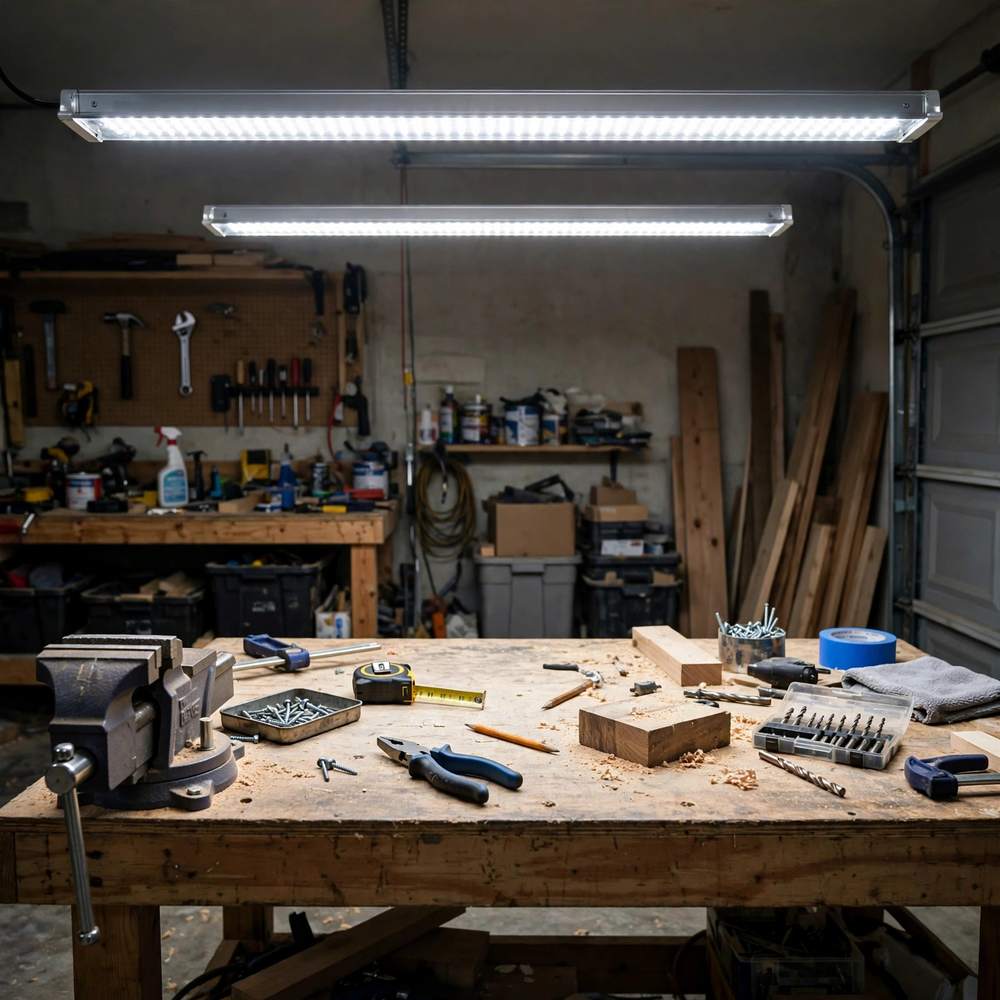
Most garages have one sad bulb in the middle, which puts your bench in your own shadow. Two LED battens over the workbench flood the surface with even light, and a daylight colour temperature makes pencil lines and finishes easier to judge.
Best for:
- Detail work: sanding, painting, assembly
- Gloomy garages with no bench window
- Low running costs versus old tubes
- Seeing true paint and stain colours
Tip: Add one small lamp on a flexible arm for close work; you will wonder how you managed without it.
18) Build Sawhorse Trestles for a Flexible Extra Bench
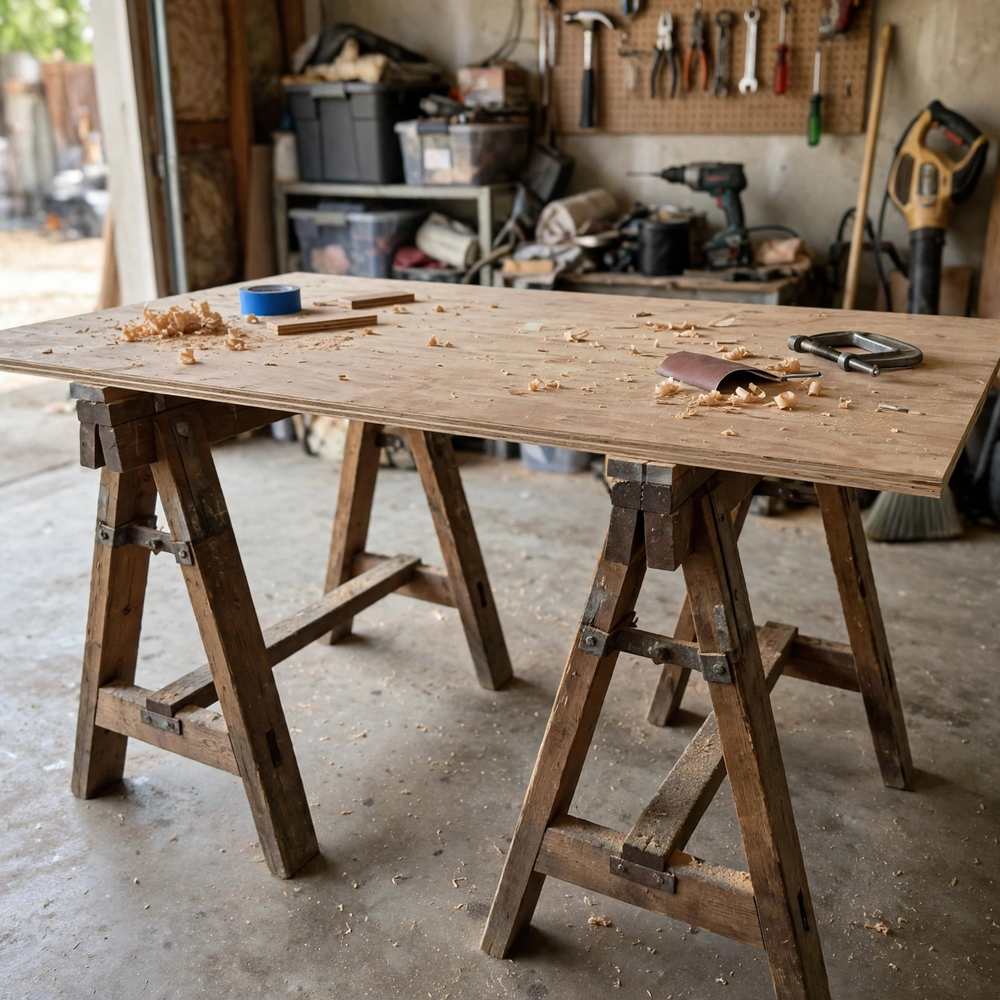
A pair of chunky sawhorses plus an old door or plywood sheet makes an instant second bench for big glue-ups, painting doors or breaking down sheet material. Afterwards the top leans on the wall and the horses stack in a corner.
How to build it:
- Build each horse from 4×2 with splayed legs
- Keep both horses exactly the same height
- Use a thick, flat top that cannot rock
- Add a lower shelf for tools mid-job
Tip: Screw a sacrificial sheet of thin plywood to the top, and saw cuts and glue drips stop mattering.
19) Paint Tool Outlines on a Shadow Board
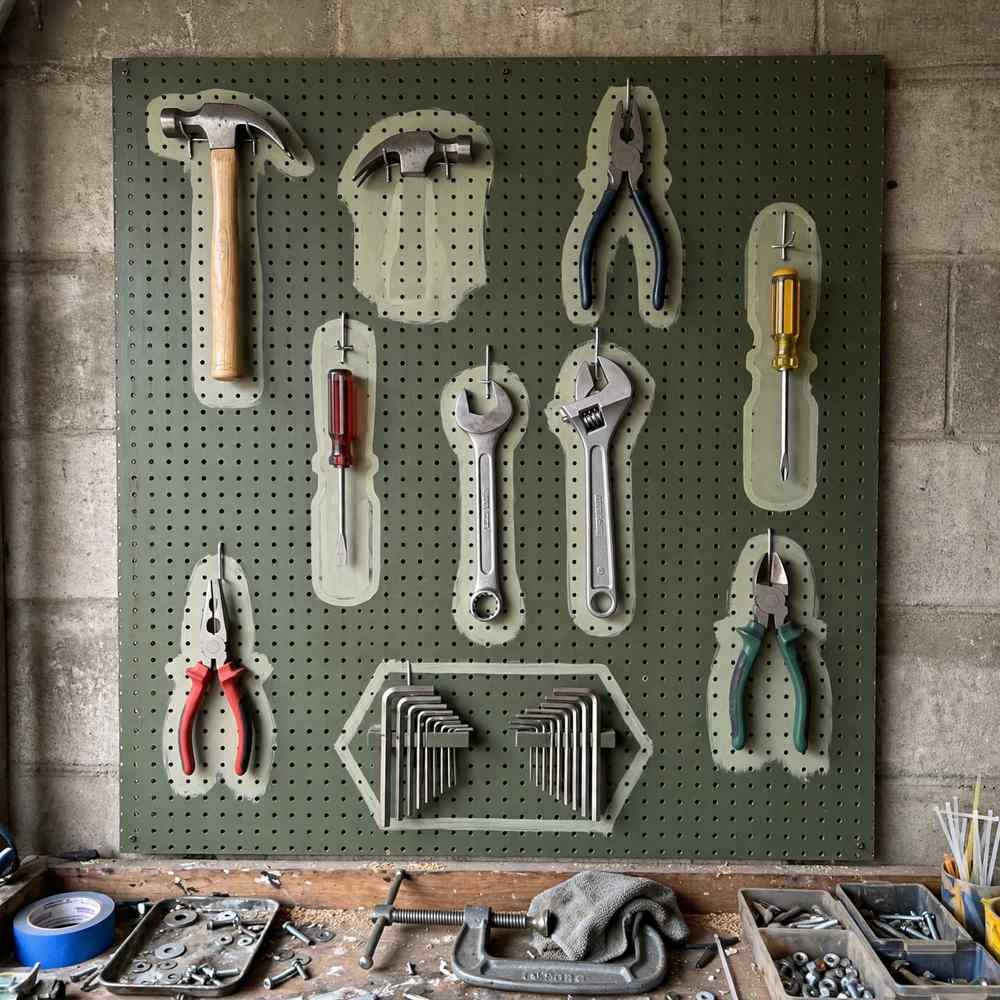
Paint the outline of each tool directly onto your pegboard, then hang every tool inside its silhouette. At tidy-up time a missing tool shouts from across the room, and anyone helping can see exactly where things belong.
Why it works:
- Two-minute tidy-ups: everything has a picture
- Gaps are obvious, so tools stop wandering
- Looks smart for the price of a paint pen
- Protects good tools from drawer damage
Tip: Outline in a pale colour on a darker board so silhouettes read clearly in garage light.
20) Create a Finishing Corner for Painting and Varnishing

Keep one corner as dust-free as you can for the pretty stage: a small table under a dust sheet, tins upright on a tray, brushes in jars and your best light on the work. A dedicated corner keeps sawdust out of wet varnish.
Best for:
- Furniture makeovers and upcycling projects
- Keeping finishes away from the sawdust zone
- Storing tins upright so lids seal
- Small paint jobs that skip the garden
Tip: Keep oily rags flat outdoors to dry, or in a lidded metal tin — never scrunched in a bin, where they can smoulder.
Workshop Safety Checks Worth Doing Once
A tidy workshop is a safer one, but a few one-off checks are worth an hour of any weekend. Work through them once and most need no attention again for years.
- Check sockets are RCD-protected; replace cracked extension leads
- Wear a proper dust mask for sanding and cutting
- Keep a fire extinguisher and first aid kit by the door
- Hang cables and hoses off the floor to avoid trips
- Store solvents and sharp tools high or locked away
Conclusion
A garage workshop is not built in a day, and it does not need to be. One solid bench, one honest tool wall and one shelf of labelled boxes will already make your next project faster, calmer and more enjoyable.
You do not have to try all 20 ideas at once. Start with the bench and the storage you reach for most, live with it for a few projects, and let the workshop grow around how you actually work.
So pick the idea that made you nod, clear a corner this weekend, and build it. Your future self — in a tidy workshop, tape measure exactly where it should be — will thank you.




More Stories
17 Inspiring Interior Design Quotes
16 Outdoor Christmas Decorating Ideas
18 DIY Landscape Design Ideas on a Budget