
Introduction
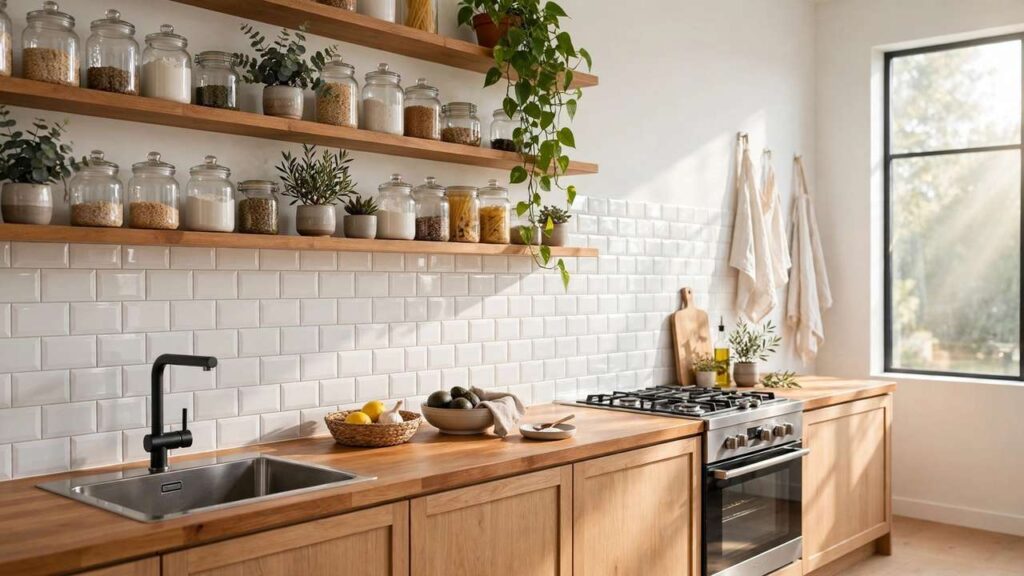
Your backsplash is one of the hardest-working surfaces in the kitchen. It catches every splash and splatter, yet in many homes it is still the same tired tiles or bare painted wall from the day you moved in.
The good news is that this is one of the easiest upgrades to do yourself. A backsplash covers a small area, so materials go a long way, and most of these projects need a free weekend, a few basic tools and a little patience. No tiler, no weeks of mess.
In this guide, you will find 18 DIY kitchen backsplash ideas on a budget, from peel-and-stick tiles and paint tricks to beadboard, brick slips and stencils. Each idea includes simple notes and a practical tip, and if you enjoy seasonal kitchen changes, our Halloween kitchen decor ideas show how much character one room can hold.
1) Peel-and-Stick Subway Tiles for an Instant Classic
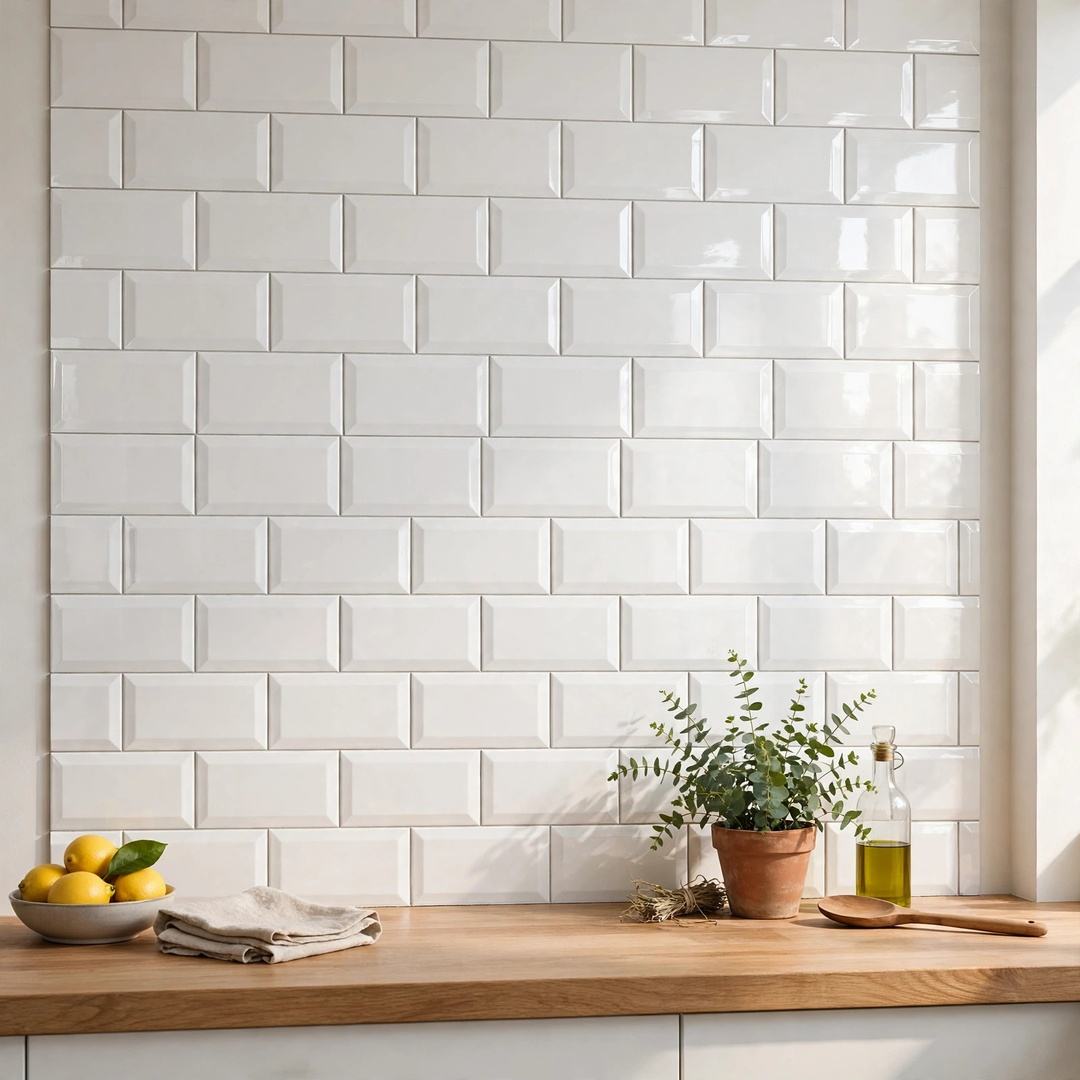
Peel-and-stick tiles give you the timeless look of real subway tiles without grout, tile cutters or adhesive mixing. Each sheet has a sticky backing, so you simply measure, peel and press it onto a clean, smooth wall.
They are lightweight, easy to trim with scissors or a craft knife, and forgiving if you need to lift and reposition one. Most wipe clean in seconds.
Why it works:
- No grout, no mess, no special tools
- Looks convincingly like real ceramic tile
- Easy to remove later if you rent or change your mind
Tip: Degrease the wall first and let it dry fully, because the adhesive grips far better on a clean surface.
2) Paint Your Existing Tiles a Fresh New Colour
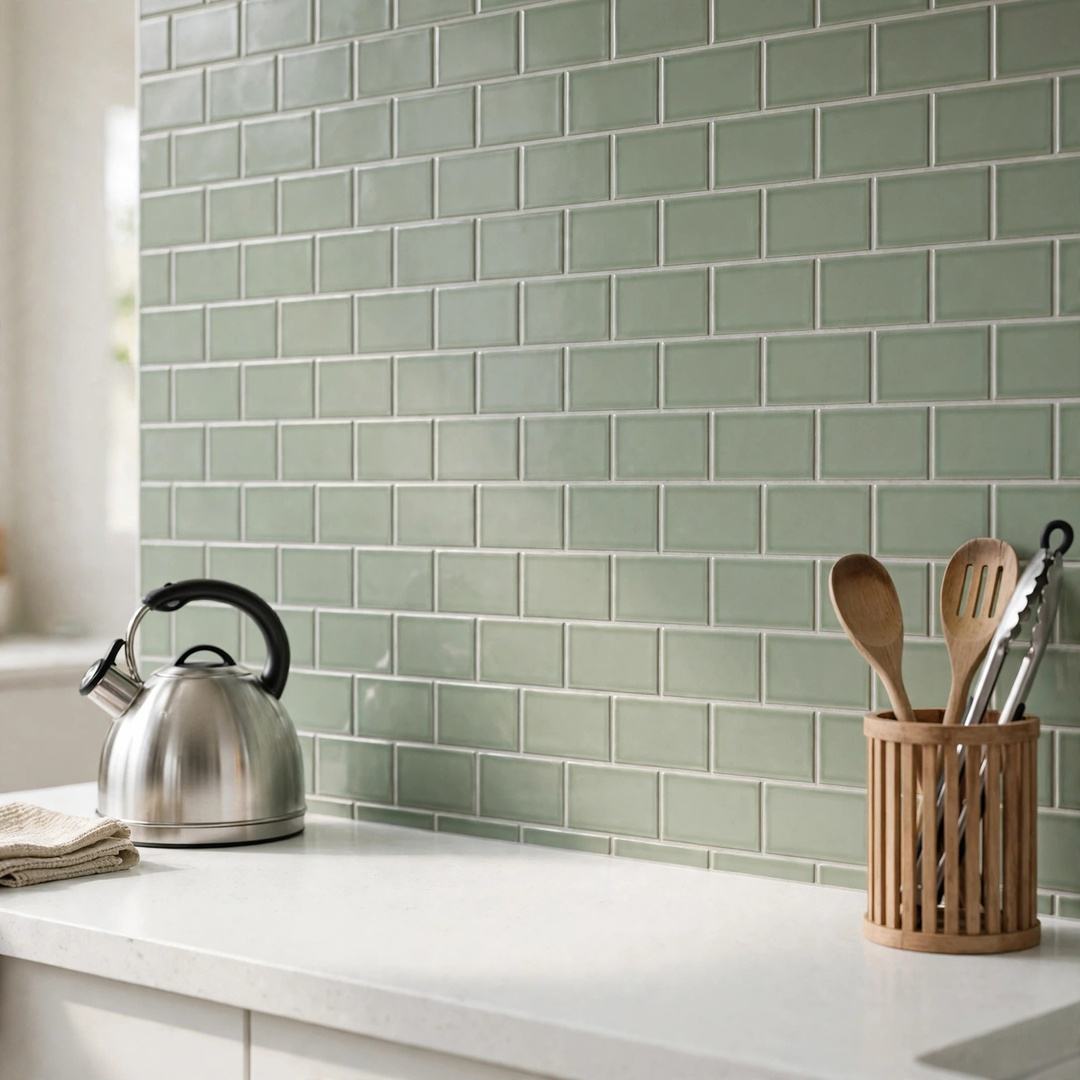
If your tiles are sound but the colour belongs to another decade, paint is your cheapest transformation. Tile paint and a good primer turn dated patterns into a calm, modern backdrop in one weekend.
Go soft and neutral for a quiet look, or be brave with sage green, dusty blue or warm terracotta. The grout lines still show through, so the wall keeps its tiled character in a colour you actually like.
Why it works:
- Uses the tiles you already own
- One tin covers a whole backsplash
- Completely changes the mood of the room
Tip: Lightly sand glossy tiles and use the primer made for tiles, so the paint bonds properly and survives steam and wiping.
3) Beadboard Panels for Cottage Charm
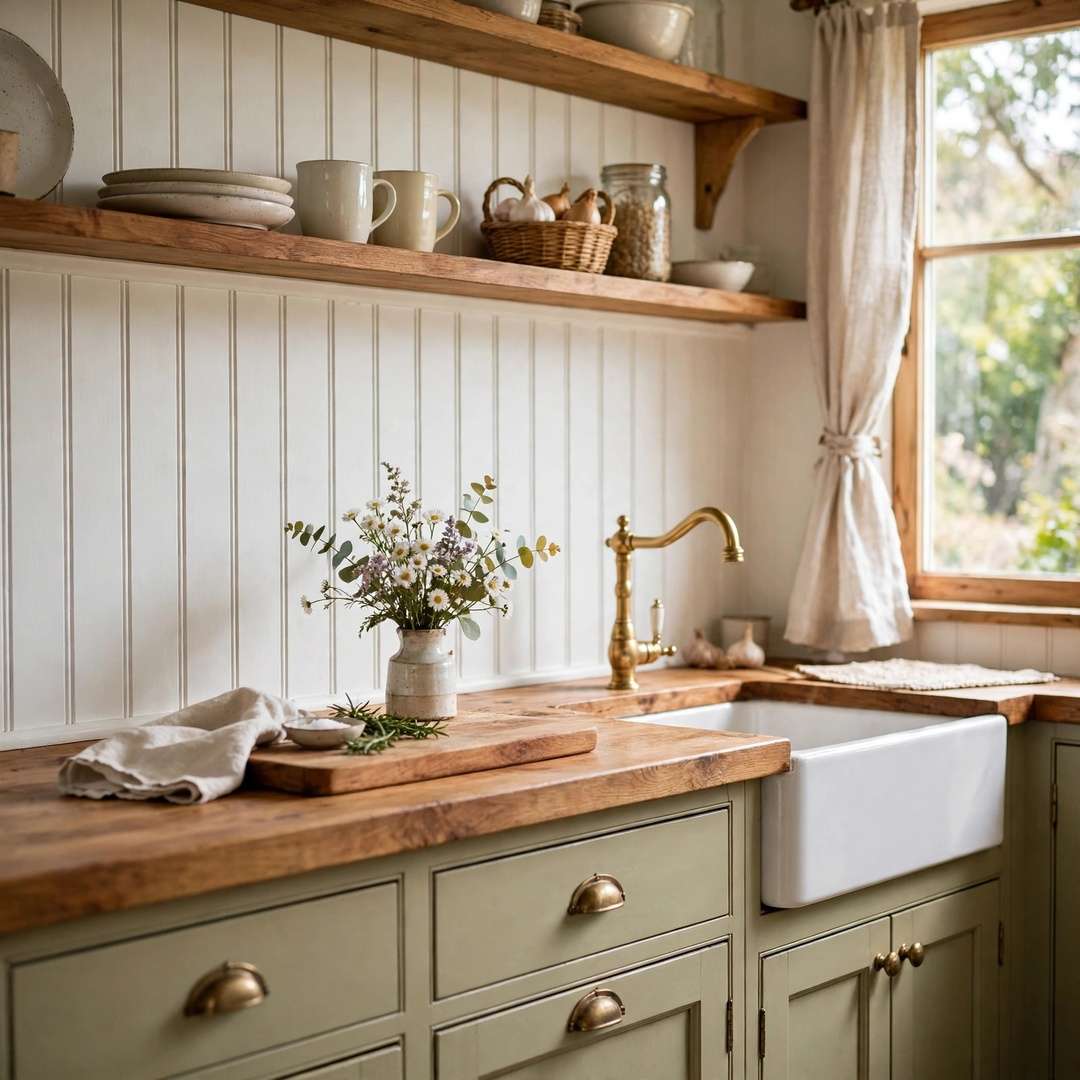
Beadboard panels bring instant cottage character to a plain kitchen. The large sheets are cut to size, fixed to the wall and painted any colour, so a whole backsplash takes an afternoon, not a week.
Painted white it feels fresh and farmhouse-like; in deep green or navy it turns surprisingly smart beside wood worktops and open shelves.
Why homeowners love it:
- Large sheets cover the wall quickly
- Hides small bumps and uneven plaster
- Easy to repaint when you fancy a change
Tip: Seal the top edge and the joins around the sink with a bead of kitchen sealant, so splashes cannot creep behind the panel.
4) Peel-and-Stick Mosaic Sheets for a Designer Look
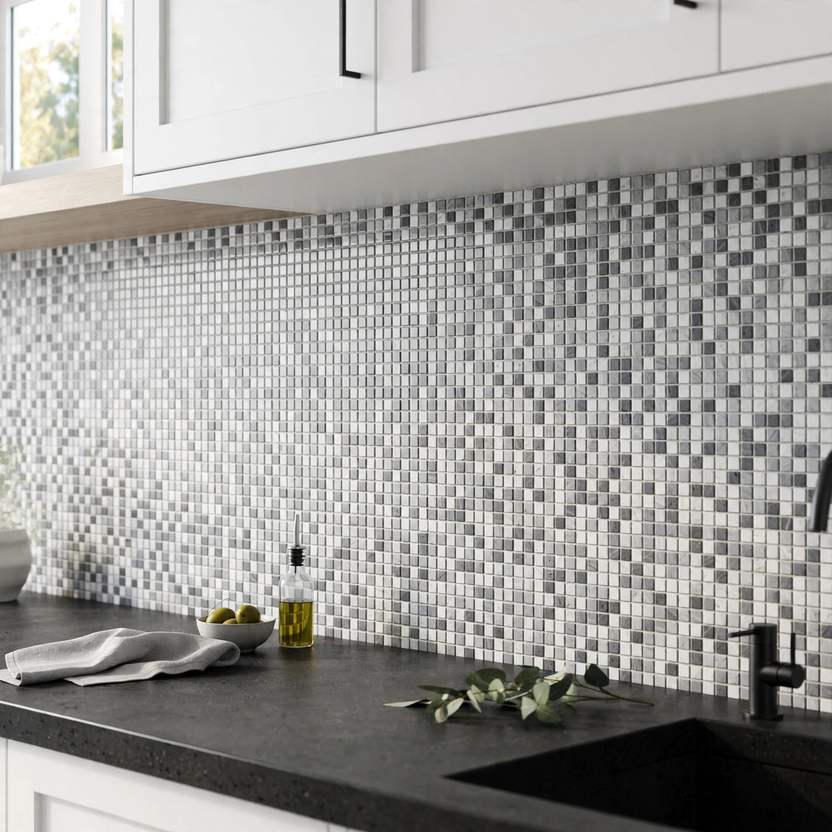
Mosaic tiles usually mean fiddly pieces and hours of grouting. Peel-and-stick mosaic sheets skip all of that, giving you the same detailed pattern in large flexible sheets you stick straight onto the wall.
Hexagons, tiny squares and marble effects all come in this format. The small pattern disguises slightly uneven walls and makes a small kitchen feel carefully designed.
Best for:
- Small kitchens that need fine detail
- Walls that are not perfectly flat
- A high-end look without the tiler’s bill
Tip: Start from the most visible corner and work outwards, so any cut edges end up in the least noticeable places.
5) A Stencilled Tile Pattern Over Paint
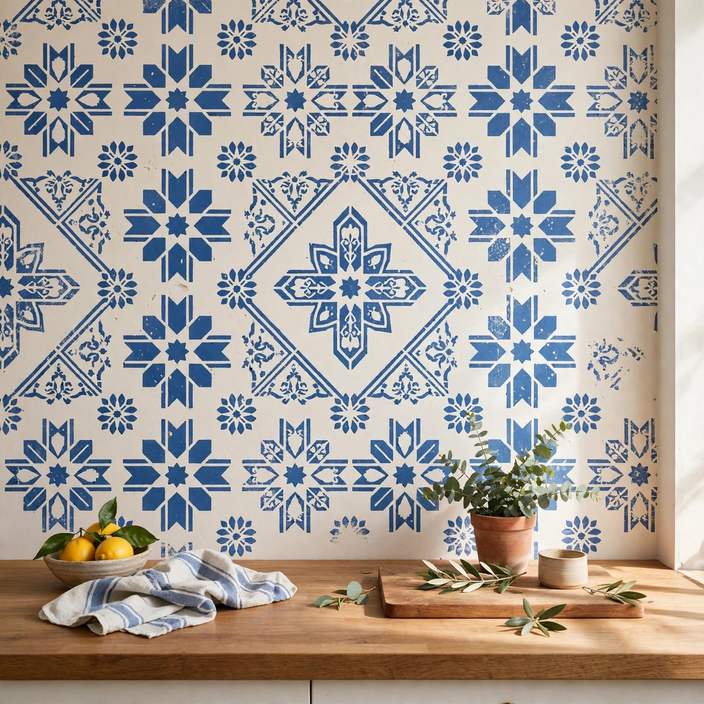
A tile stencil and two colours of paint can fake a whole wall of patterned tiles for very little. Paint the base colour first, then stencil the design over it, square by square, until the wall reads as encaustic-style tiles.
Mediterranean blues, soft greys and terracotta all work well. Because it is only paint, you can cover a whole wall or stencil just the strip behind the cooker as a feature.
Why it works:
- Patterned tile effect for the price of paint
- Works on plaster, wood or old tiles
- Easy to paint over when styles change
Tip: Use a stencil brush with very little paint on it and dab rather than brush, so paint does not bleed under the edges.
6) Reclaimed Wood Planks for Rustic Warmth
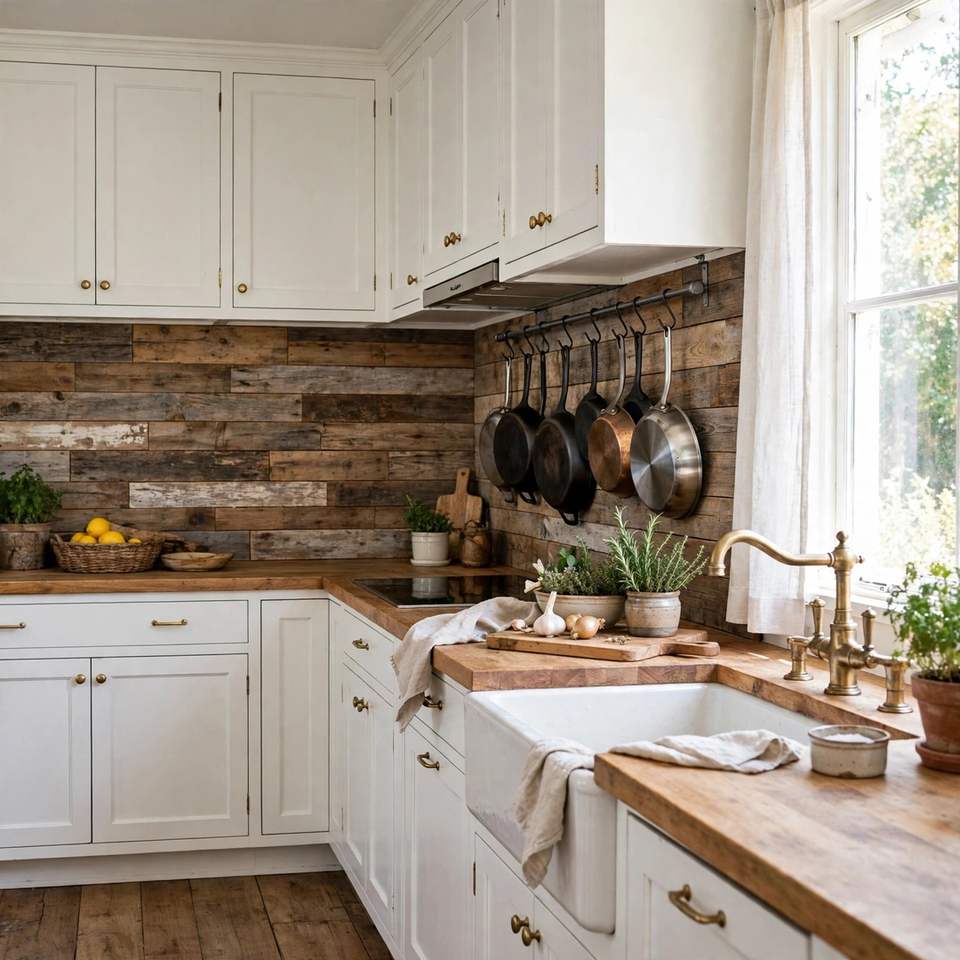
Old scaffolding boards, pallet wood or leftover floorboards can become a warm, characterful backsplash. Sand them smooth, fix them horizontally or in a herringbone, then seal well against splashes.
Every plank carries its own knots and grain, so no two walls look the same. Wood suits farmhouse, Scandi and industrial kitchens, and softens a room of hard, shiny surfaces.
How to style it:
- Pair with white cabinets for contrast
- Add black handles and taps for an industrial edge
- Keep shelves minimal so the grain is the star
Tip: Keep wood behind the sink and worktop only, and fit a heat-safe panel behind the hob, because timber and high heat do not mix.
7) Pressed Tin Tiles for Vintage Character
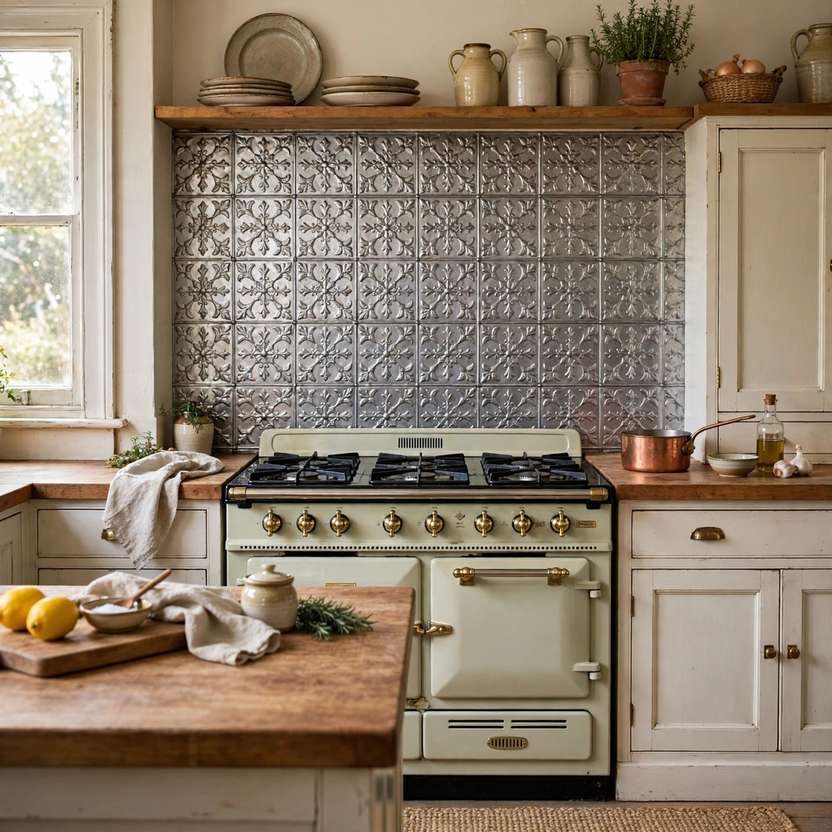
Pressed tin tiles have decorated kitchens for over a century, and modern versions are light, affordable and simple to fit with adhesive. Their raised patterns catch the light and add texture flat tiles cannot match.
Leave them silvery for a classic look, or paint them to match your cabinets for a subtle tone-on-tone effect. They are heat resistant, too, so they work well behind a cooker.
Why homeowners love it:
- Beautiful raised patterns with real depth
- Light sheets are easy to cut and fix
- Heat resistant and simple to wipe clean
Tip: Wear gloves when cutting tin tiles, because trimmed edges can be sharp until fitted and sealed.
8) Brick Slips for an Industrial Edge
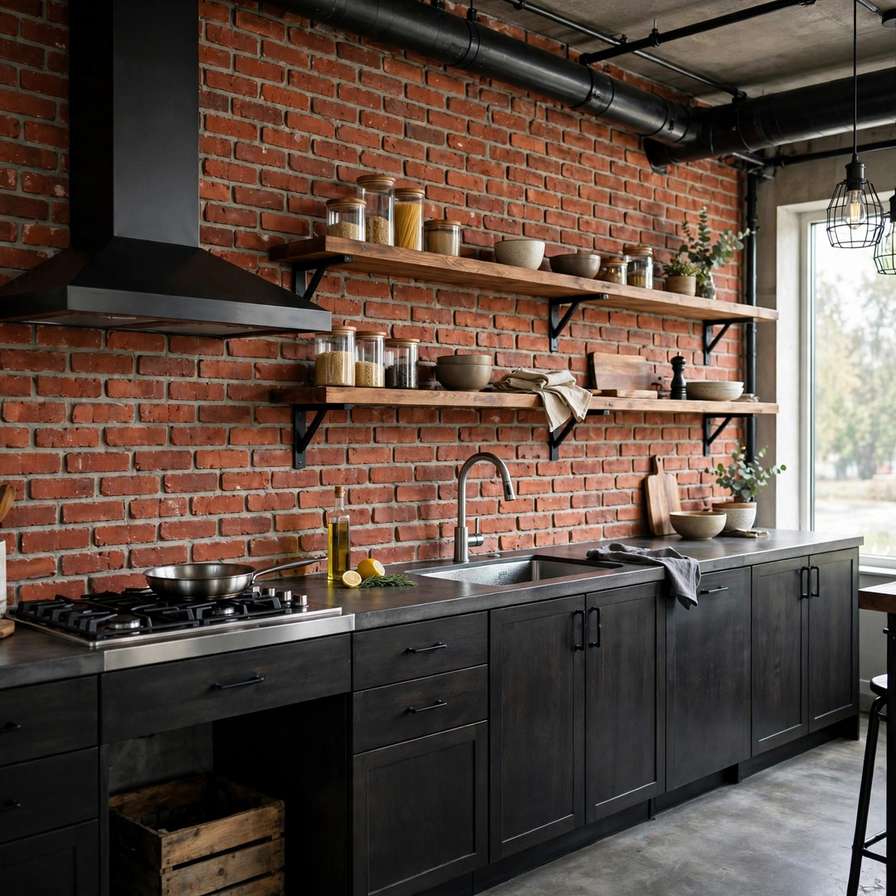
Brick slips are thin slices of real brick that stick to the wall like tiles, giving you the exposed-brick look without building a wall or losing inches of your kitchen.
They suit loft-style and industrial kitchens, but with pale mortar and light cabinets they work in country homes too. A clear matt sealer makes the surface far easier to keep clean.
Why it works:
- Genuine brick texture in a slim profile
- Instant warmth and character
- Pairs with wood, black metal and concrete tones
Tip: Butter each slip with adhesive and keep joints a consistent width using tile spacers, just as with ordinary tiles.
9) Chalkboard Paint for a Family Message Wall
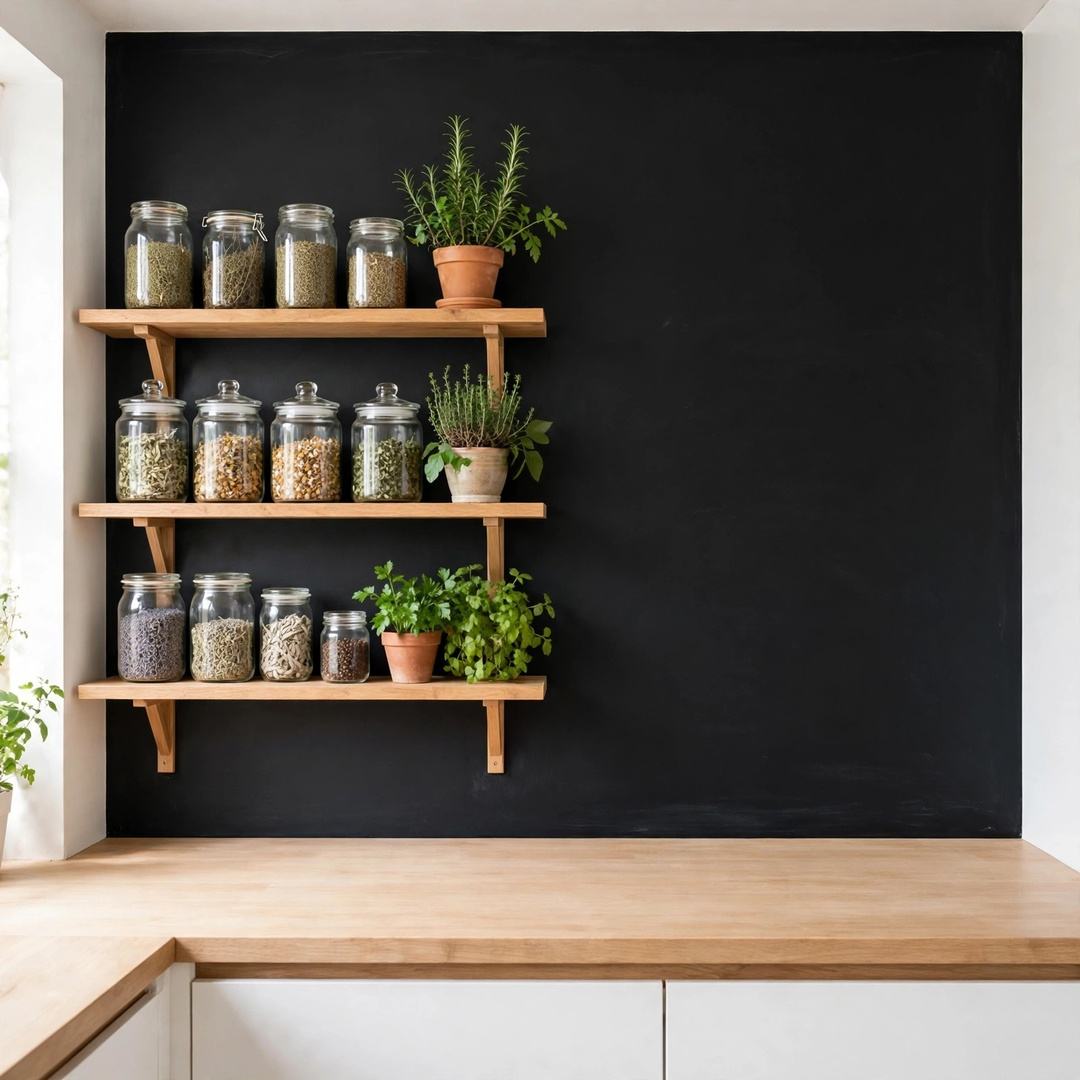
A coat or two of chalkboard paint turns your backsplash into the family noticeboard. Shopping lists, menus and reminders live where everyone can see them, then wipe away clean.
The deep matt black looks striking against pale cabinets and wooden worktops, and it is one of the quickest projects on this list.
Best for:
- Busy family kitchens
- Dark, dramatic contrast on a tiny budget
- Renters who need an easily reversed change
Tip: Season a new chalkboard surface by rubbing chalk over the whole area and wiping it off, so your first writing does not leave ghost marks.
10) Laminate Sheets That Mimic Marble and Stone
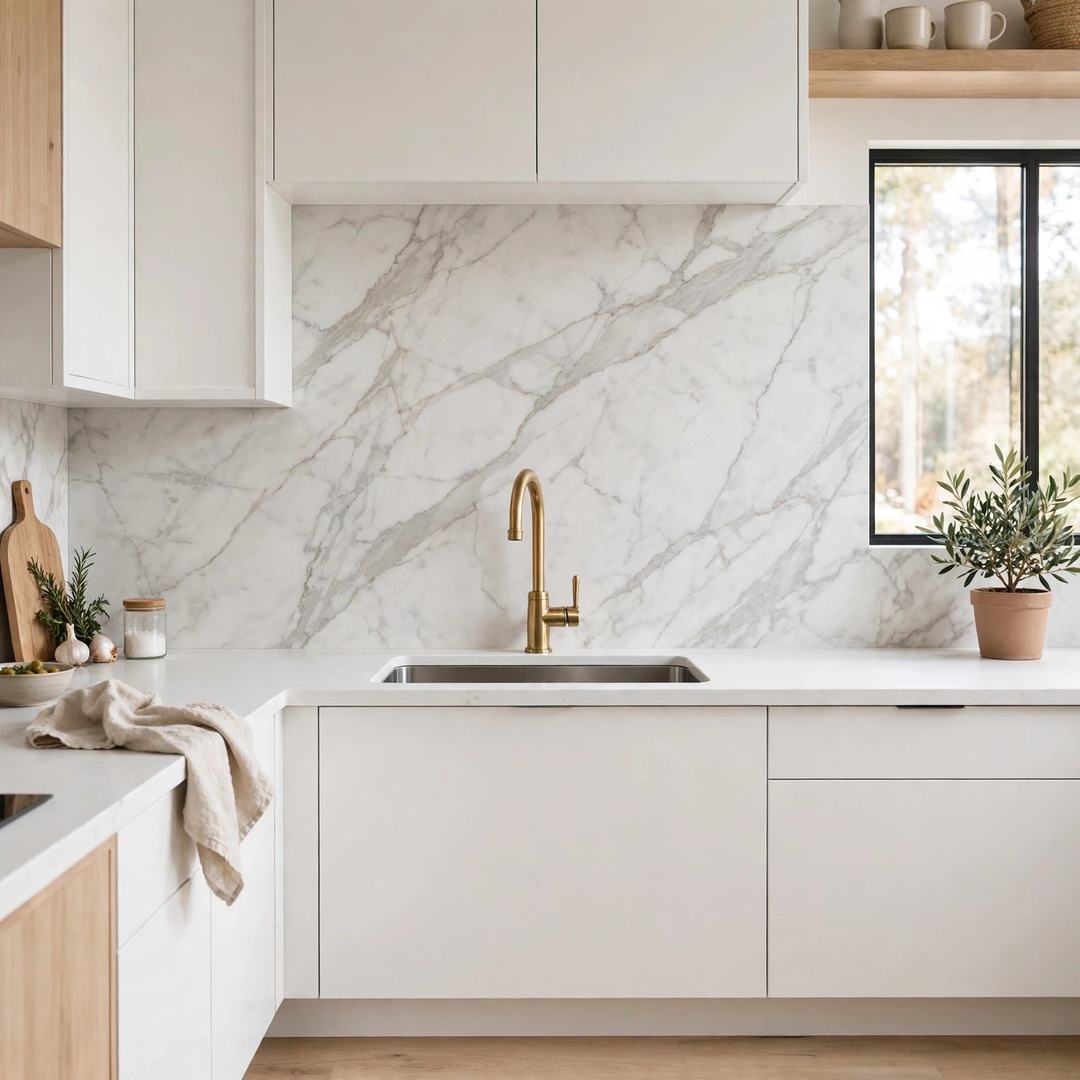
A single laminate sheet can cover your whole backsplash with no joins, no grout lines and no tiles at all. Modern designs mimic marble, terrazzo and stone so convincingly that guests rarely guess.
Sheets are cut to size, fixed with adhesive and sealed at the edges. The smooth surface is hygienic and wipes clean in seconds.
Why it works:
- One smooth sheet, zero grout to scrub
- Stone looks without stone prices or weight
- Very quick to fit in a day
Tip: Measure twice and cut once, and scribe carefully around sockets, because there is no grout line to hide a wobbly edge.
11) A Stainless Steel Sheet Behind the Hob
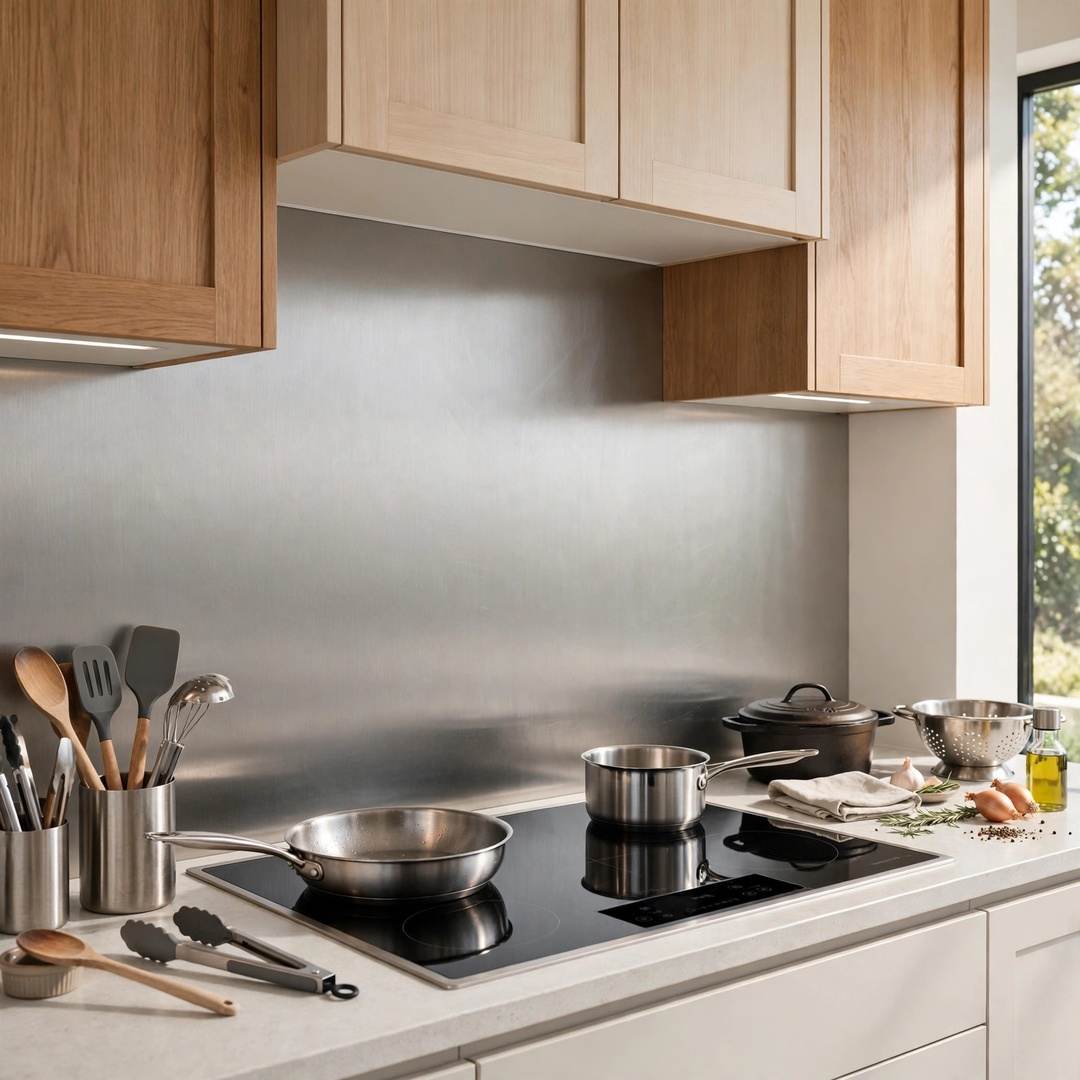
Professional kitchens use stainless steel for a reason: it shrugs off heat, splashes and staining, and wipes spotless in seconds. One brushed steel sheet behind your hob brings that chef-like feel home.
You do not need to cover the whole wall. One panel behind the cooker, with painted walls or simple tiles either side, looks deliberate and smart.
Why homeowners love it:
- Fully heat resistant and hygienic
- Reflects light into a dark cooking corner
- Ages gracefully and never dates
Tip: Choose a brushed rather than polished finish, because it hides fingerprints and marks far better.
12) Cork Tiles for a Warm, Natural Finish
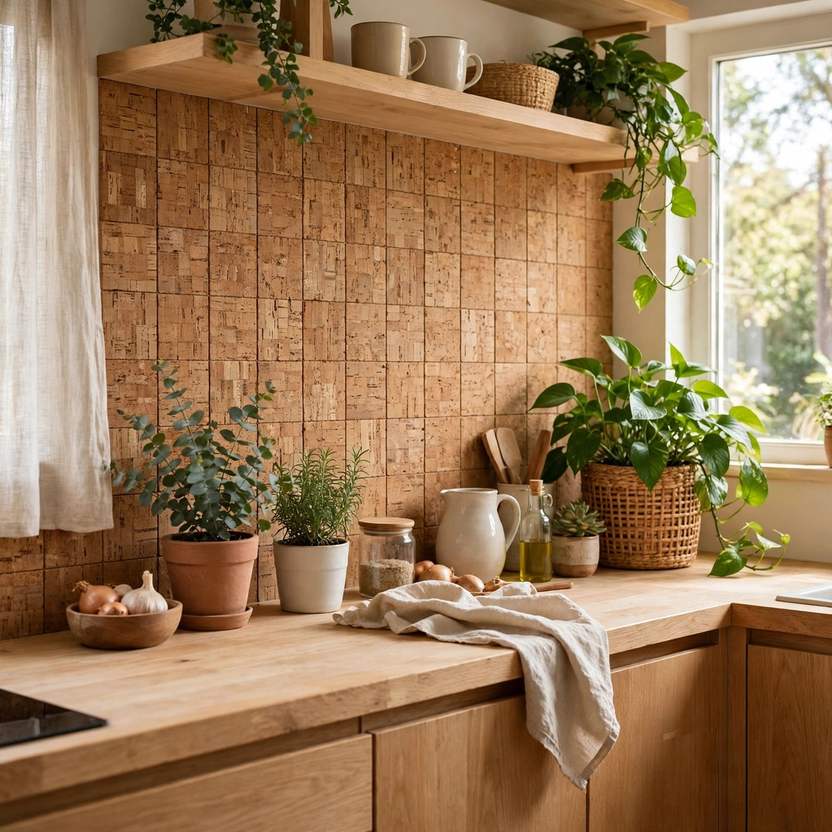
Cork tiles bring a soft, natural texture few other materials can offer. They are light, easy to cut with a craft knife, naturally resistant to mould, and add gentle warmth to plant-filled, relaxed kitchens.
Sealed with a clear varnish, cork stands up well to everyday splashes, and its speckled, earthy tones hide marks kindly.
How to style it:
- Team with light wood and white for a Scandi feel
- Add green plants to echo the natural texture
- Use black accessories for gentle contrast
Tip: Keep cork for sink and prep areas rather than behind the hob, and seal it with two coats of varnish.
13) Patterned Vinyl Tiles, Cut to Fit
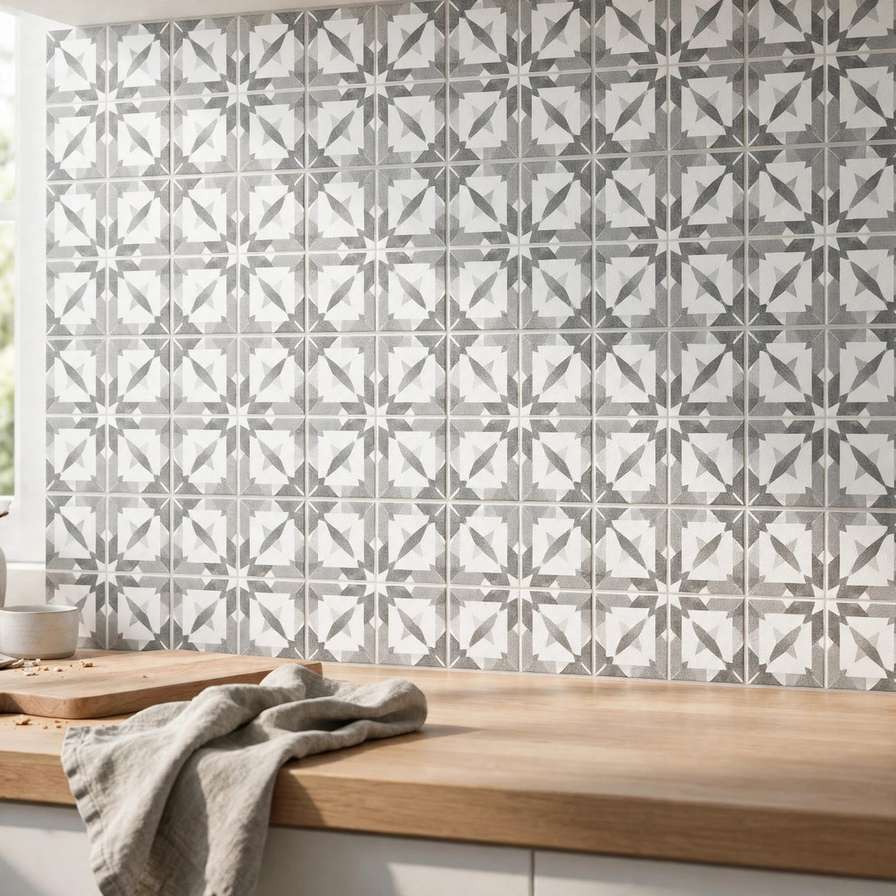
Vinyl tiles made for floors are tougher than most people realise, and used on the wall they make a brilliantly cheap patterned backsplash. They are waterproof, easy to cut, and come in endless designs.
Because each tile is separate, you can mix two colours in a checkerboard, or simply cover the strip behind the sink and cooker where protection matters most.
Why it works:
- Very low cost per square metre
- Waterproof and wipeable
- Endless patterns to mix and match
Tip: Add a line of clear sealant along the top edge, so steam and splashes cannot lift the tiles.
14) Painted Faux Subway Tiles with a Grout Pen Finish
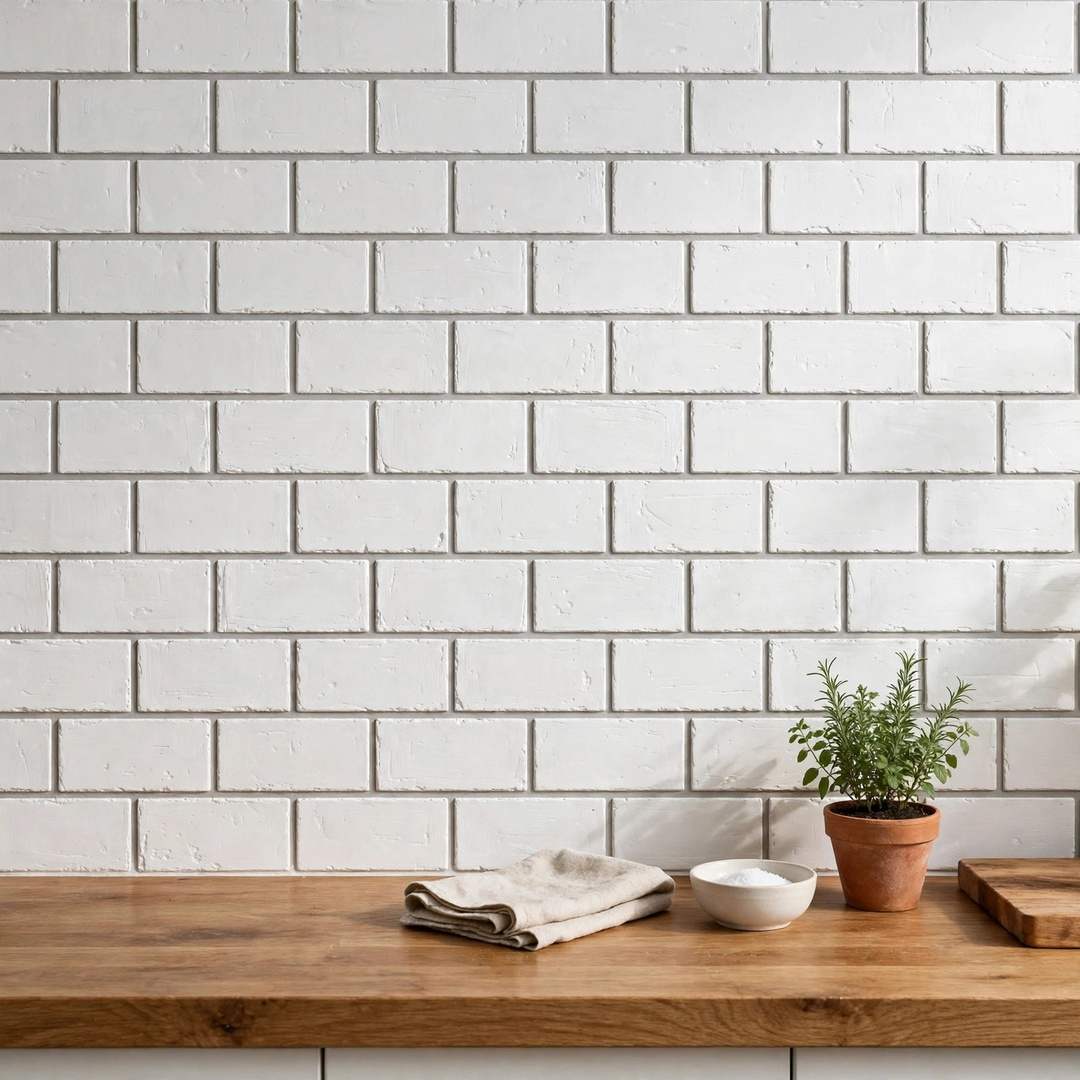
This is the thriftiest trick on the list. Paint the wall in your tile colour, mark out a brick pattern with painter’s tape, then draw in the grout lines with a grout pen in a soft grey.
From standing distance the effect is surprisingly convincing, especially in a matt finish that mimics ceramic. Mistakes are just paint, and touch up in minutes.
Best for:
- The very tightest budgets
- Practising your layout before real tiles
- Small strips behind a sink
Tip: Keep your lines very slightly imperfect rather than laser straight, because real hand-laid tiles have the same gentle irregularity.
15) Painted Shiplap for a Relaxed Farmhouse Feel
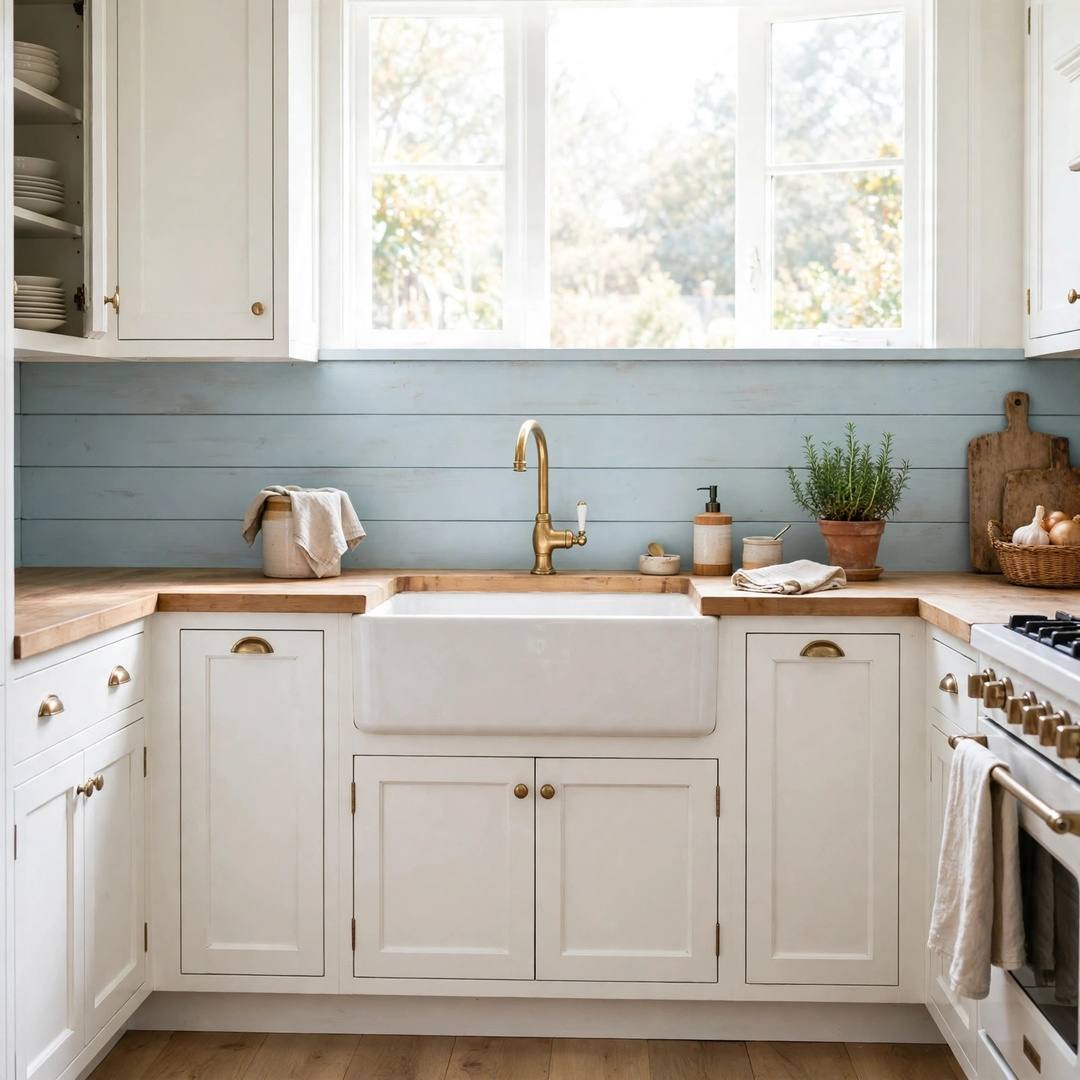
Shiplap boards run horizontally with a small shadow gap between each one, giving clean lines and a relaxed farmhouse feel. They are widely available, simple to cut and fix straight onto the wall.
Painted to match your cabinets, shiplap looks built-in and calm. In a contrasting colour it becomes a feature behind open shelves.
Why homeowners love it:
- Straightforward boards, quick to fit
- Lines add interest without pattern
- Easy to repaint for a whole new look
Tip: Fit boards behind the sink and worktop, use a heat-safe panel behind the hob, and seal every gap edge against splashes.
16) Wallpaper Protected by a Clear Panel
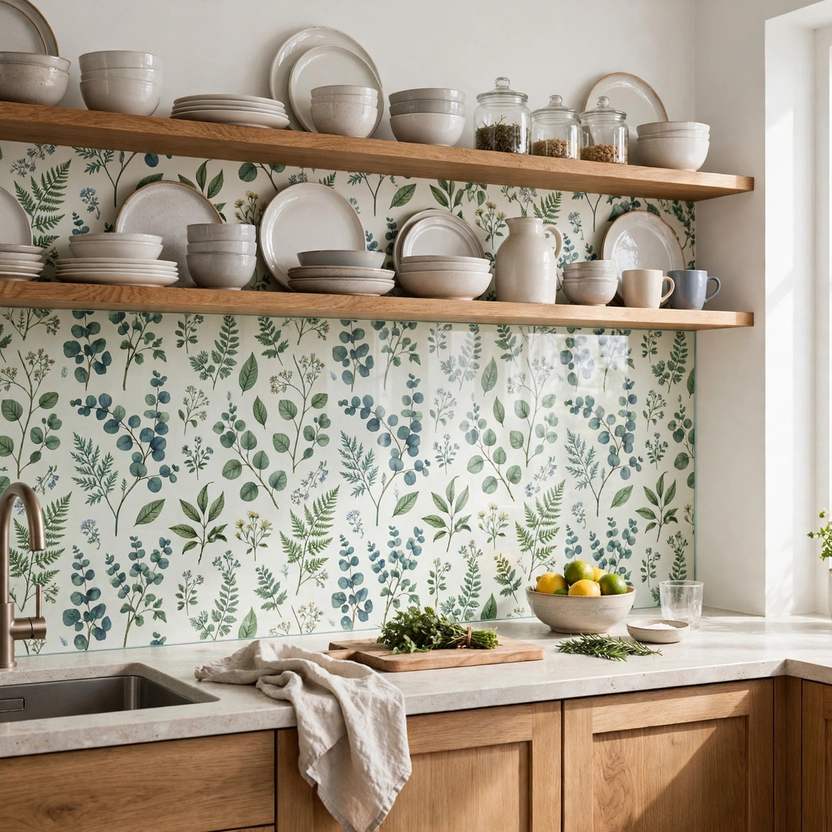
Wallpaper offers more pattern choice than any tile catalogue, and a single roll is often enough for a backsplash. The trick is protection: a clear acrylic or glass panel fixed over the paper keeps steam and splashes away.
Botanical prints, gentle geometrics and vintage florals all shine behind glass. When you tire of the pattern, swapping the paper is an easy afternoon job.
Why it works:
- Unlimited patterns, tiny cost
- Smooth glass-like surface wipes clean
- Simple to refresh whenever you like
Tip: Use this away from direct hob heat, and seal the panel edges so no moisture can creep behind it.
17) A Patchwork of Leftover and Sample Tiles
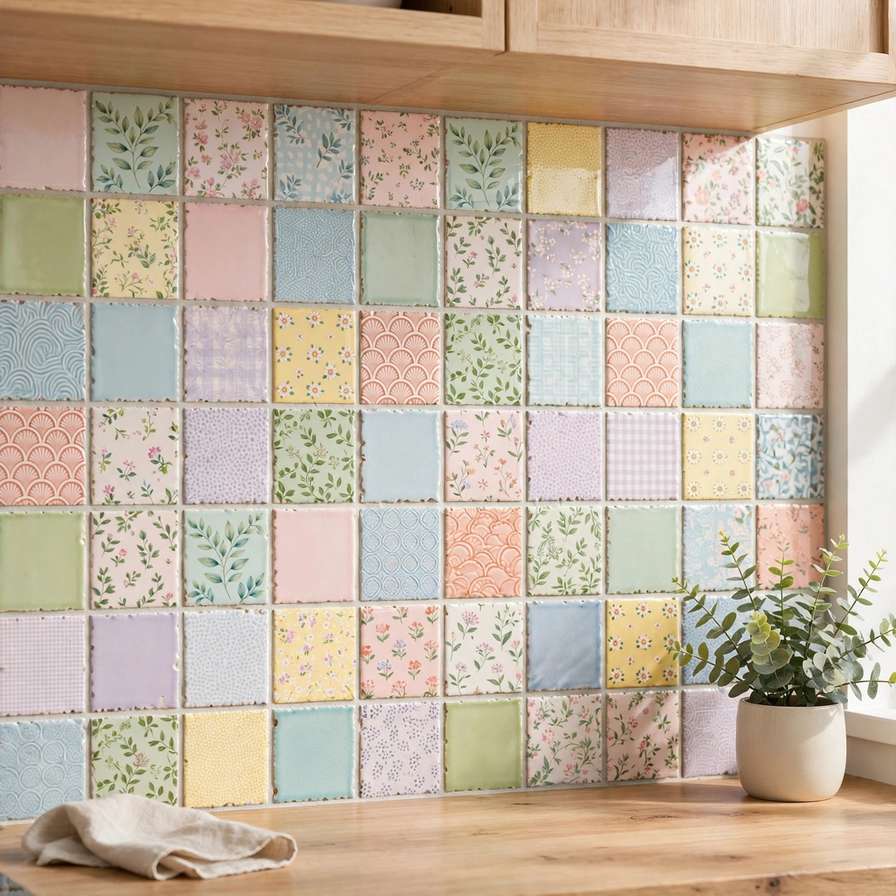
Sample tiles, end-of-line bargains and leftovers can combine into a joyful patchwork backsplash. Keep the tiles the same thickness and size, vary the colours gently, and one wall becomes completely your own.
A limited palette keeps it designed rather than random: soft pastels, sea-glass blues, or warm neutrals with one accent colour. A plain grout ties the mix together.
How to style it:
- Stick to three or four colours at most
- Lay the whole design out on the table first
- Let one calm grout colour unify the mix
Tip: Buy a few spare tiles in each colour before you start, because patchwork projects always need one more of the shade you ran out of.
18) A Painted Glass or Acrylic Panel for a Sleek Finish
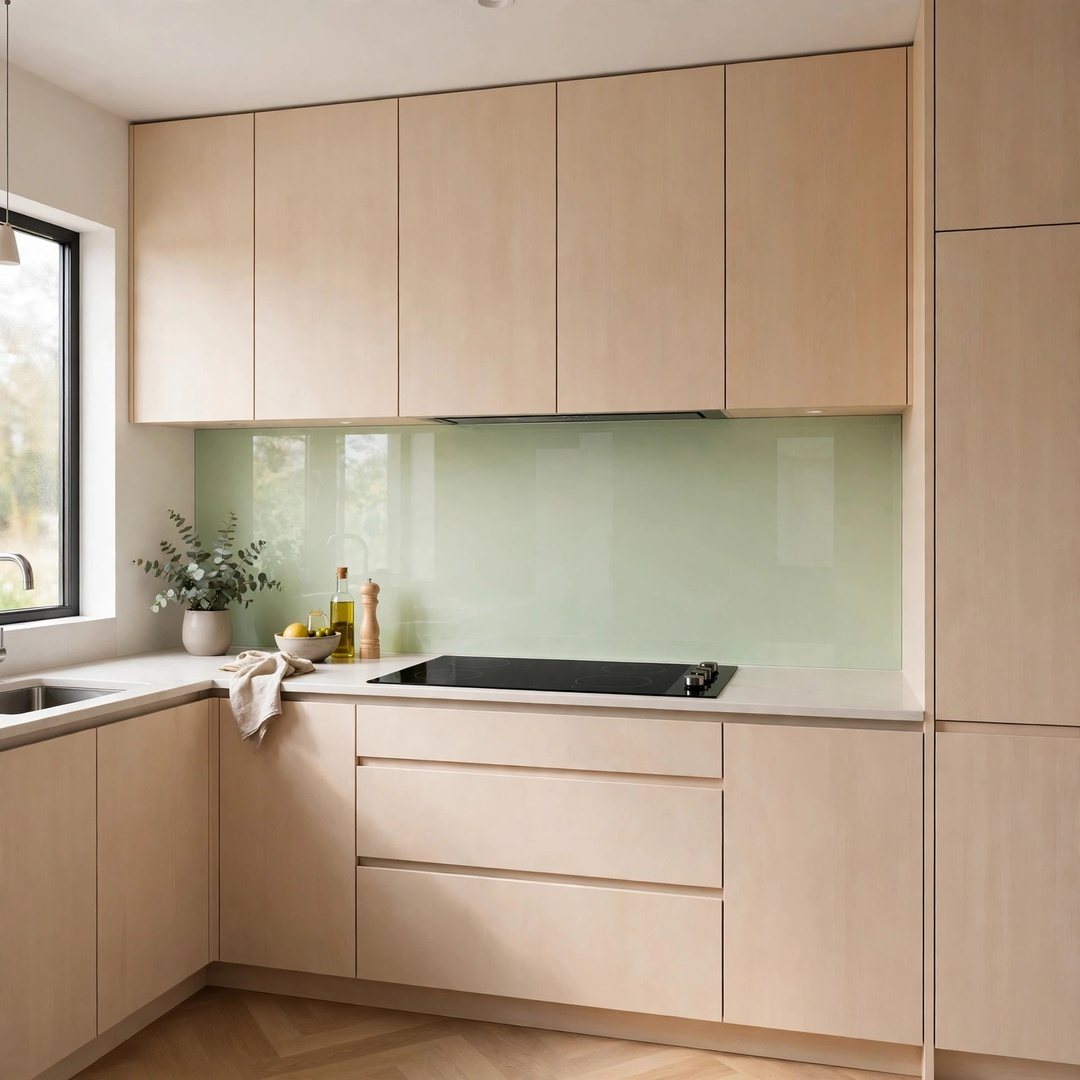
A single glass or acrylic panel gives the smoothest, most modern backsplash of all. Acrylic is the budget-friendly option: light, cuttable at home with care, and available in glossy colours that bounce light around the room.
Paint the back of a clear acrylic sheet before fitting, and the colour shows through with a deep, glassy shine. Behind a hob, choose a heat-rated panel or toughened glass.
Why it works:
- One smooth surface with no joins at all
- Deep glossy colour that reflects light
- Fits neatly in awkward small spaces
Tip: Order or cut the panel slightly smaller than the space and hide the small gap with matching sealant, so fitting stays stress-free.
How to Choose the Best Budget Backsplash for Your Kitchen
Start by looking honestly at your wall and your cooking. A smooth, flat wall near the sink suits peel-and-stick tiles, paint tricks and panels. Behind the hob you need a heat-safe surface such as steel, tin or toughened glass, whatever the rest of the wall wears. Guides from This Old House are a helpful place to check fitting basics before you begin.
Then think about how you live. If you cook daily, smooth laminate, steel and glass will make life easiest. If your kitchen is about slow weekends and display, beadboard, cork and reclaimed wood bring texture and warmth. And if you like changing things with the seasons, pair your new backsplash with simple styling swaps like the trays in our fall tray decor ideas, which refresh a worktop in minutes.
Conclusion
A backsplash is a small strip of wall, but it sits at eye level in the room you use most, so changing it changes how the whole kitchen feels. Paint, panels, stick-on tiles and clever sheets can all do the job without a big spend.
You do not have to try all 18 ideas at once. Start with one wall, one material and one free weekend, and notice how much fresher the room feels every time you walk in to make tea.
So pick the idea that made you pause, measure your wall, and give it a go. Your kitchen is closer to the one in your head than you think, and it starts with that one overlooked strip of wall.




More Stories
20 Affordable Christmas Decorations for Home
17 Cozy Bedroom Rule of Three Ideas
19 Beautiful Kitchen Lighting Design Ideas