
Introduction
Wiring a light switch might seem intimidating, especially if you’re new to electrical work. But with the right tools, clear instructions, and a bit of caution, it’s a manageable DIY project for most homeowners.
Whether you’re replacing an old switch or installing a new one, this guide will walk you through the process of how to wire a light switch in a safe and straightforward way. By the end, you’ll feel confident tackling this home improvement task.
This article breaks down every step, from gathering tools to testing your work, using simple language and practical tips. Let’s dive in!
Why Learn to Wire a Light Switch?

Before we get into the nitty-gritty, let’s talk about why wiring a light switch is a valuable skill. According to the U.S. Bureau of Labor Statistics, home improvement projects surged by 17% from 2019 to 2023, with many homeowners opting for DIY solutions to save money. Wiring a light switch is one of those tasks that can save you $100–$200 in electrician fees for a simple job. Plus, it gives you control over your home’s lighting and a sense of accomplishment.
However, safety is critical. Electrical work can be dangerous if not done correctly, so we’ll emphasize precautions throughout this guide. Ready to learn how to wire a light switch? Let’s start with preparation.
Tools and Materials You’ll Need
To wire a light switch successfully, you’ll need a few basic tools and materials. Having everything ready before you start will make the process smoother.
Essential Tools
- Flathead and Phillips screwdrivers: For removing the switch plate and securing wires.
- Wire strippers: To remove insulation from electrical wires.
- Voltage tester: To ensure the power is off before working.
- Needle-nose pliers: For bending and shaping wires.
- Utility knife: To cut away old insulation or tape, if needed.
Required Materials
- Single-pole light switch: The most common type for basic on/off control.
- Electrical tape: To insulate wire connections.
- Wire nuts: For securing wire connections, if applicable.
- Wall plate: To cover the switch after installation.
Pro tip: If you’re replacing an old switch, check its type (single-pole, three-way, or dimmer) to ensure you buy the right replacement. For this guide, we’ll focus on a single-pole switch, which controls one light fixture from one location.
Safety First: Precautions Before You Start
Electrical work carries risks, including shocks, fires, or damage to your home’s wiring. According to the National Fire Protection Association, electrical issues cause about 47,000 home fires annually in the U.S., so take these precautions seriously.
Key Safety Tips
- Turn off the power: Always switch off the circuit breaker for the area you’re working on. Double-check with a voltage tester to confirm the wires are not live.
- Work in a dry environment: Avoid wet hands or surfaces to prevent shocks.
- Use insulated tools: This reduces the risk of accidental shocks.
- Check local codes: Some areas require permits for electrical work. Contact your local building authority to confirm.
- Don’t rush: Take your time to avoid mistakes.
If you’re unsure about any step, consult a licensed electrician. Safety is worth more than cutting corners.
Step-by-Step Guide to Wiring a Light Switch
Now that you’re prepared, let’s go through the process of how to wire a light switch. Follow these steps carefully for a successful installation.
Step 1: Turn Off the Power
Before touching any wires, locate your home’s electrical panel and turn off the breaker that controls the light switch. Use a voltage tester to confirm the wires in the switch box are not live. Touch the tester’s probes to the wires or terminals— if it doesn’t light up or beep, the power is off.
Step 2: Remove the Old Switch (If Replacing)
If you’re installing a new switch, skip to Step 3. For replacements, follow these steps:
- Remove the wall plate: Use a screwdriver to unscrew the cover plate.
- Unscrew the switch: Remove the screws securing the switch to the electrical box.
- Pull out the switch: Gently pull the switch out to access the wires.
- Take a photo: Snap a picture of the wiring for reference before disconnecting anything.
Carefully loosen the terminal screws and detach the wires. If the wires are wrapped around the screws, turn counterclockwise to release them.
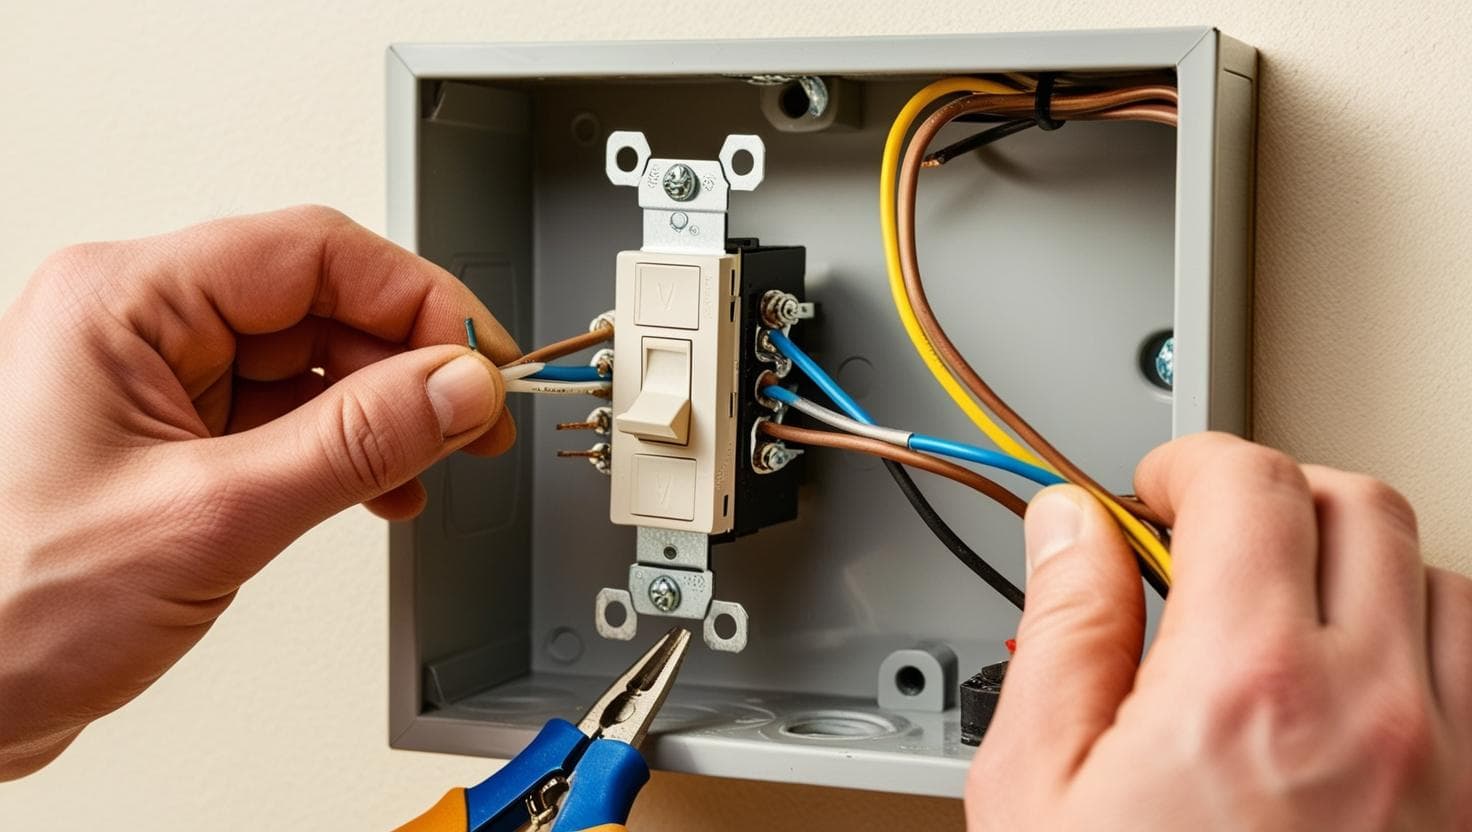
Step 3: Identify the Wires
Inside the electrical box, you’ll typically find three wires for a single-pole switch:
- Hot wire (black): Carries power to the switch.
- Load wire (black or red): Carries power from the switch to the light fixture.
- Ground wire (green or bare copper): Provides a safe path for stray electricity.
Some older homes may have different wire colors. If you’re unsure, consult an electrician or use a multimeter to identify the wires.
Step 4: Prepare the Wires
If the wires are frayed or too short, you may need to trim and strip them:
- Trim damaged ends: Use wire cutters to remove any frayed sections.
- Strip insulation: Use wire strippers to remove about ¾ inch of insulation from the ends of the wires, exposing the copper.
- Shape the wires: Bend the exposed copper into a small hook using needle-nose pliers. This makes it easier to attach them to the switch terminals.
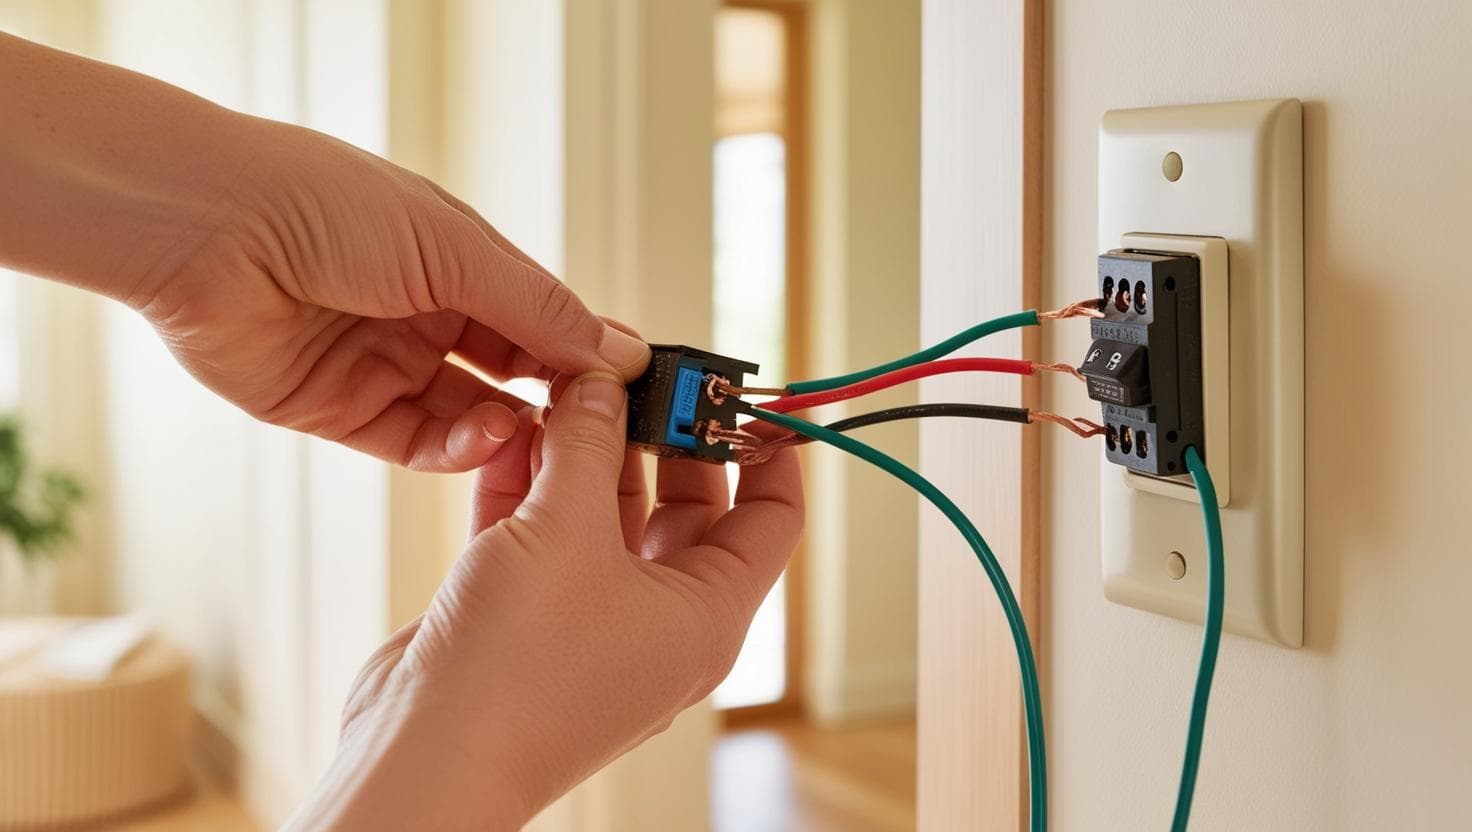
Step 5: Connect the Wires to the New Switch
Now it’s time to wire the light switch. A single-pole switch has two brass terminal screws (for the hot and load wires) and one green screw (for the ground wire).
Wiring Instructions
- Attach the ground wire: Connect the green or bare copper wire to the green screw on the switch. Wrap the wire clockwise around the screw and tighten it securely.
- Connect the hot wire: Identify the hot wire (usually black) and attach it to one of the brass terminal screws. Wrap it clockwise and tighten the screw.
- Connect the load wire: Attach the other black (or red) wire to the remaining brass terminal screw, wrapping it clockwise and tightening it.
- Double-check connections: Ensure all screws are tight and no bare wire is exposed beyond the terminals.
If your switch has “push-in” terminals instead of screws, insert the stripped wire ends into the appropriate slots, following the switch’s labeling.
Step 6: Mount the Switch
Carefully push the wires back into the electrical box, ensuring they’re neatly folded to avoid pinching. Align the switch with the box’s screw holes and secure it with the provided screws. Then, attach the wall plate and screw it into place.
Step 7: Restore Power and Test
Return to the electrical panel and turn the breaker back on. Flip the light switch to test if it works:
- If the light turns on/off: Congratulations! You’ve successfully wired the switch.
- If it doesn’t work: Turn off the power and check your connections. Loose wires or incorrect wiring are common issues.
If the problem persists, consult an electrician to avoid safety risks.
Common Mistakes to Avoid
Even with careful planning, mistakes can happen. Here are some pitfalls to watch out for when wiring a light switch:
- Not turning off the power: Always verify the power is off with a voltage tester.
- Mixing up wires: Label or photograph the wires before disconnecting them to avoid confusion.
- Over-tightening screws: This can damage the wires or terminals. Tighten just enough to secure the connection.
- Using the wrong switch type: Ensure you’re using a single-pole switch for a single-location setup.
Troubleshooting Tips
If your light switch doesn’t work after installation, try these fixes:
- Check for loose connections: Turn off the power and tighten all terminal screws.
- Verify wire placement: Ensure the hot and load wires are on the correct terminals.
- Test the breaker: A tripped breaker or blown fuse could be the issue.
- Inspect the bulb: If the light fixture uses a bulb, confirm it’s not burnt out.
For persistent issues, professional help is the safest option.
When to Call an Electrician
While wiring a light switch is beginner-friendly, some situations call for an expert:
- Old or damaged wiring: Homes built before the 1980s may have outdated wiring that requires professional upgrades.
- Complex setups: Three-way switches, dimmers, or smart switches involve more complicated wiring.
- No grounding: If your electrical box lacks a ground wire, consult an electrician for safety upgrades.
- Uncertainty: If you’re uncomfortable at any point, don’t hesitate to hire a pro.
The average cost to hire an electrician for a light switch installation is $50–$150, depending on your location and the job’s complexity, according to HomeAdvisor.
Benefits of Wiring Your Own Light Switch
Mastering how to wire a light switch has several perks:
- Cost savings: Avoid labor fees and only pay for materials (typically $5–$20).
- Skill-building: Gain confidence for other DIY electrical projects.
- Customization: Easily swap out switches for dimmers or smart switches later.
- Quick fixes: Replace faulty switches without waiting for a professional.
Plus, it’s satisfying to flip a switch you installed yourself and see the room light up!
Tips for Upgrading Your Light Switch
Once you’re comfortable wiring a basic switch, consider these upgrades:
- Install a dimmer switch: Perfect for adjusting lighting in living rooms or bedrooms.
- Try a smart switch: Control lights via smartphone apps or voice assistants like Alexa.
- Add a motion-sensor switch: Great for energy savings in hallways or bathrooms.
Each upgrade may require slightly different wiring, so always read the manufacturer’s instructions.
Conclusion
Learning how to wire a light switch is a practical, money-saving skill that any beginner can master with the right guidance. By following this step-by-step guide, you’ll have a functional switch installed safely and efficiently. Remember to prioritize safety, double-check your work, and consult a professional if you encounter complex issues.
With your new knowledge, you’re ready to tackle this project and maybe even explore other DIY electrical tasks. So grab your tools, turn off the power, and get started—your perfectly wired light switch is just a few steps away!


More Stories
How To Style A Coffee Table For Every Home
How to Decorate Your Home for Christmas Like a Pro
15 Easy Steps to Build a DIY Pergola: A Complete Homeowner’s Guide