
Introduction
Hardwood floors are a timeless addition to any home, offering beauty, durability, and value. However, during construction or renovation projects, these stunning surfaces are at risk of damage from heavy foot traffic, tools, debris, and spills.
Protecting hardwood floors during construction is essential to preserve their pristine condition and avoid costly repairs or refinishing. This guide explores practical strategies, materials, and tips to ensure your hardwood floors remain flawless throughout the construction process.
Why Hardwood Floor Protection Matters
Hardwood floors are an investment, often costing between $8 and $15 per square foot for installation, according to HomeAdvisor. Damage during construction can lead to scratches, dents, stains, or even the need for complete replacement, which can significantly increase project costs. Beyond financial implications, unprotected floors can delay timelines as contractors scramble to address repairs. By prioritizing hardwood floor protection during construction, you safeguard your investment and maintain the aesthetic appeal of your space.
Construction sites are inherently chaotic, with risks like:
- Heavy equipment and tools dropping or dragging across the floor.
- Debris and dust settling into wood grains, causing scratches or discoloration.
- Spills from paint, adhesives, or chemicals staining or warping the wood.
- Foot traffic from workers wearing dirty or abrasive footwear.
Taking proactive steps for hardwood floor protection during construction minimizes these risks, ensuring your floors remain in top condition.
Common Threats to Hardwood Floors During Construction
Understanding the specific dangers hardwood floors face during construction helps in choosing the right protection methods. Here are the most common threats:
1. Scratches and Abrasions
Tools, ladders, and even gravel tracked in on boots can scratch the surface of hardwood floors. These scratches may require sanding and refinishing, which can cost $1.50 to $4 per square foot, per the National Wood Flooring Association.
2. Dents and Gouges
Heavy equipment, dropped tools, or furniture can cause dents or gouges. Solid hardwood is more resilient, but engineered hardwood may be more susceptible to deep damage.
3. Dust and Debris
Construction dust can settle into the wood’s grain, dulling its finish or causing micro-abrasions. Regular cleaning alone isn’t enough to prevent this issue.
4. Spills and Stains
Paint, varnish, glue, or other chemicals can seep into unprotected wood, leaving permanent stains or damaging the finish. Water spills can also cause warping or cupping, especially in humid environments.
5. UV Exposure
If construction involves open windows or unfinished walls, prolonged exposure to sunlight can fade hardwood floors, particularly in species like cherry or walnut.
By addressing these threats with proper hardwood floor protection during construction, you can avoid these issues and keep your floors looking brand new.
Best Practices for Hardwood Floor Protection During Construction
Protecting hardwood floors requires a combination of planning, the right materials, and ongoing maintenance. Below are proven strategies to ensure your floors stay safe throughout the construction process.
1. Plan Ahead
Before construction begins, include floor protection in your project plan. Discuss expectations with contractors and ensure everyone understands the importance of hardwood floor protection during construction. Key steps include:
- Set clear rules: Require workers to use designated walkways and avoid dragging equipment across floors.
- Schedule wisely: Install hardwood floors after major construction tasks (like drywall or painting) are complete to minimize exposure to damage.
- Inspect floors: Check the condition of your floors before construction starts to document any pre-existing damage.
2. Clean the Floors Thoroughly
Start with a clean slate. Dust, dirt, or small particles left on the floor can get trapped under protective coverings, causing scratches. Vacuum or sweep the floors, then use a damp (not wet) mop with a hardwood-safe cleaner to remove any residue.
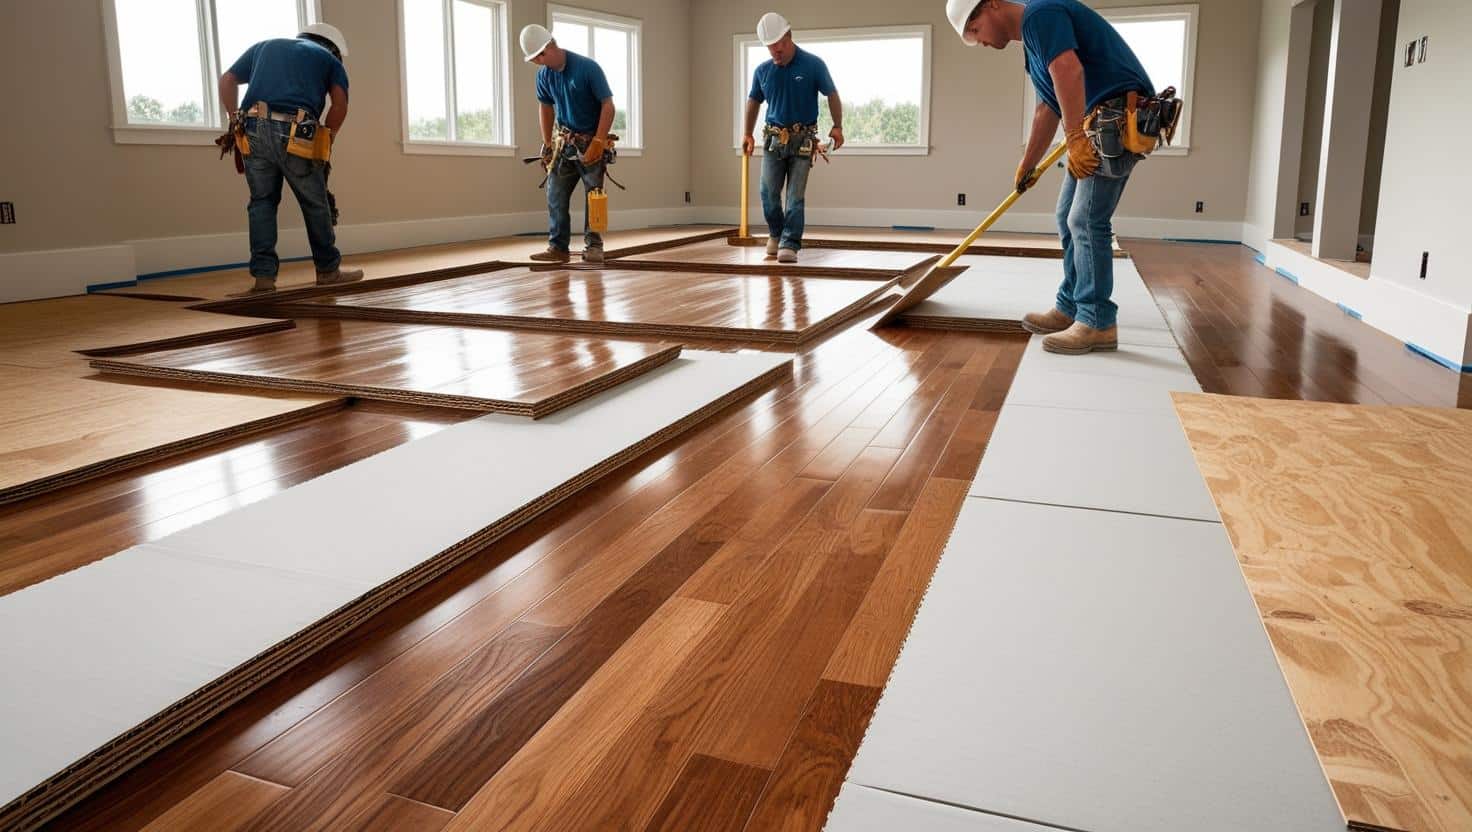
3. Use High-Quality Protective Coverings
The right protective materials are critical for hardwood floor protection during construction. Here are some popular options:
- Rosin Paper: A heavy-duty paper that provides a breathable barrier against dust and light spills. It’s affordable and easy to tape down, costing about $10-$20 per roll.
- Ramboard: A durable, recyclable cardboard-like material designed for construction sites. It resists impacts and spills, making it ideal for high-traffic areas. A 100-foot roll costs around $50-$70.
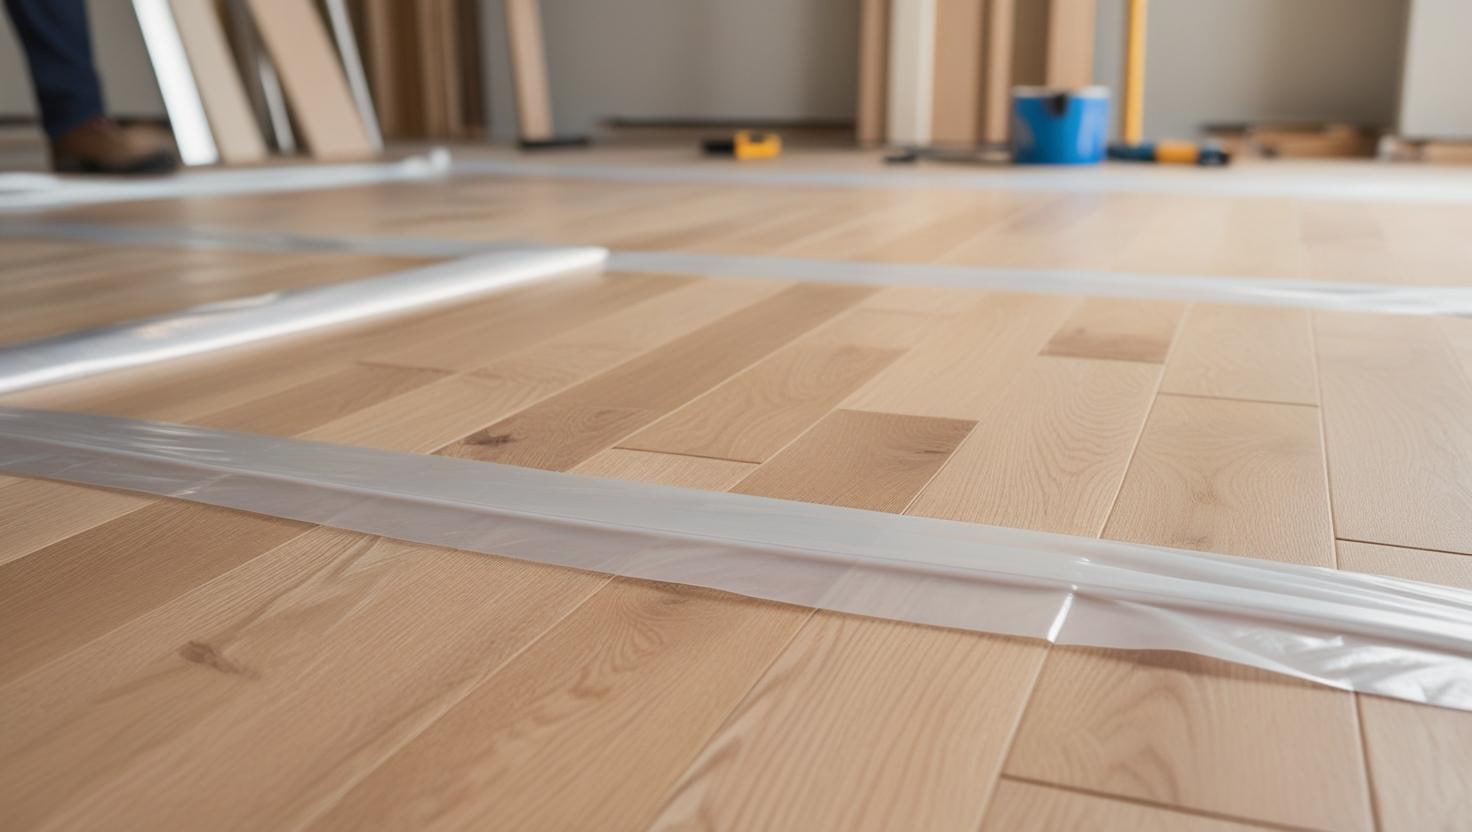
- Plastic Sheeting: Lightweight and waterproof, plastic is great for short-term protection but can trap moisture, so use it sparingly on hardwood.
- Felt or Foam Underlayments: These provide cushioning against impacts and are often used under heavier coverings like plywood.
- Plywood or Masonite: For heavy-duty protection, ¼-inch plywood or Masonite sheets offer unmatched durability against dropped tools or equipment. Expect to pay $15-$30 per 4×8 sheet.
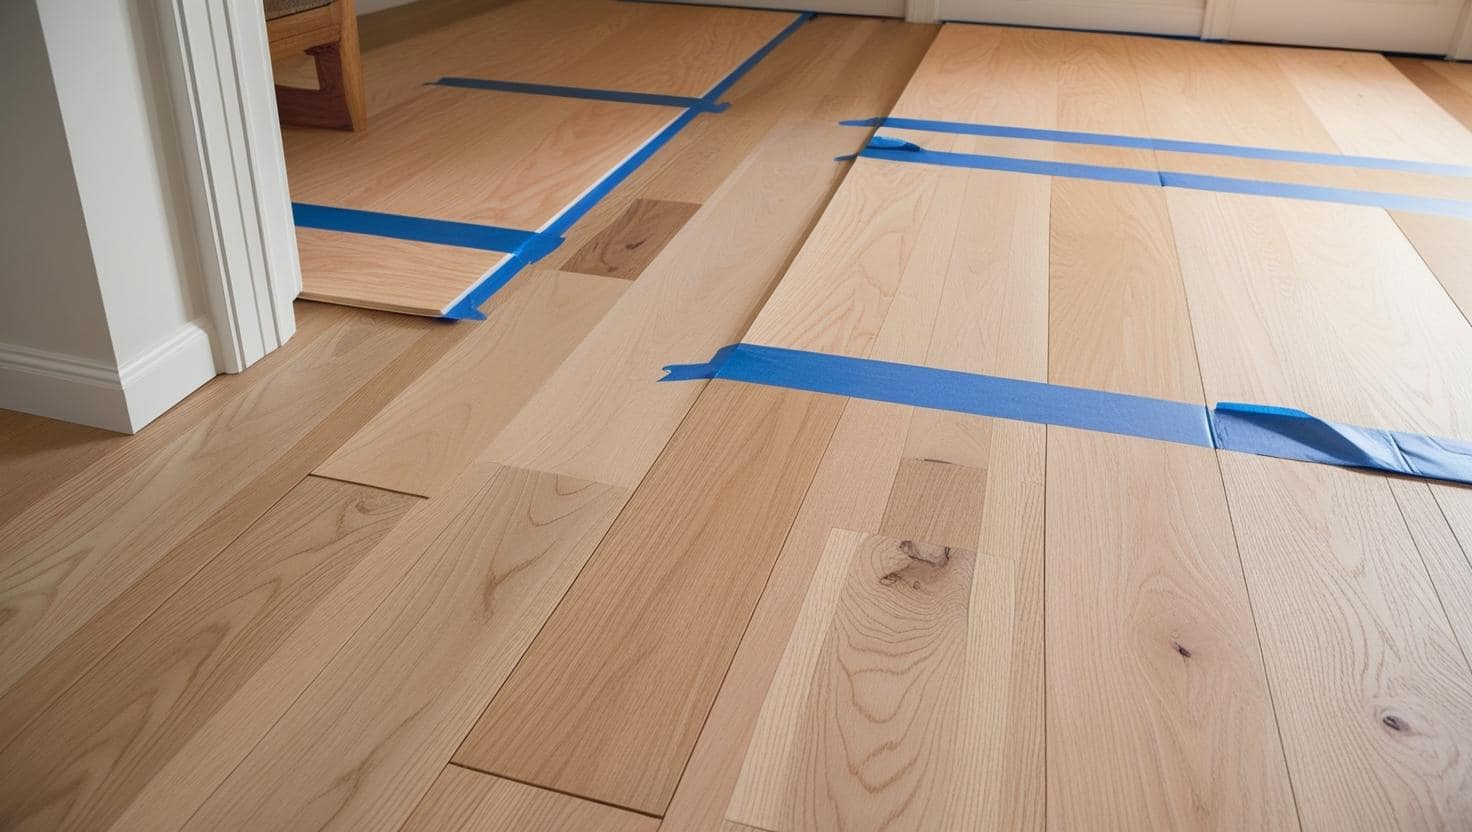
Pro Tip: Always secure coverings with painter’s tape or low-adhesive tape to avoid damaging the floor’s finish when removing them.
4. Create Designated Pathways
Minimize foot traffic on hardwood floors by setting up walkways using protective materials like Ramboard or plywood. Direct workers to use these paths to reduce wear and tear. For added protection, consider placing anti-slip mats at entry points to trap dirt and debris from shoes.
5. Control Dust and Debris
Construction generates significant dust, which can settle into hardwood floors and cause damage. To mitigate this:
- Use plastic sheeting or tarps to seal off rooms with hardwood floors.
- Install air filters or use a shop vac to reduce airborne dust.
- Sweep or vacuum protective coverings daily to prevent debris buildup.
6. Monitor for Spills and Clean Immediately
Spills are inevitable during construction, but quick action can prevent damage. Keep absorbent cloths or spill kits on-site and instruct workers to clean up spills immediately. For sticky substances like paint or glue, use a hardwood-safe solvent and avoid scrubbing too harshly.
7. Limit UV Exposure
If construction involves open windows or unfinished walls, cover windows with UV-blocking film or temporary curtains to protect hardwood floors from fading. This is especially important for exotic or light-sensitive wood species.
Choosing the Right Protective Materials
Selecting the best materials for hardwood floor protection during construction depends on the project’s scope, budget, and timeline. Here’s a quick comparison of popular options:
| Material | Pros | Cons | Best For |
| Rosin Paper | Affordable, breathable, easy to apply | Limited durability, not waterproof | Light construction, low traffic |
| Ramboard | Durable, waterproof, recyclable | More expensive, slightly bulky | High-traffic areas, medium projects |
| Plastic Sheeting | Lightweight, waterproof, cheap | Traps moisture, slippery when wet | Short-term use, spill protection |
| Plywood/Masonite | Extremely durable, impact-resistant | Heavy, costly, requires storage | Heavy-duty construction, long projects |
| Felt/Foam Underlay | Cushions impacts, reusable | Not waterproof, needs top layer | Under plywood or for light protection |
For most projects, a combination of materials works best. For example, use rosin paper as a base layer to prevent dust infiltration, topped with Ramboard for durability in high-traffic zones.
Maintaining Hardwood Floor Protection During Construction
Protection doesn’t end with laying down coverings. Ongoing maintenance is crucial to ensure your hardwood floors remain undamaged. Follow these tips:
- Inspect regularly: Check protective coverings daily for tears, gaps, or debris buildup. Replace or repair as needed.
- Reinforce high-traffic areas: Add extra layers of Ramboard or plywood in areas with heavy foot traffic or equipment.
- Keep it dry: Ensure coverings stay dry to prevent moisture from seeping into the wood. Use dehumidifiers in humid climates.
- Remove coverings carefully: When construction is complete, remove protective materials slowly to avoid pulling up the floor’s finish. Clean the floors immediately to remove any residual dust.
Post-Construction Floor Care
Once construction is finished, your hardwood floors may need some TLC to restore their shine. Follow these steps:
- Vacuum thoroughly: Use a soft-brush attachment to remove dust and debris.
- Clean gently: Mop with a hardwood-safe cleaner, avoiding excess water.
- Inspect for damage: Look for scratches, dents, or stains. Minor scratches can often be buffed out with a hardwood polish, while deeper damage may require professional refinishing.
- Polish or reseal: Apply a hardwood floor polish or sealant to restore luster and add an extra layer of protection.
Real-Life Example: A Case Study
In a recent home renovation in Seattle, a homeowner installed $12,000 worth of oak hardwood floors before a kitchen remodel. To protect the floors, the contractor used a combination of rosin paper and Ramboard, secured with painter’s tape. Designated walkways were set up, and workers were required to wear shoe covers. Despite a spilled can of paint, the protective layers prevented any damage, and the floors remained pristine. The homeowner estimated that hardwood floor protection during construction saved them $2,000 in potential repair costs.
Common Mistakes to Avoid
Even with the best intentions, mistakes can compromise hardwood floor protection during construction. Avoid these pitfalls:
- Using low-quality materials: Cheap plastic or thin paper may tear easily, exposing floors to damage.
- Skipping tape: Unsecured coverings can shift, leaving gaps where debris or spills can reach the floor.
- Ignoring moisture: Wet coverings or spills left unattended can cause warping or mold growth.
- Rushing removal: Removing coverings too quickly can pull up the floor’s finish or leave adhesive residue.
The Cost of Not Protecting Hardwood Floors
Failing to prioritize hardwood floor protection during construction can lead to significant expenses. According to the National Wood Flooring Association, refinishing a damaged hardwood floor costs $1.50-$4 per square foot, while replacement can exceed $10 per square foot. For a 1,000-square-foot area, this translates to $1,500-$4,000 for refinishing or $10,000+ for replacement. Compare this to the $100-$500 typically spent on protective materials, and the value of prevention becomes clear.
Conclusion
Hardwood floor protection during construction is a small investment that yields significant returns. By planning ahead, using high-quality protective materials, and maintaining vigilance throughout the project, you can keep your hardwood floors looking flawless.
Whether you’re renovating a single room or building a new home, these strategies ensure your floors remain a stunning centerpiece for years to come. Take the time to protect your investment—it’s worth every effort.


More Stories
Cozy Cabin Christmas Decor Inspiration for a Warm Winter Home
Yellow Bedroom Ideas: Brighten Your Space with Warmth and Style
Small Bathroom Ideas: Transform Your Compact Space with Style and Function