
Introduction
If you’ve ever admired the charm of a backyard pergola, you know how it can transform a simple outdoor space into a stylish and functional retreat. A pergola offers shade, structure, and a sense of luxury without the cost of a full outdoor room. The best part? You don’t have to hire professionals—you can do it yourself.
This guide will walk you through 15 easy steps to build a DIY pergola, breaking down the process into clear, achievable tasks. Whether you’re a beginner or have some woodworking experience, you’ll find this project both rewarding and surprisingly manageable.
Why Build a DIY Pergola?
Before jumping into the steps, let’s quickly talk about why pergolas are such a great addition to any home:
- Adds style and value: A pergola can boost your home’s curb appeal and outdoor living value.
- Creates shade: Perfect for sunny backyards, providing comfort while still letting in natural light.
- Budget-friendly project: Building it yourself saves thousands compared to hiring professionals.
- Customizable design: You control the size, style, and finish.
In fact, studies show that well-designed outdoor living structures like pergolas can increase a property’s resale value by up to 20%. Now let’s get into the practical steps.
Step 1: Plan Your Pergola Design
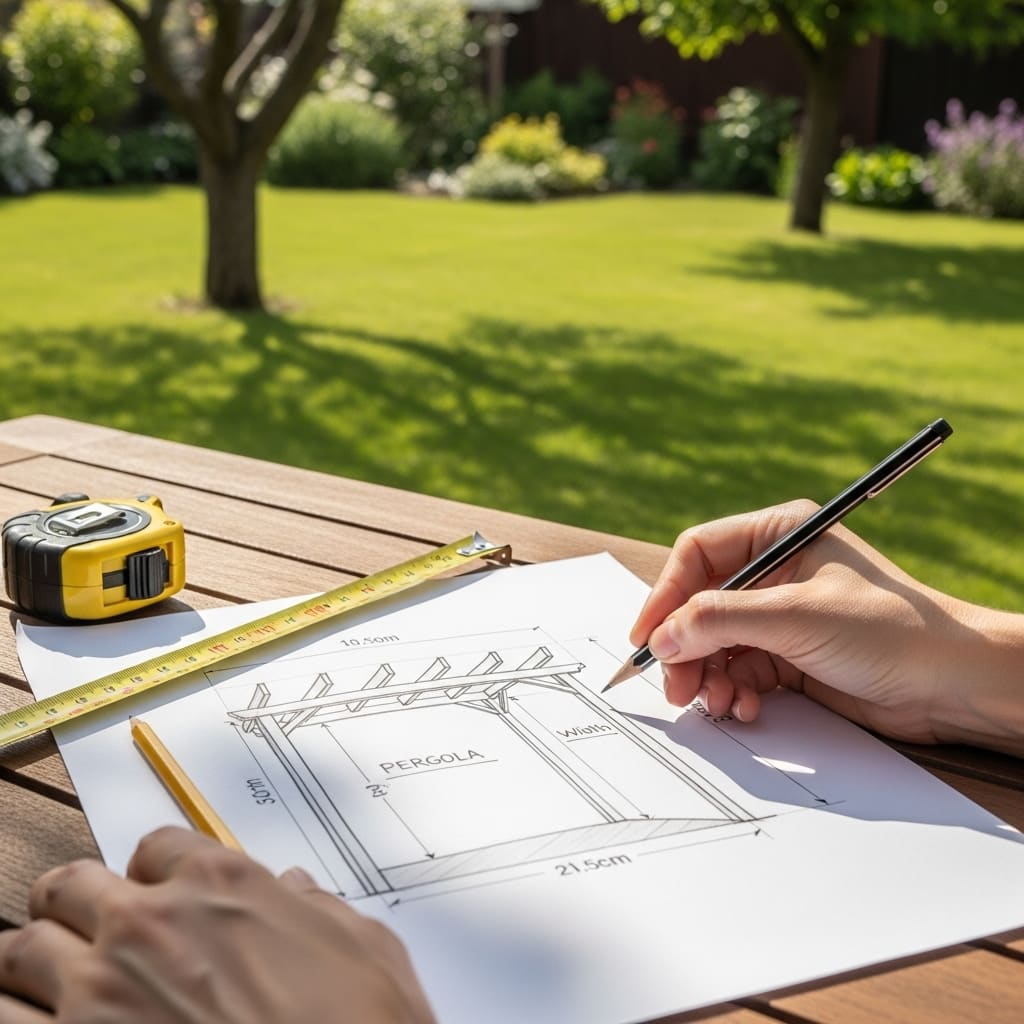
Every great DIY project starts with a plan. Decide on:
- Size: Small pergolas can be 8×8 feet, while larger ones can stretch 12×16 feet or more.
- Location: Choose a flat, open area in your yard. Think about sunlight, shade, and nearby trees.
- Style: Do you want a classic wooden look, a modern minimalist design, or something rustic?
Tip: Sketch your pergola design on paper, including the height, width, and spacing of beams.
Step 2: Check Local Building Codes

Before lifting a single tool, check with your local municipality. Some areas require permits for structures like pergolas. Rules often cover:
- Height limits
- Distance from property lines
- Anchoring methods
Skipping this step could lead to fines or the requirement to tear down your pergola later.
Step 3: Gather Your Tools and Materials
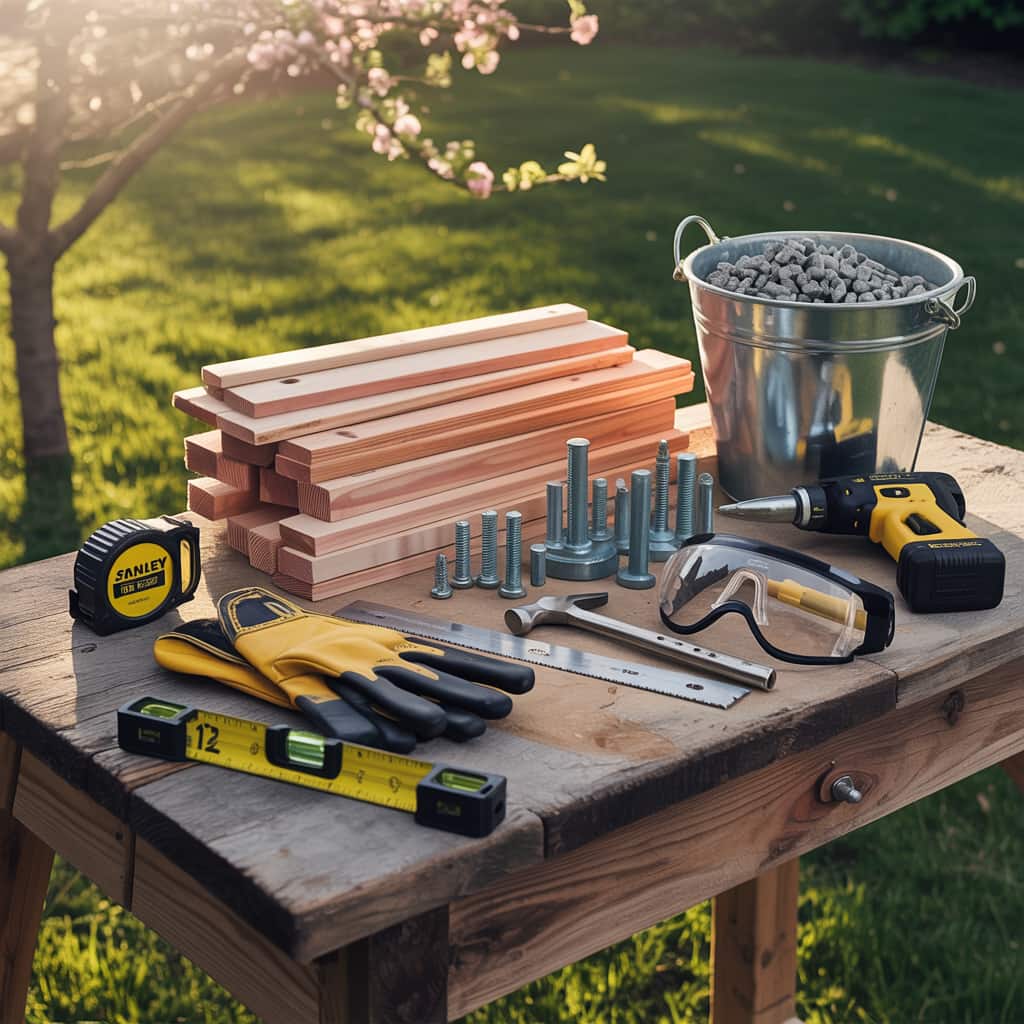
Here’s a list of essential items you’ll need:
Tools:
- Tape measure
- Carpenter’s level
- Circular saw or handsaw
- Power drill and bits
- Hammer or mallet
- Safety gear (gloves, goggles, ear protection)
Materials:
- Pressure-treated lumber or cedar (posts, beams, rafters)
- Galvanized screws and bolts
- Metal post anchors or concrete mix
- Stain or paint (optional finish)
Step 4: Choose the Right Wood
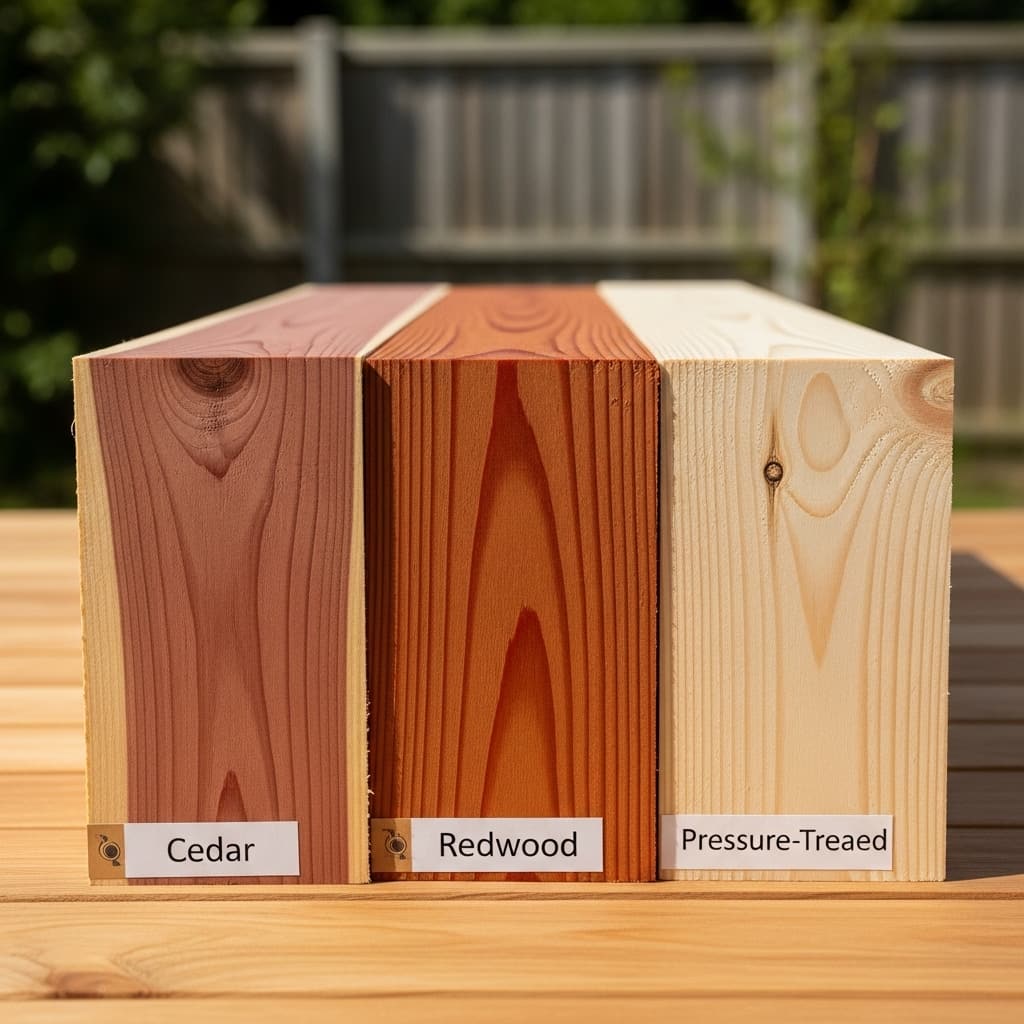
Your choice of wood will determine how durable and attractive your pergola will be.
- Cedar: Naturally resistant to rot and insects, with a beautiful reddish tone.
- Redwood: Strong, long-lasting, with a luxurious appearance.
- Pressure-treated pine: Budget-friendly and widely available, but may need more maintenance.
Pro tip: Avoid untreated wood; it won’t withstand outdoor conditions.
Step 5: Measure and Mark the Area

Use stakes and string to mark the exact placement of your pergola. Ensure it’s square by measuring diagonally from corner to corner—the measurements should be equal.
This step ensures your pergola stands straight and balanced.
Step 6: Dig Post Holes
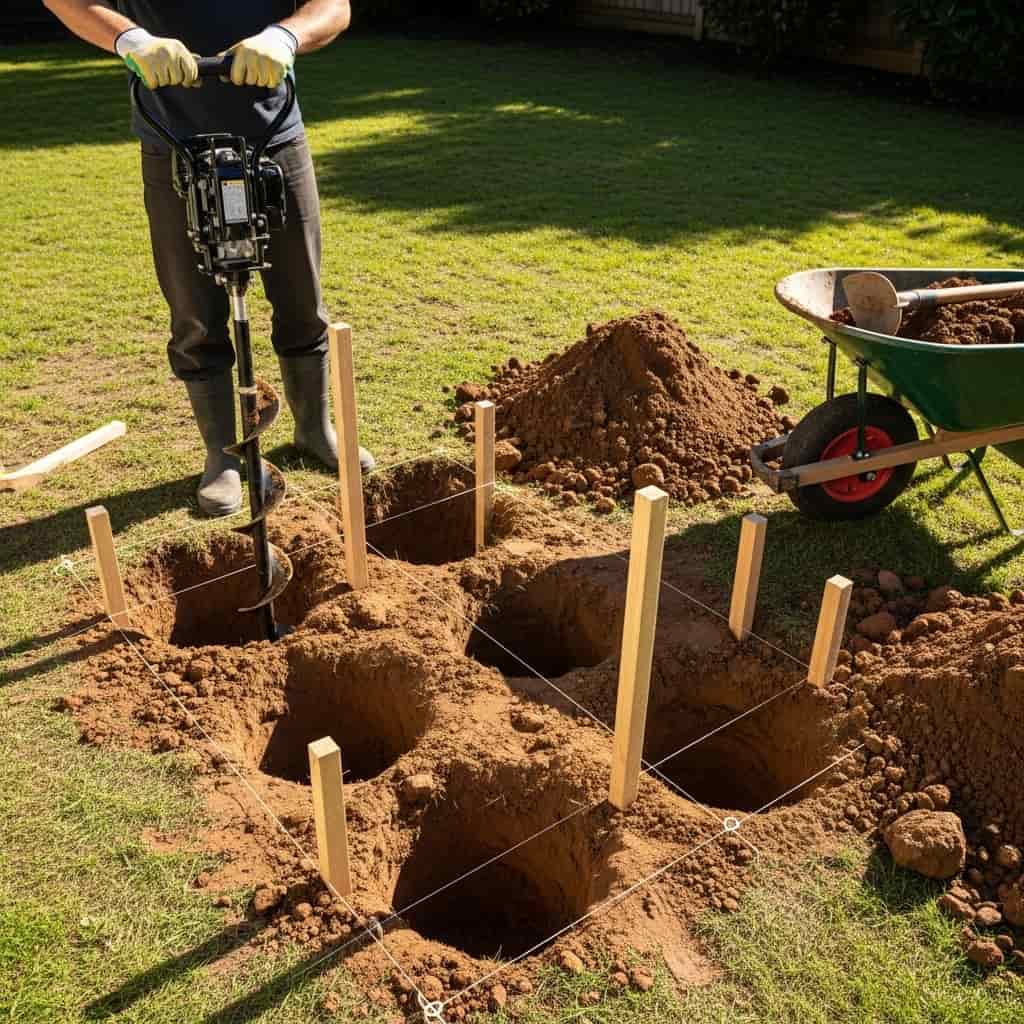
The posts are the foundation of your pergola. For stability:
- Dig holes 2–3 feet deep.
- Make each hole about 12 inches wide.
- Space the posts evenly (commonly 8 feet apart).
Use a post-hole digger for accuracy and efficiency.
Step 7: Set the Posts Securely
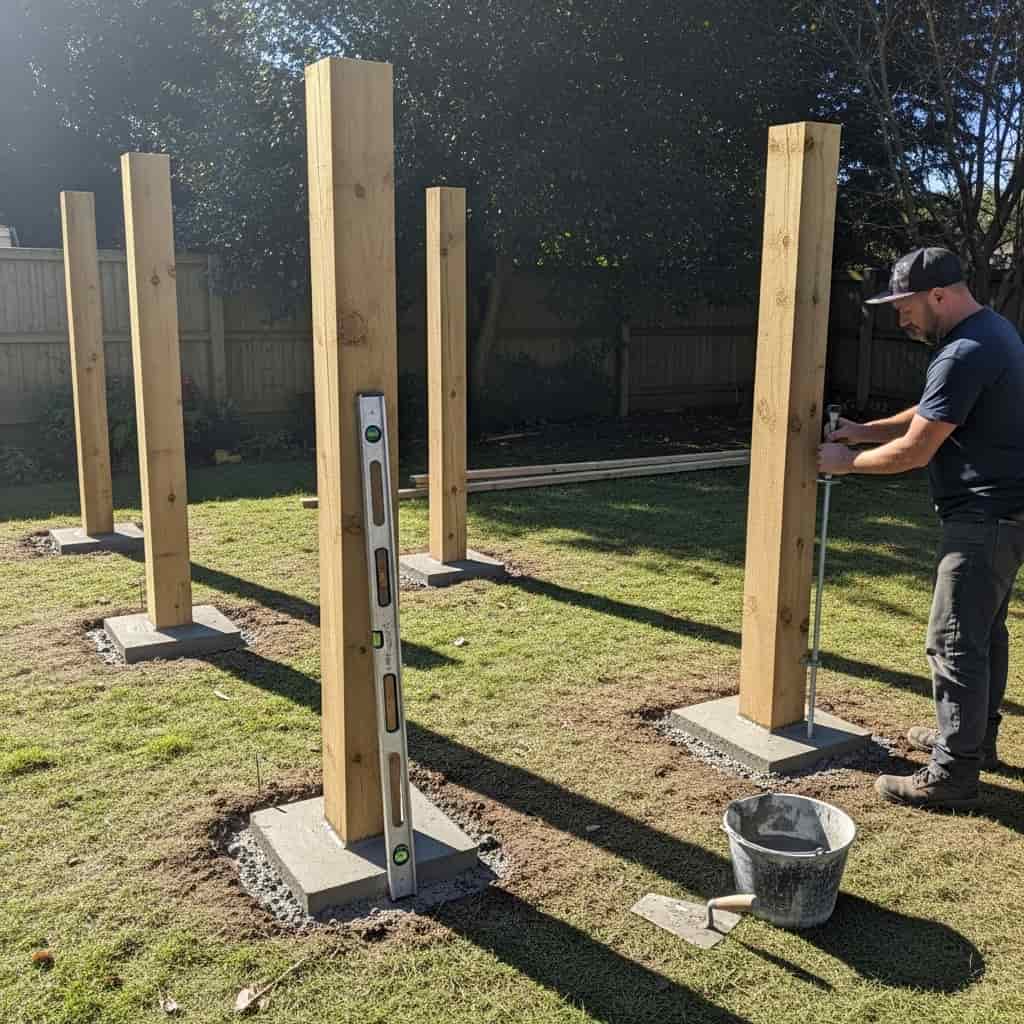
You have two options:
- Concrete footing: Place posts in the hole and pour concrete around them. Let it cure for 24–48 hours.
- Post anchors: If you prefer not to bury wood in soil, use metal anchors set in concrete.
Make sure posts are plumb (perfectly vertical) using a carpenter’s level.
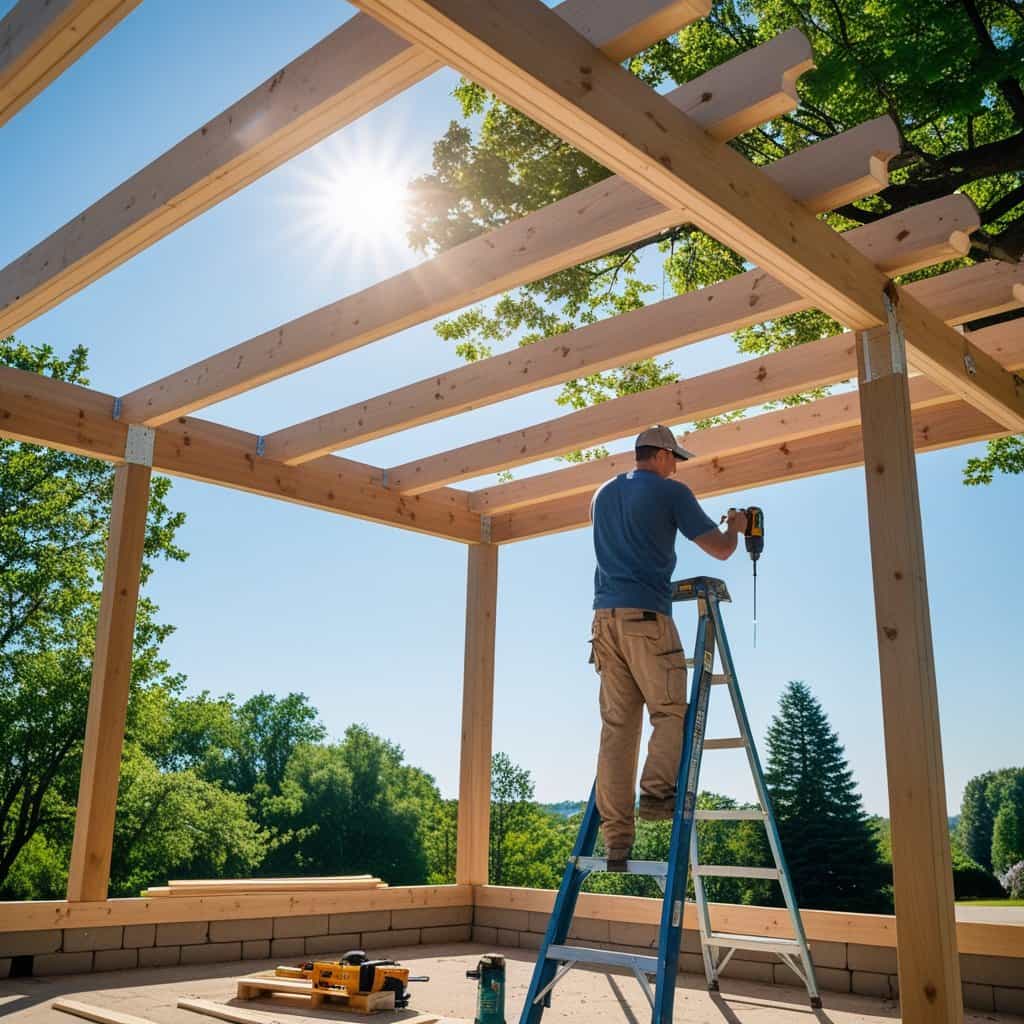
Step 8: Install Support Beams
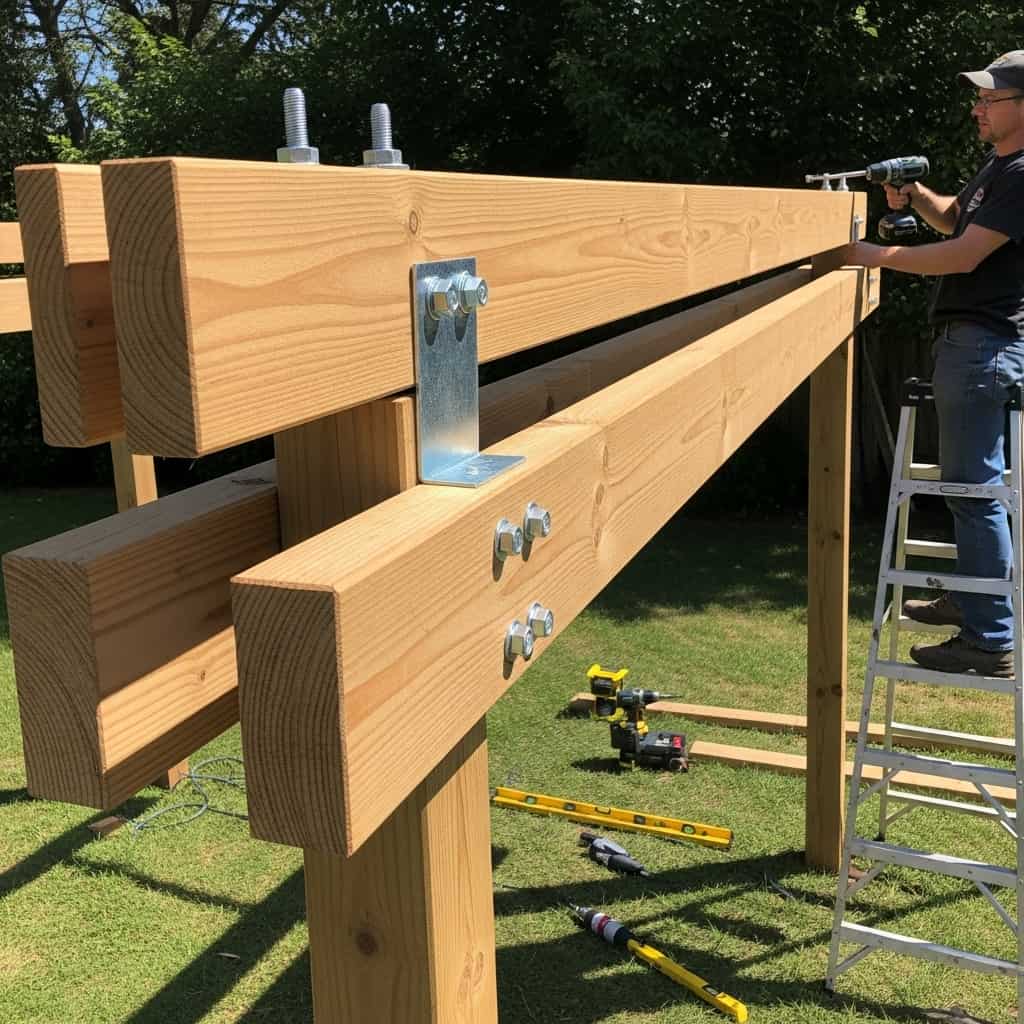
Once the posts are secure, it’s time to attach the support beams. These run horizontally across the top of the posts.
- Use bolts or lag screws for maximum strength.
- Beams should extend slightly beyond the posts for a balanced look.
This creates the frame of your pergola.
Step 9: Add Crossbeams
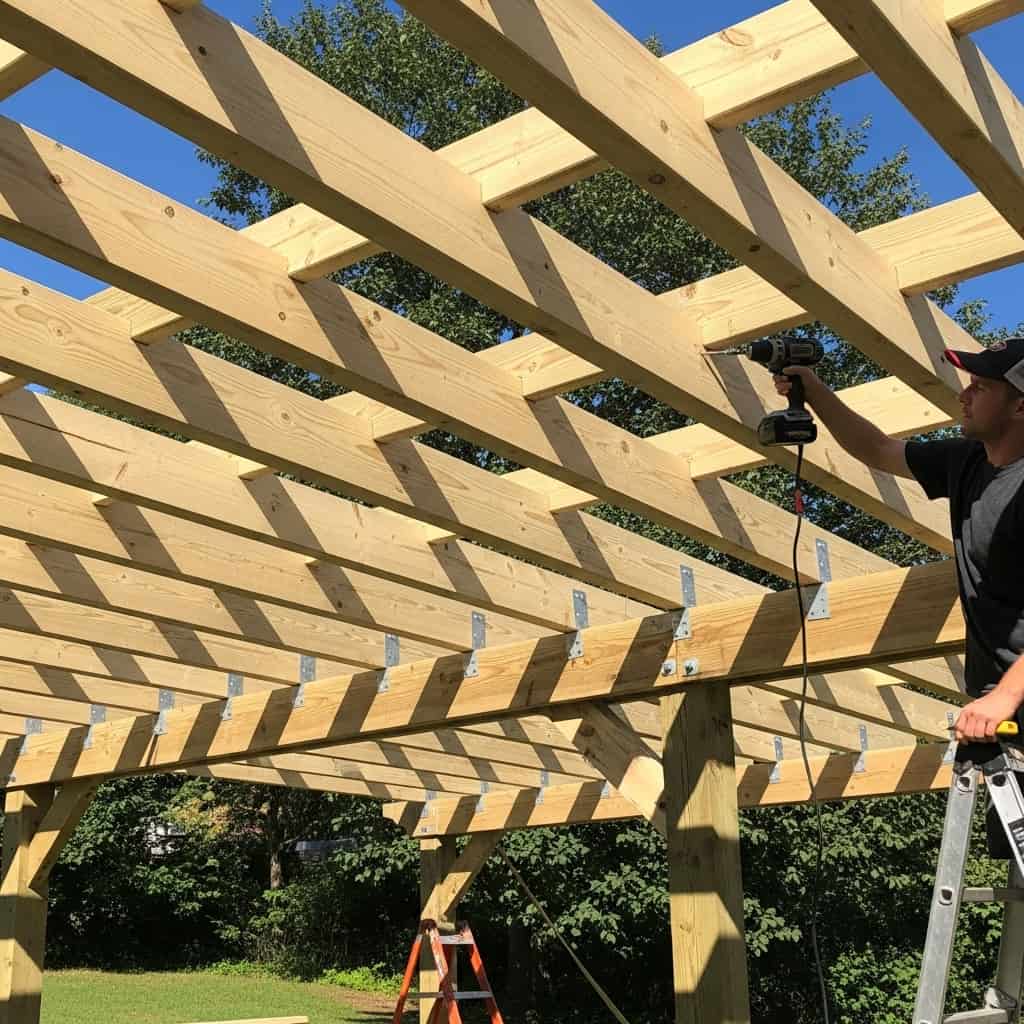
Crossbeams are laid perpendicular to the support beams. They add structural stability and define the roof pattern.
- Space them evenly, usually 12–24 inches apart.
- Use metal brackets or screws to secure them tightly.
The number of beams will depend on your pergola’s size.
Step 10: Cut Decorative Ends

This step adds personality. Use a jigsaw or circular saw to cut decorative shapes at the ends of beams and rafters. Common designs include:
- Curved edges
- Angled cuts
- Traditional “scroll” patterns
It’s optional, but these details can make your pergola truly unique.
Step 11: Add Rafters for Shade
Rafters run across the top, parallel to the support beams. They’re what provide the pergola’s iconic shade.
- Space them closer together for more shade.
- Align them evenly for a clean look.
- Secure them with galvanized screws.
Step 12: Secure with Bracing
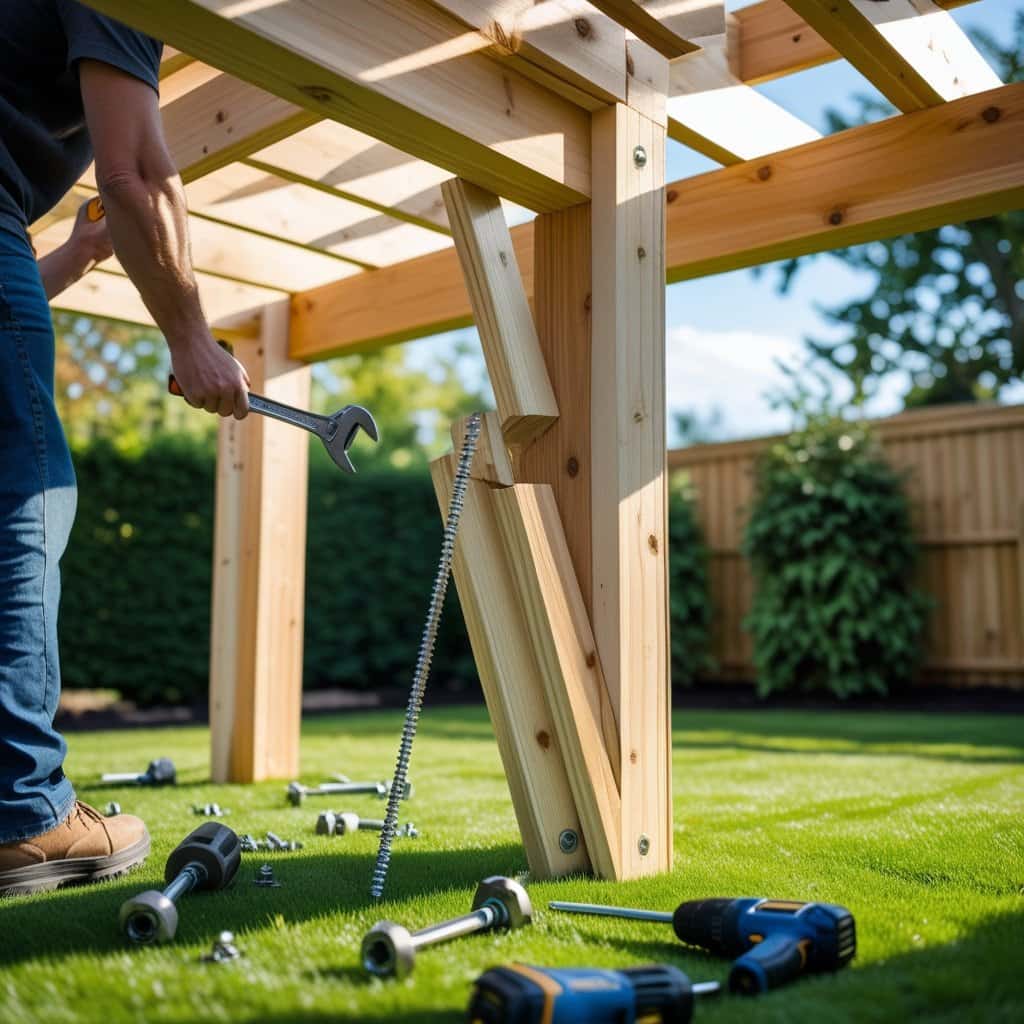
For extra stability, add diagonal braces between posts and beams. These prevent wobbling in strong winds.
This step is especially important for larger pergolas or those in windy areas.
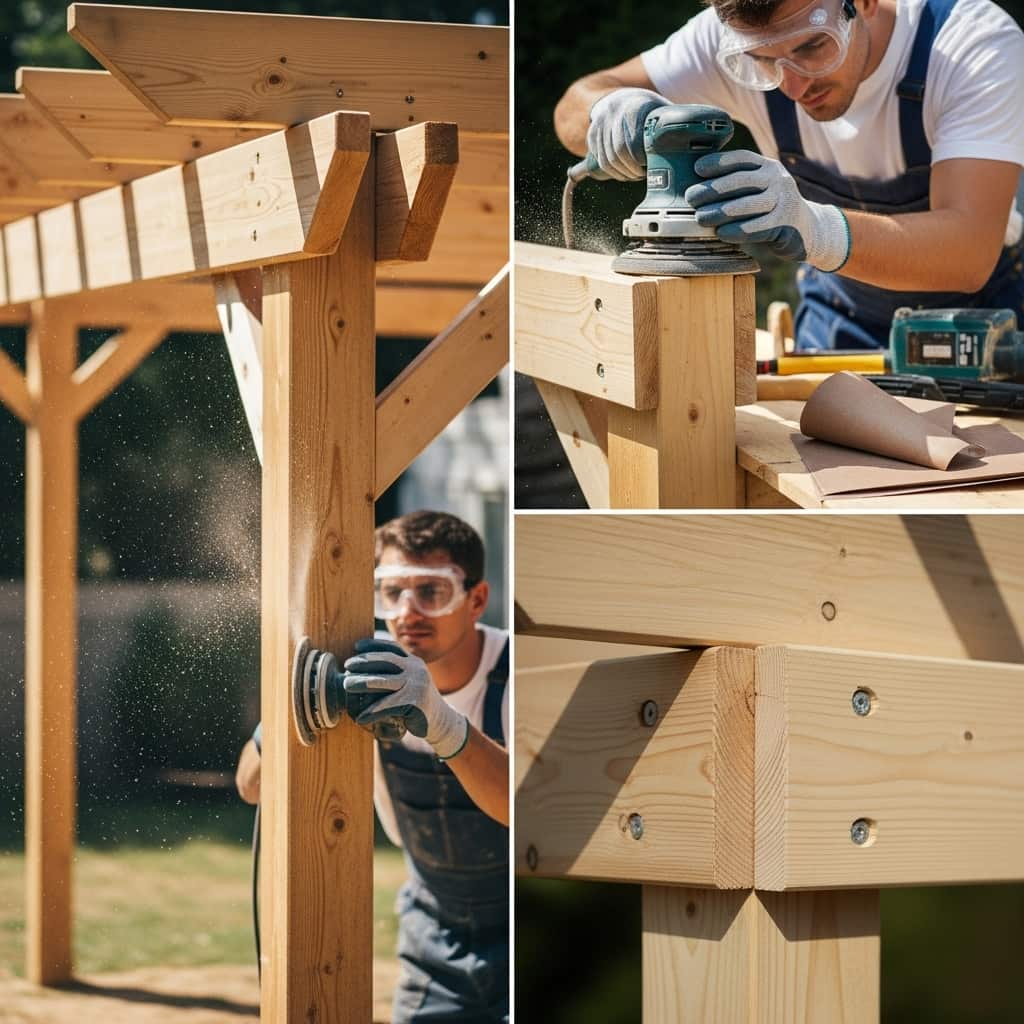
Step 13: Sand and Smooth the Wood

Safety and appearance matter. Use sandpaper or a power sander to smooth rough edges. This prevents splinters and ensures a polished finish.
Pay special attention to areas where people may lean or touch.
Step 14: Apply Stain or Paint
Protect your pergola from the elements with a weatherproof finish.
- Stain: Enhances natural wood grain.
- Paint: Adds color and protection.
- Sealant: Clear coat for maximum durability.
Experts recommend re-staining or re-sealing every 2–3 years to maintain the pergola’s beauty.
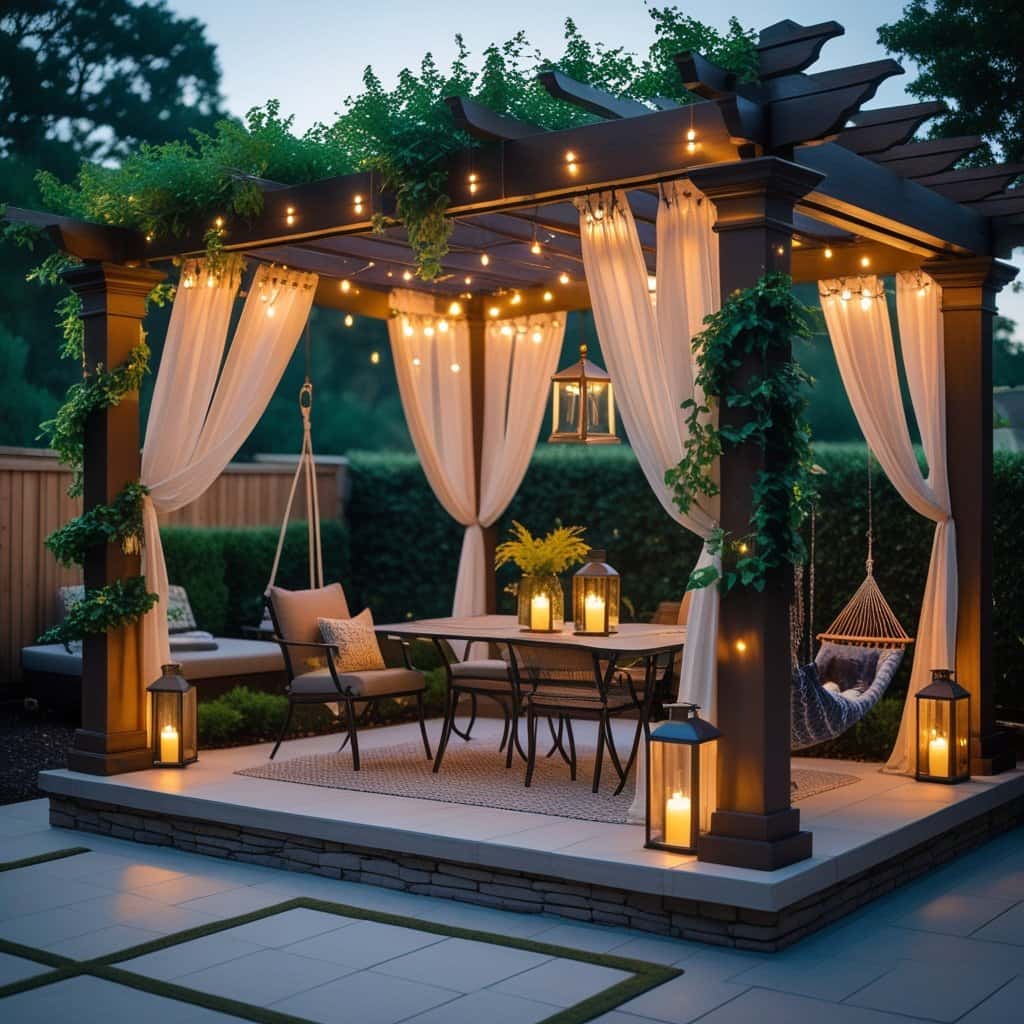
Step 15: Add Accessories and Personal Touches
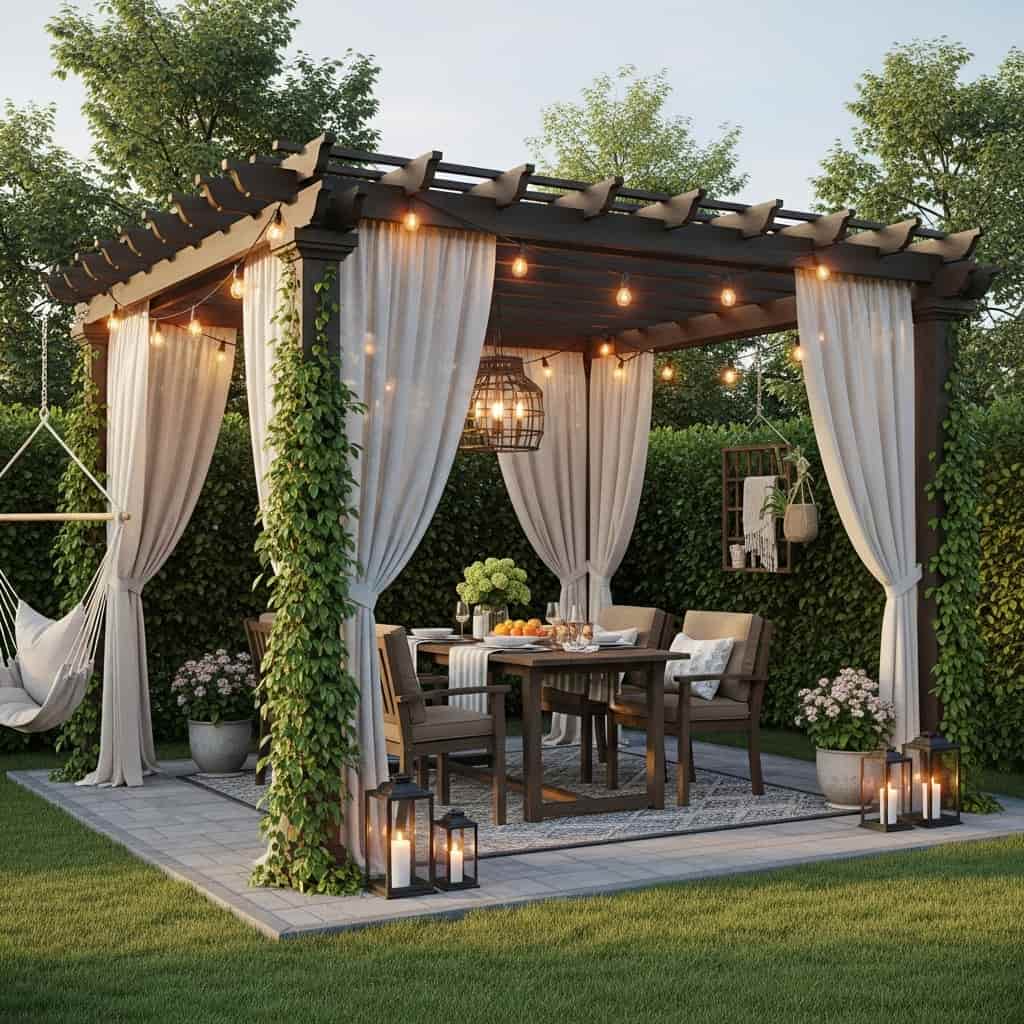
Now comes the fun part—making your pergola a cozy outdoor retreat. Consider adding:
- String lights or lanterns for ambiance
- Outdoor curtains for privacy
- Climbing plants like wisteria or jasmine
- A dining set, lounge chairs, or even a hammock
Your pergola should reflect your lifestyle—whether it’s for entertaining guests or quiet relaxation.
Maintenance Tips for a Long-Lasting Pergola
Building is only half the story. Proper care ensures your pergola lasts for decades.
- Inspect annually for cracks or loose bolts.
- Clean with mild soap and water every spring.
- Trim plants growing on the pergola to avoid excess weight.
- Reapply sealant or stain as needed.
With proper care, a quality pergola can last 15–20 years or more.
Common Mistakes to Avoid
Even simple projects can go wrong. Here are a few pitfalls to watch out for:
- Skipping permits: Could lead to costly problems later.
- Poor measurements: Leads to uneven, unstable structures.
- Using untreated wood: Results in quick decay.
- Ignoring bracing: Makes the pergola unsafe in the wind.
Learning from these mistakes ensures a smoother project.
Cost of Building a DIY Pergola
Costs vary depending on size, wood type, and extras. On average:
- Small pergola: $500–$1,000
- Medium pergola: $1,200–$2,000
- Large custom pergola: $2,500+
Compared to hiring a professional (which can cost $5,000–$10,000), DIY is much more budget-friendly.
Conclusion
A pergola is more than just a wooden structure—it’s an investment in your home and lifestyle. By following these 15 easy steps to build a DIY pergola, you’ll create a space that blends beauty, function, and comfort.
Whether you use it for family gatherings, quiet mornings with coffee, or evening barbecues, your pergola will become the heart of your backyard. And the best part? Every time you look at it, you’ll feel the pride of having built it with your own hands.


More Stories
How To Style A Coffee Table For Every Home
How to Decorate Your Home for Christmas Like a Pro
How to Build a Stone Fire Pit: A Complete Step-by-Step Guide for Your Backyard